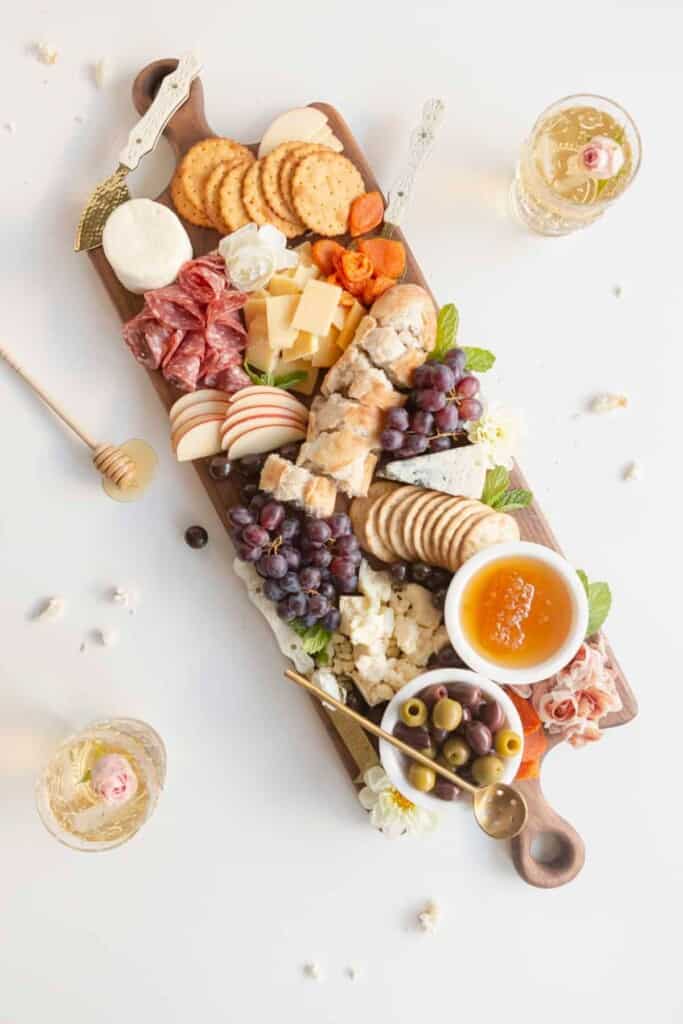
A guide to making a simple and elegant charcuterie board! Everything you need to know from products to buy to presentation.
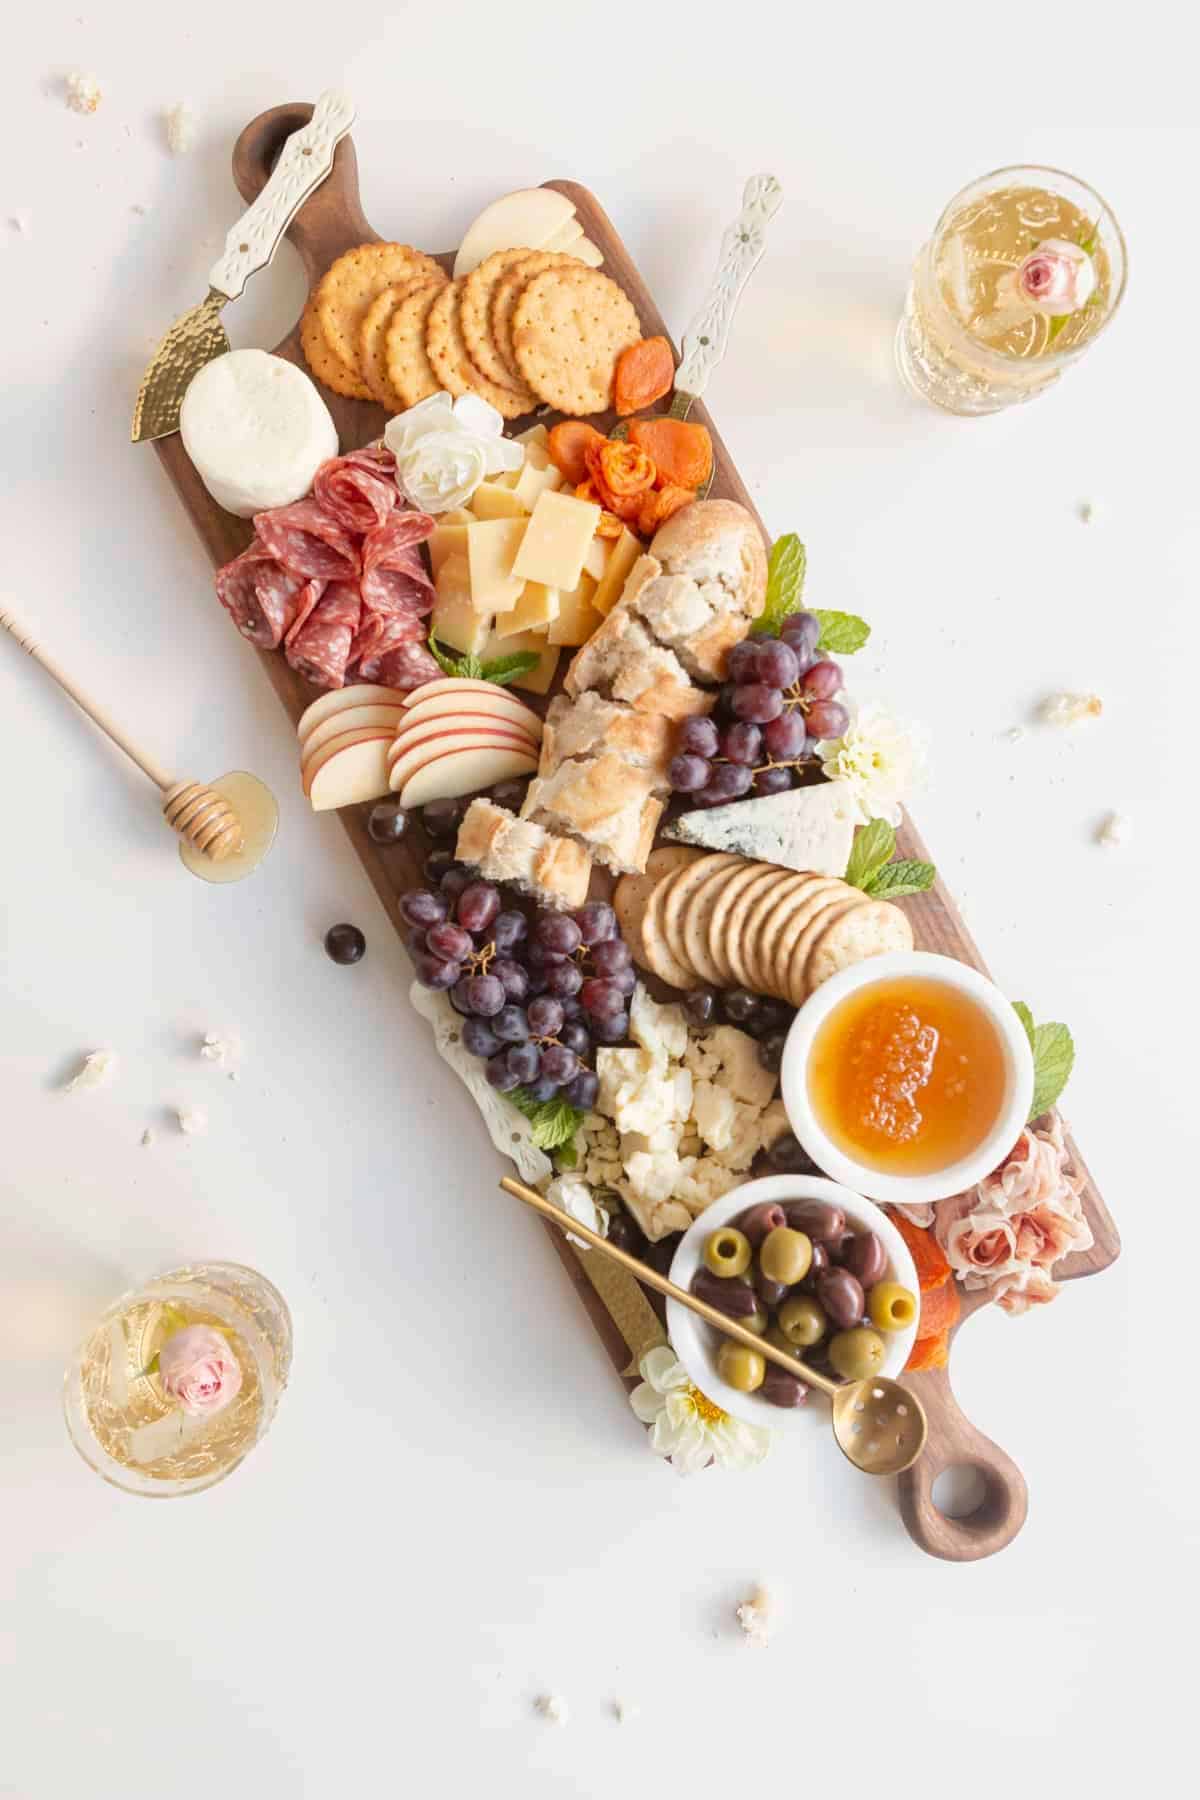
Table of Contents
Why is this Great
Being able to throw together a simple charcuterie board is something every person who loves hosting should know how to do. A charcuterie board can be made super last minute with items you most likely already have in the pantry, mixed with a few items from the store. And you can customize the board with any dietary restrictions or preferences.
Also, the basic skills of making a charcuterie board can be transferred to any other type of board, like a: Galentine’s Day Sweet Treat Board, Hot Cocoa and Treat Grazing Board, or a Holiday Cheese Board. Just make swaps out and create something special with your favorite snacks or treats. And can be a great party feature if you do one on theme.
Below I’ll be going over all the basics for a simple charcuterie board. You can dress it up and make it fancier, larger, smaller…whatever you want to make this yours. However, there are some basic tips and tools you may want to have on hand to make these boards more quickly and efficiently.
Charcuterie Board Tips
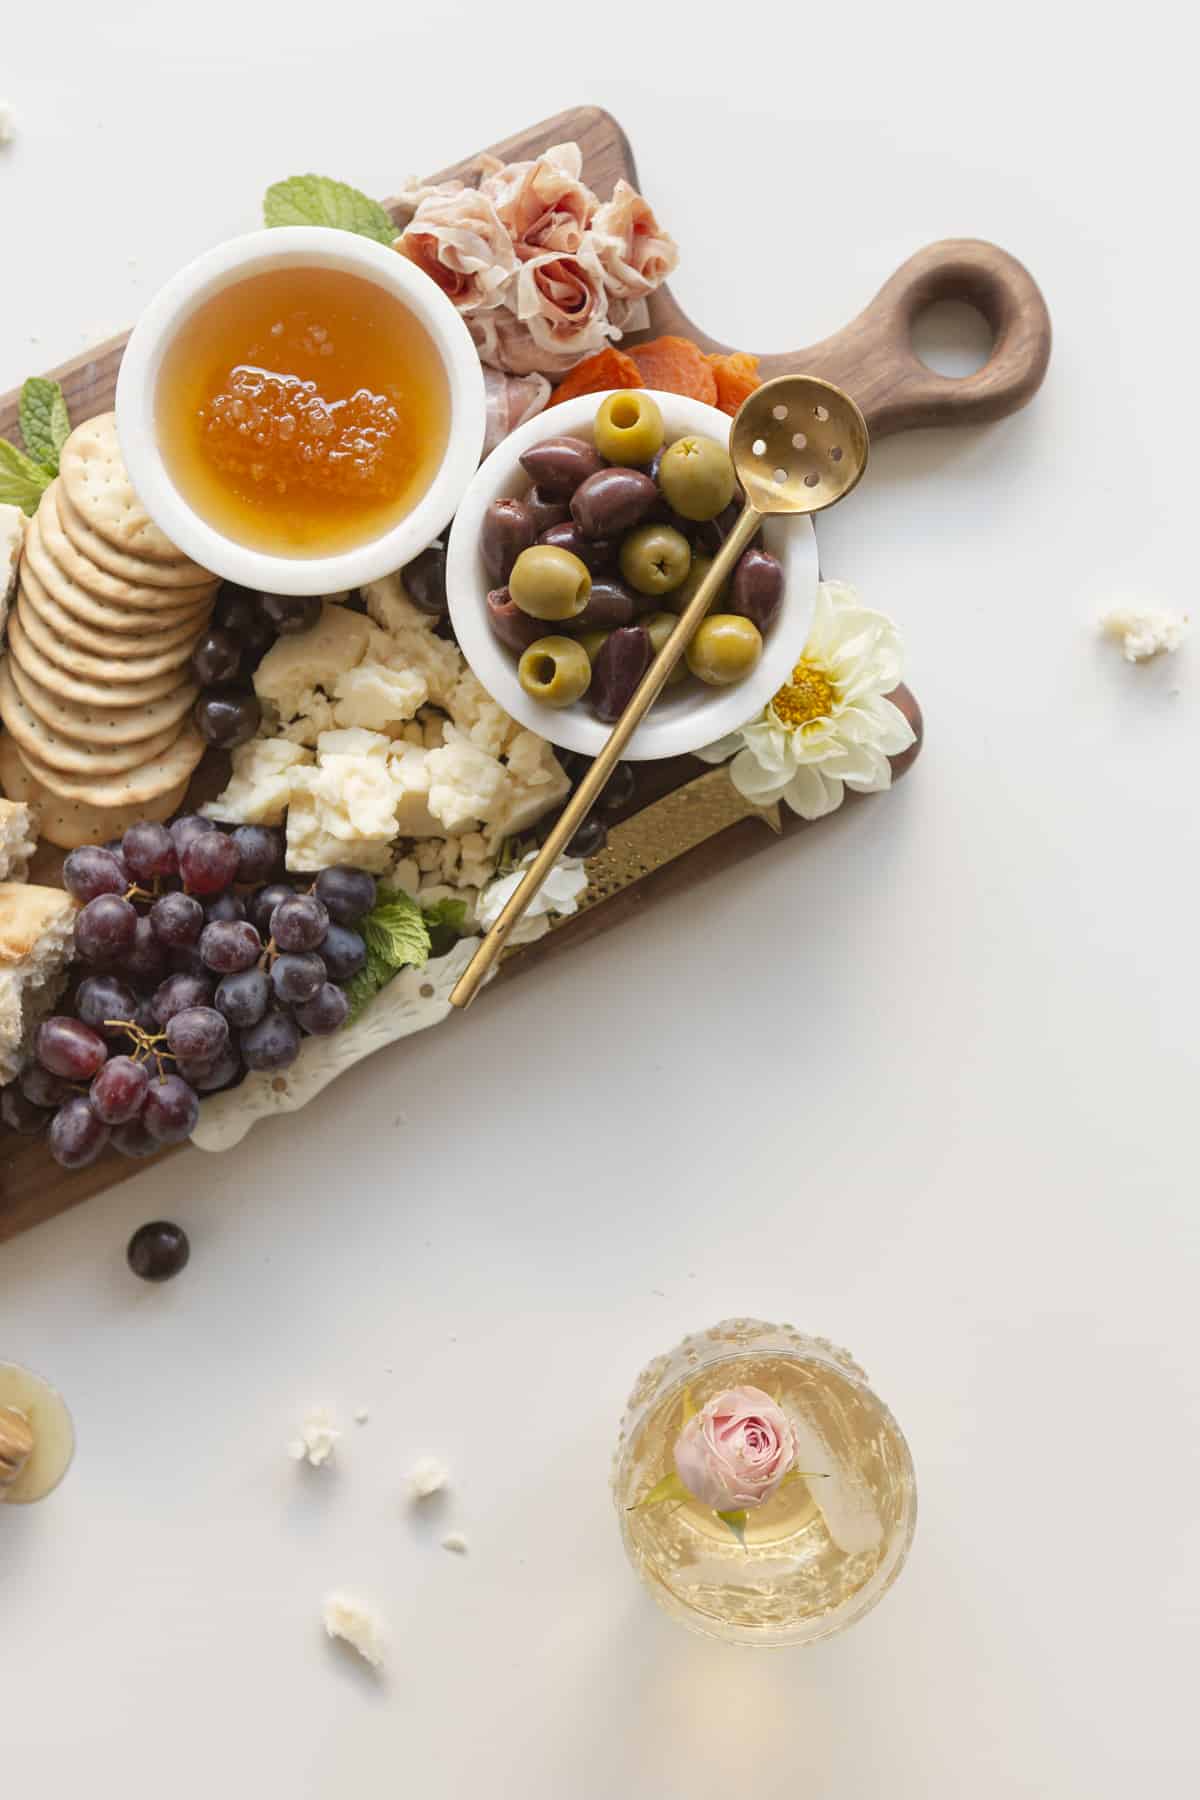
Charcuterie boards will always vary in look or presentation, but to really make yours stand out, I’m going to give you some of my biggest takeaways that will never steer you wrong.
- Big to Small: Place your items on the board from biggest to smallest or most important to least important. This will make sure that there is room for the “heroes” of your board. Instead of filling up the board with less important things.
- Visual Interest: Visual interest can be addressed in a myriad of ways, but thinking about texture, color scheme, and numbers help.
- Texture is good to think about with your different cheeses and bread.
- The color scheme can be important for presentation. If you’re doing something for the holidays, you can pick up on those colors. Or have a blackberry cheese you want to feature? Go in with some blues, purples, and complementary colors like yellow and orange.
- Do things in odd numbers when you can. Like your large items or do 3+ of them. If you have two, try to split them across the board.
- Slice, layer, and fan items for visual interest.
- More is More: With any type of grazing board, more is more. Even if you just have 5 ingredients, just add more of them and fill up the board. It makes for a super impactful look. Leave no empty spaces. You want to make sure the surface of the board (maybe minus the edges) is covered. Get some fillers like nuts, small fruits, popcorn, candies, edible flowers, and herbs, etc. that can be stuck into those spots.
- Easy to Grab: Make things easy to grab. You don’t want people to be manhandling the ingredients. Slice up fruit, add tongs/knives/etc. where you can, cut the stems of the grapes to make little bunches of 3-5 grapes for people to grab and go.
Ingredients
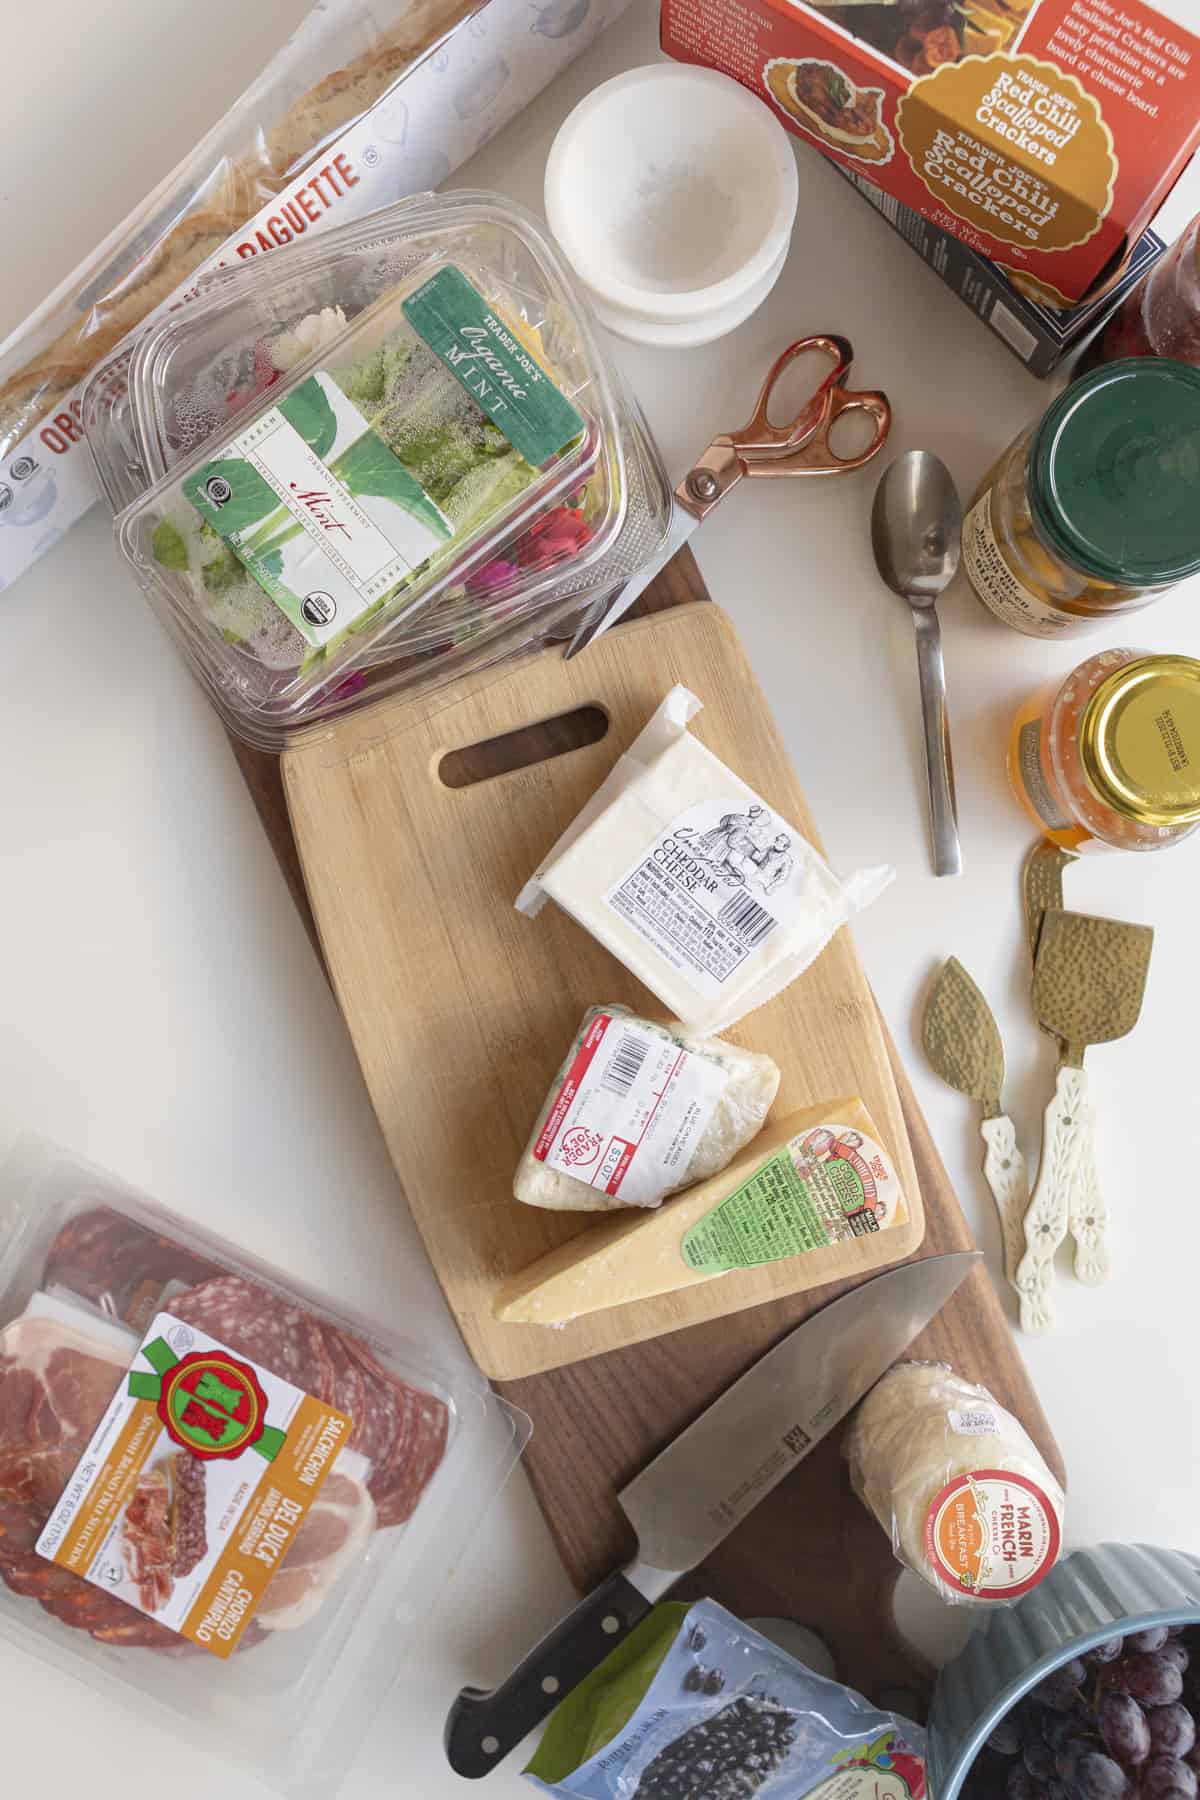
I always suggest using exactly what a recipe calls for, but for something like a board, you can easily make any swaps you want. If you have dietary restrictions or preferences you can do things like vegan cheeses, gluten-free crackers, all veggies instead of fruits, etc. Make this into the board you love by just following the basics. However, below I’ll go over the types/categories I try to use on just a simple board.
- Cheese or Non-Dairy Cheese: I suggest mixing it up with one hard cheese, one soft cheese, and something unique. I.e.: white cheddar or gouda, a wedge of brie or goat cheese, and blue cheese or truffle cheese. Use 2-3 cheeses on a smaller or more simple board.
- Charcuterie "Meats": This is optional for a board like this. If you don’t like or eat meat you can either leave it off the board or buy something plant-based. Some options across the board: salamis, smoked/cured salmon or fish, or even plant-based deli slices. I usually do 1-2 types of this if I add it.
- Bread: I like to have some crackers on hand. Sometimes using different shapes or textures can be fun. You can also use a baguette instead or in addition to the crackers. In total, you should have 2-3 types of bread/crackers for your board.
- Honey and Jam: I always suggest using honey and a type of jam on your board. These are great additions to your cheeses and add some delicious flavor. I love local, raw honey that’s smooth or has some honeycomb in it. As for the jam, play it up depending on the time of year. Maybe citrus in spring, strawberry in summer, and fig in the fall or winter.
- Pickled Veggies: Choose something like olives, pickled onions, or peppers, something that is simple and can be eaten like a finger food on its own. Get 1-2 jars or cans of this type of item.
- Fresh Fruit or Veggies: I like having something fresh on the board. Using something like grapes, apples, or pears are great options. And if you like snacking on veggies instead, try something like carrots, tomatoes, radishes are great options. I usually have 2 options of fresh produce on my boards.
- Dried Goods: You should always have some small dried goods on the board. This is good for snacking, but also excellent to just fill in some of the holes on your board. Which a full board always looks the most impressive. This be dried fruits (oranges or apricots), nuts, chocolate chunks or even chocolate-covered fruits. I do 2-3 types on a board depending on how much free space I have on the board.
- Herb/Edible flowers: To really elevate the look of your board, while truly keeping it simple and easy for you, is to add in herbs or edible flowers. Really these can be from the store or your own garden. The herbs can be anything you enjoy, but I suggest mint for the summertime and maybe rosemary in the winter for presentation and taste purposes. If you can find edible flowers at the store (near the herbs) or the farmer's market, these are also a great option. They should be edible and grown without pesticides because they will be touching your food.
Charcuterie Tools
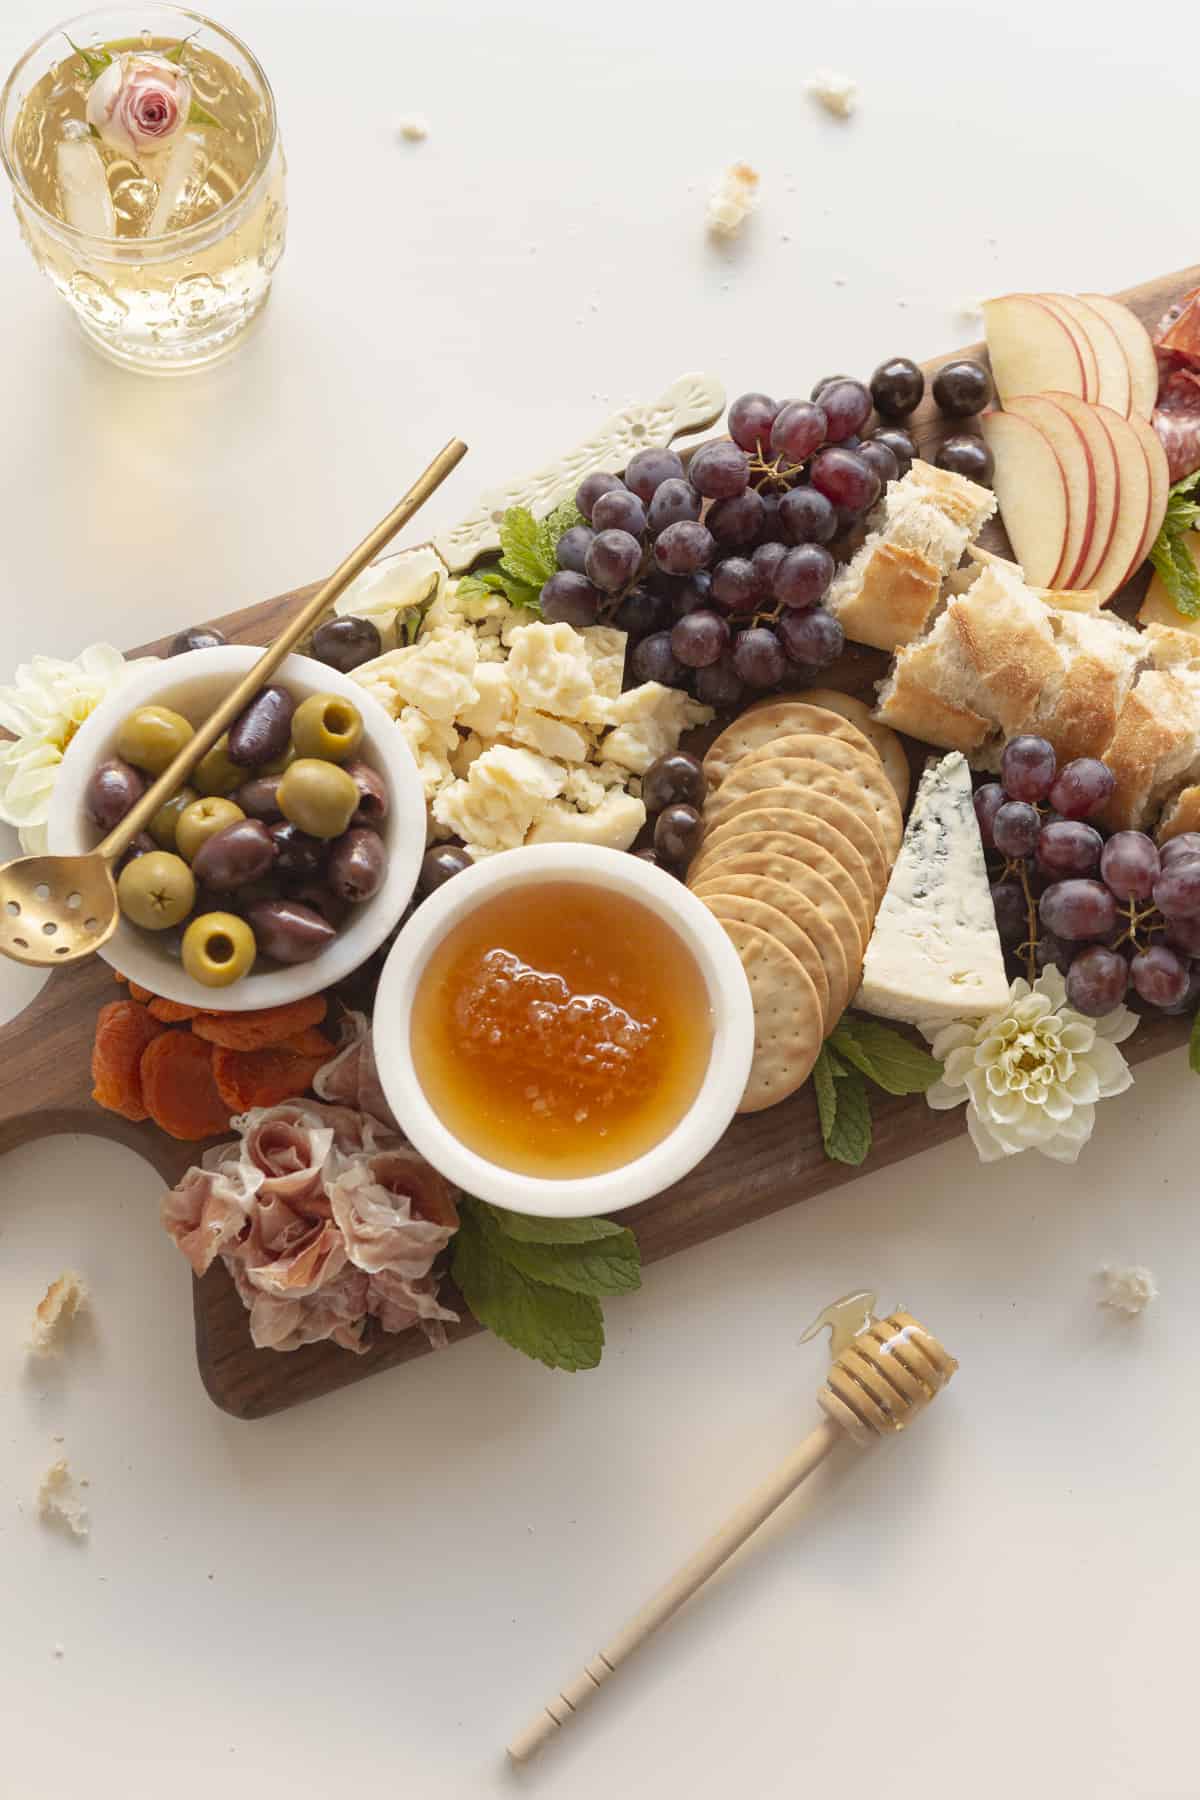
Although you don’t need all the top-of-the-line tools or expensive cheese knives to make an impressive board, here are some of the items I would suggest having on hand while making and serving the cheeseboard.
- Cutting Board: Separate from the cheeseboard. Where you can slice up your cheeses, bread, etc.
- Knives: These would be for cutting cheese, fruit, and bread.
- Scissors: Helpful for packaging and even grape stems and herbs.
- Kitchen Towel: For cleaning knives or cleaning up your workstation.
- Cheeseboard or Platter: The size of your board will vary greatly depending on how many people you are serving or the board you have. Start with something small-medium for a group of 2-4 and work up from there. If you have leftovers, that’s okay. Store them and snack in the following days.
- Cheese Knives: These can be bamboo disposable ones to the fancy little ones from your favorite kitchen store.
- Small Utensils: These can be little honey dippers, spoons for olives, etc.
- Small Condiment Bowls: Can be as fancy or casual as you want. But these are great for the pickled items, honey, jam, and more. I like to have 2-3 on hand.
Steps for a Charcuterie Board
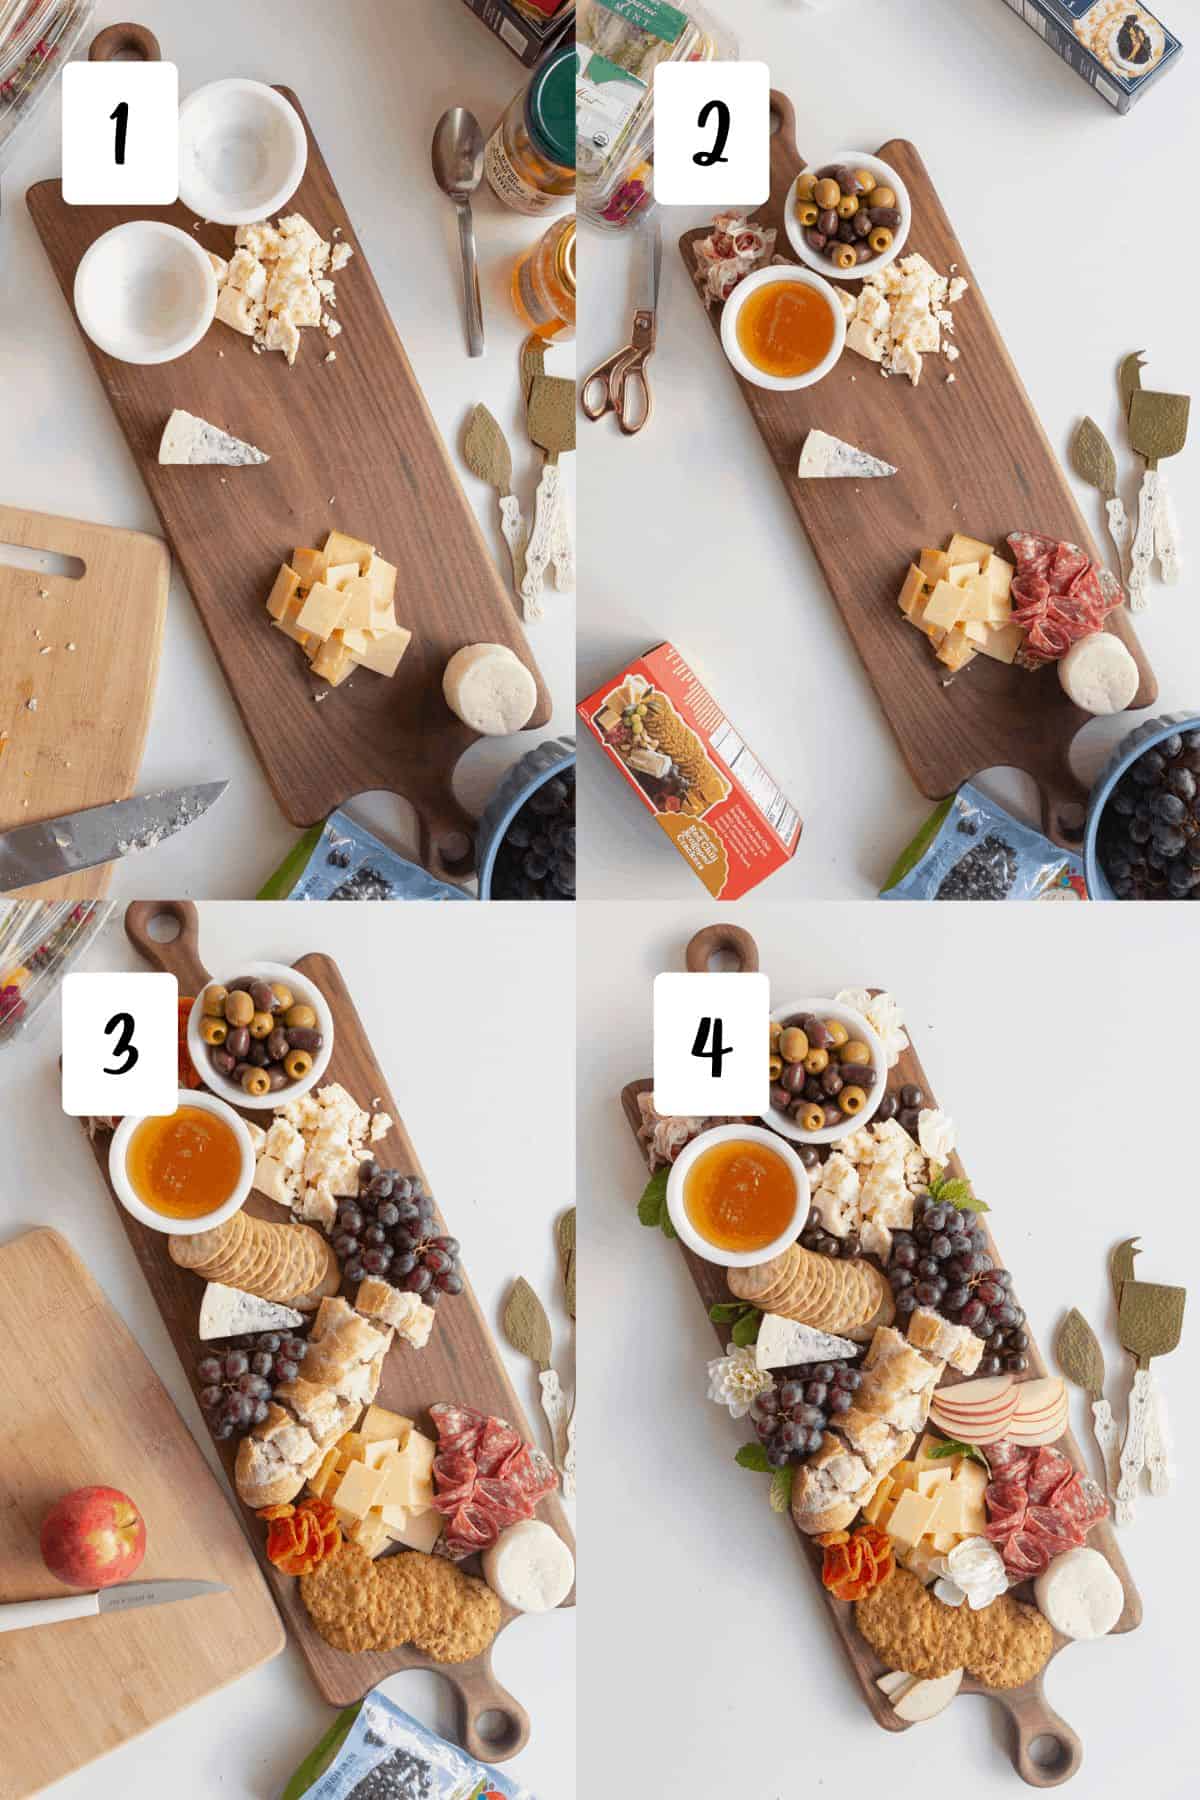
Like I mentioned above, you want to start with the biggest items first. I’ll do a very simple step-by-step below for you so that you can see the order they should go in. But you can also follow the recipe for exacts!
- Place the Largest/Primary Items – Place your bowls and cheese on the board to make sure that the biggest space is filled with pieces that have to be on the board. I also suggest cutting up any cheeses that should be sliced or crumbled to make it easy for guests. Spread them out across the board.
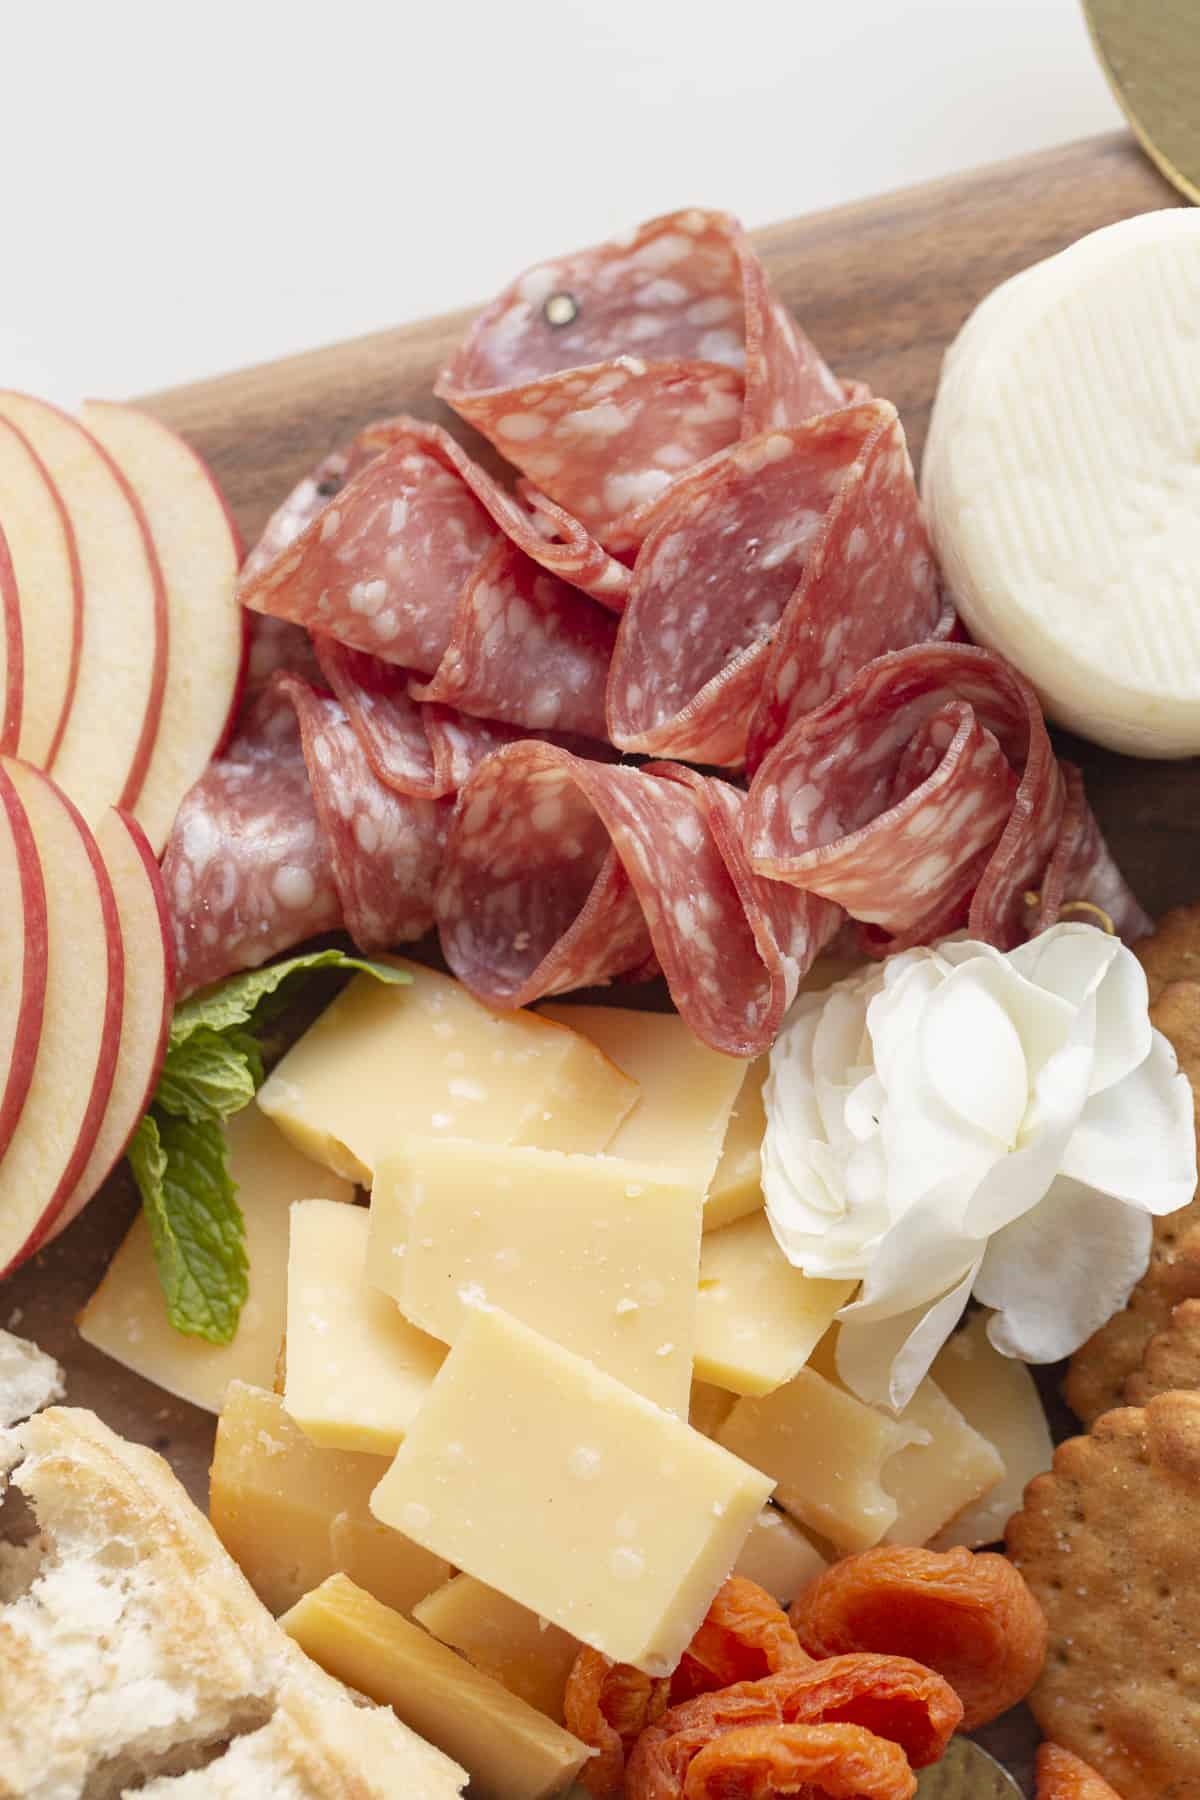
- Add Secondary Items – Fill the bowls with honey and your pickled item, like olives. Then place your items like charcuterie deli meats. I made mine into roses and cones for visual appearance and ease of getting one piece. Place the meats near cheeses to build out from there.
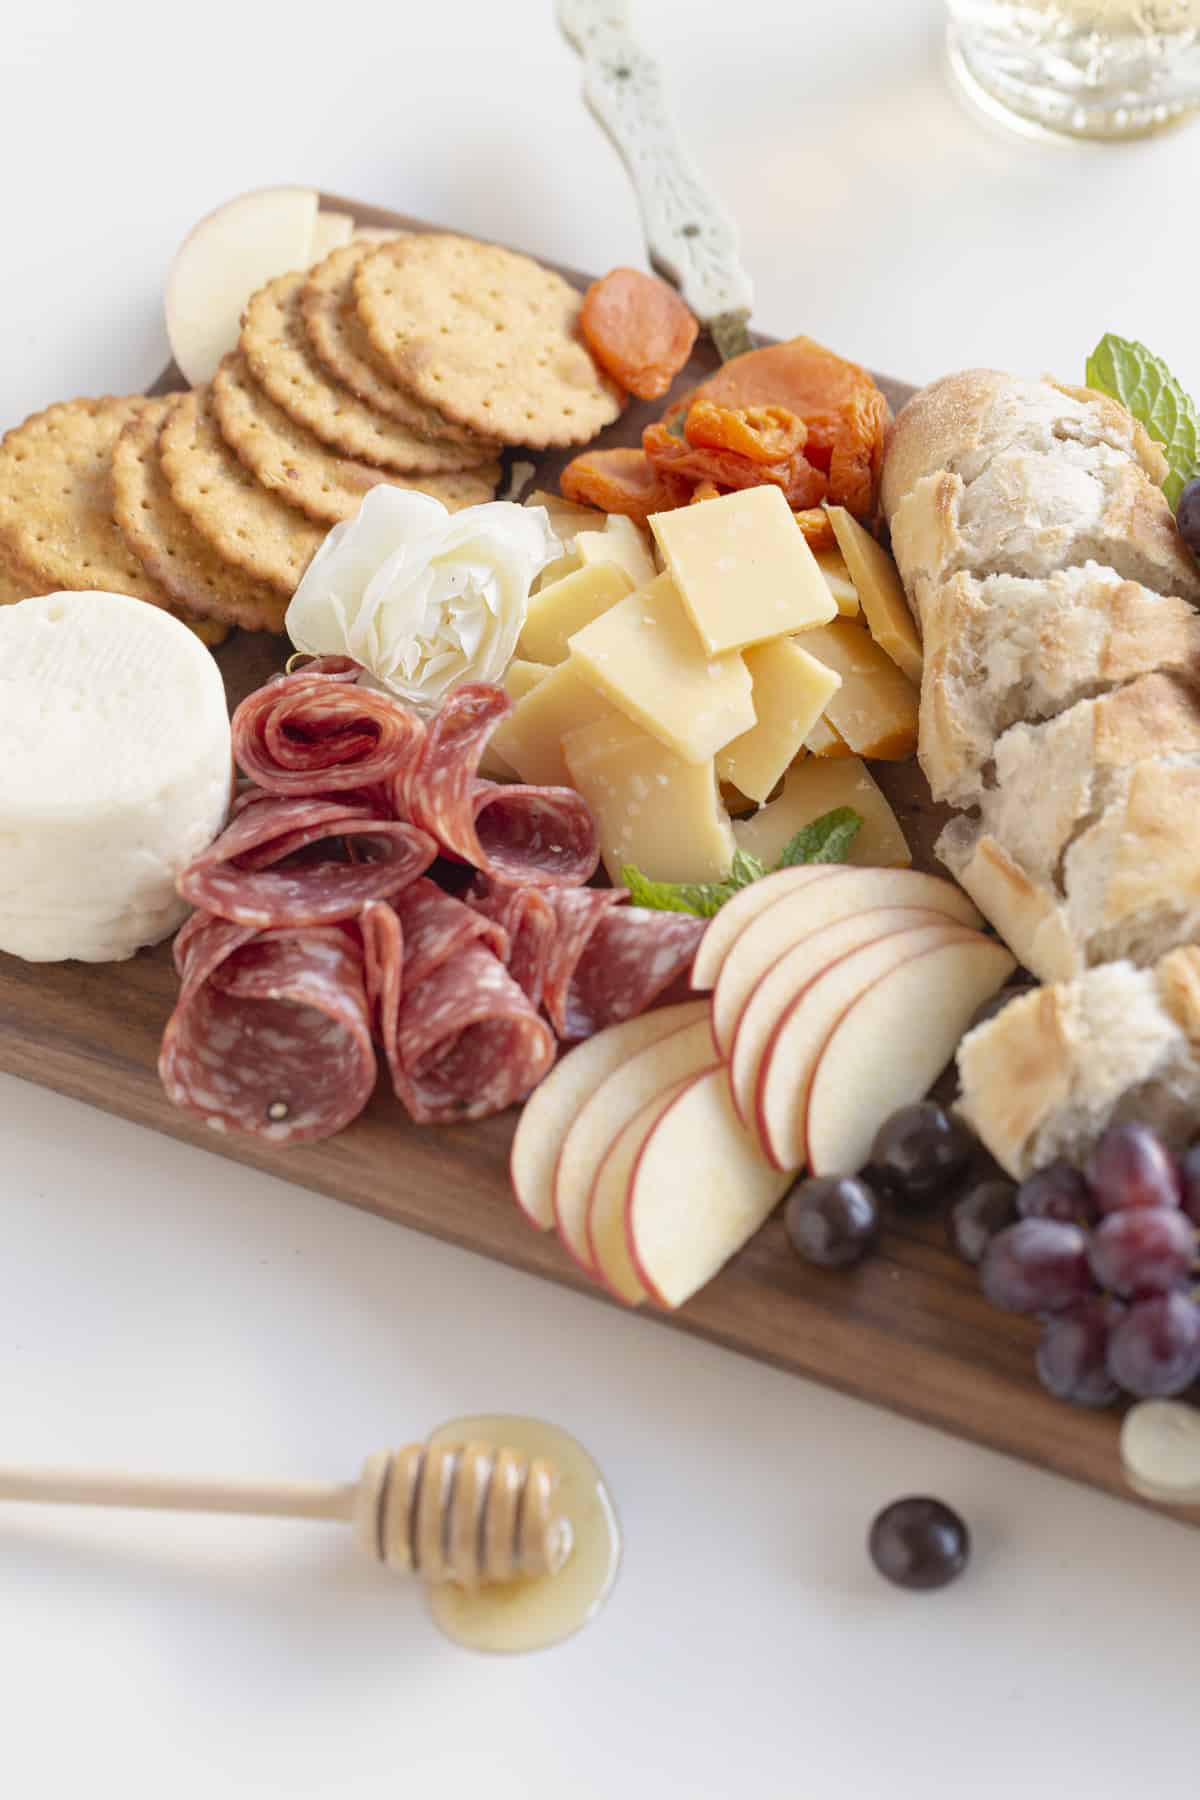
- Place in Tertiary Items – This is where you can add in bread, crackers, fruit and veggies, and dried items. Again, build out from the other areas and separate them into different areas, to spread them out. The dried items I add in last and fill in open spots.
- Finish with Fillers – This is where the herbs and edible flowers come into play. Use them to fill in any open holes on the board. Add utensils and you’re ready to go!
Charcuterie Board Shipping List
If you want your own copy of my shopping list, I have included it below. Download it through the form below! Enter your information, and you will receive an email with the PDF to print out for your next shopping trip.
FAQs
I like to make my prosciutto, or similar meat, into a little rose. You make these easily by twisting from the middle of each piece or even folding it in half length-wise and then twisting from the bottom, making a cone shape. Then fold out the top layers.
You can make a salami rose with a glass, like a wine glass. You want one with a small mouth opening and fairly large, thin circles of salami. Lay about ⅔ of the slice of salami inside the glass, overlapping the other ⅓ outside the glass. Continue to layer salami pieces next to the first piece, overlapping about ½ of the first piece. Continue around the whole rim. You then flip the glass and pop it out. You can hold it together with toothpicks or just leave it as is.
I suggest finding a wine that pairs nicely with the types of cheese you chose. However, some fun cocktails or sangria are also great options to pair with this. I would recommend trying one of these: Watermelon Wine Spritzer, Raspberry Mojito, Peach Sangria. If you are looking for a non-alcoholic drink I would try out this Lemon Mocktail.
Other Boards to Try
- Sweet and Salty Snack Board
- Holiday Cheese Board
- Charcuterie Wreath
- Hot Cocoa and Treat Grazing Board
- Galentine's Day Sweet Treat Board
Love this Recipe?
Did you make this recipe and just love it? Awesome! If you have a quick minute and could leave a star rating and comment below, I would appreciate the support and knowing your feedback! And if you’re over on Instagram, be sure to tag me in your photos!
Leave a Reply