I love a great homemade pie dough recipe. Sometimes I think that buying pie dough will be easier. However, most of the time it ends up super crumbly and doesn't work to my advantage. Then I end up having to make it at home anyways. So, instead, I just start off with this version now.
Below is my quick, homemade recipe for pie dough. This is an easy and quick recipe, not one of the pie crust recipes that have to be refrigerated for 12-24 hours. It's ready to go right away. My recipe is different from some other dough recipes that require multiple rounds of rolling, folding, and chilling. But they are still sturdy and you’re able to remove them from the pan intact after baking.
It makes enough for 2 crusts. You can do either two open pies/quiches or it makes enough for a covered pie, coving the bottom of the pan and the top of the pie. My favorite open pie is my Apple Crumble Pie and my favorite covered pie is my Maple Apple and Cranberry Pie.
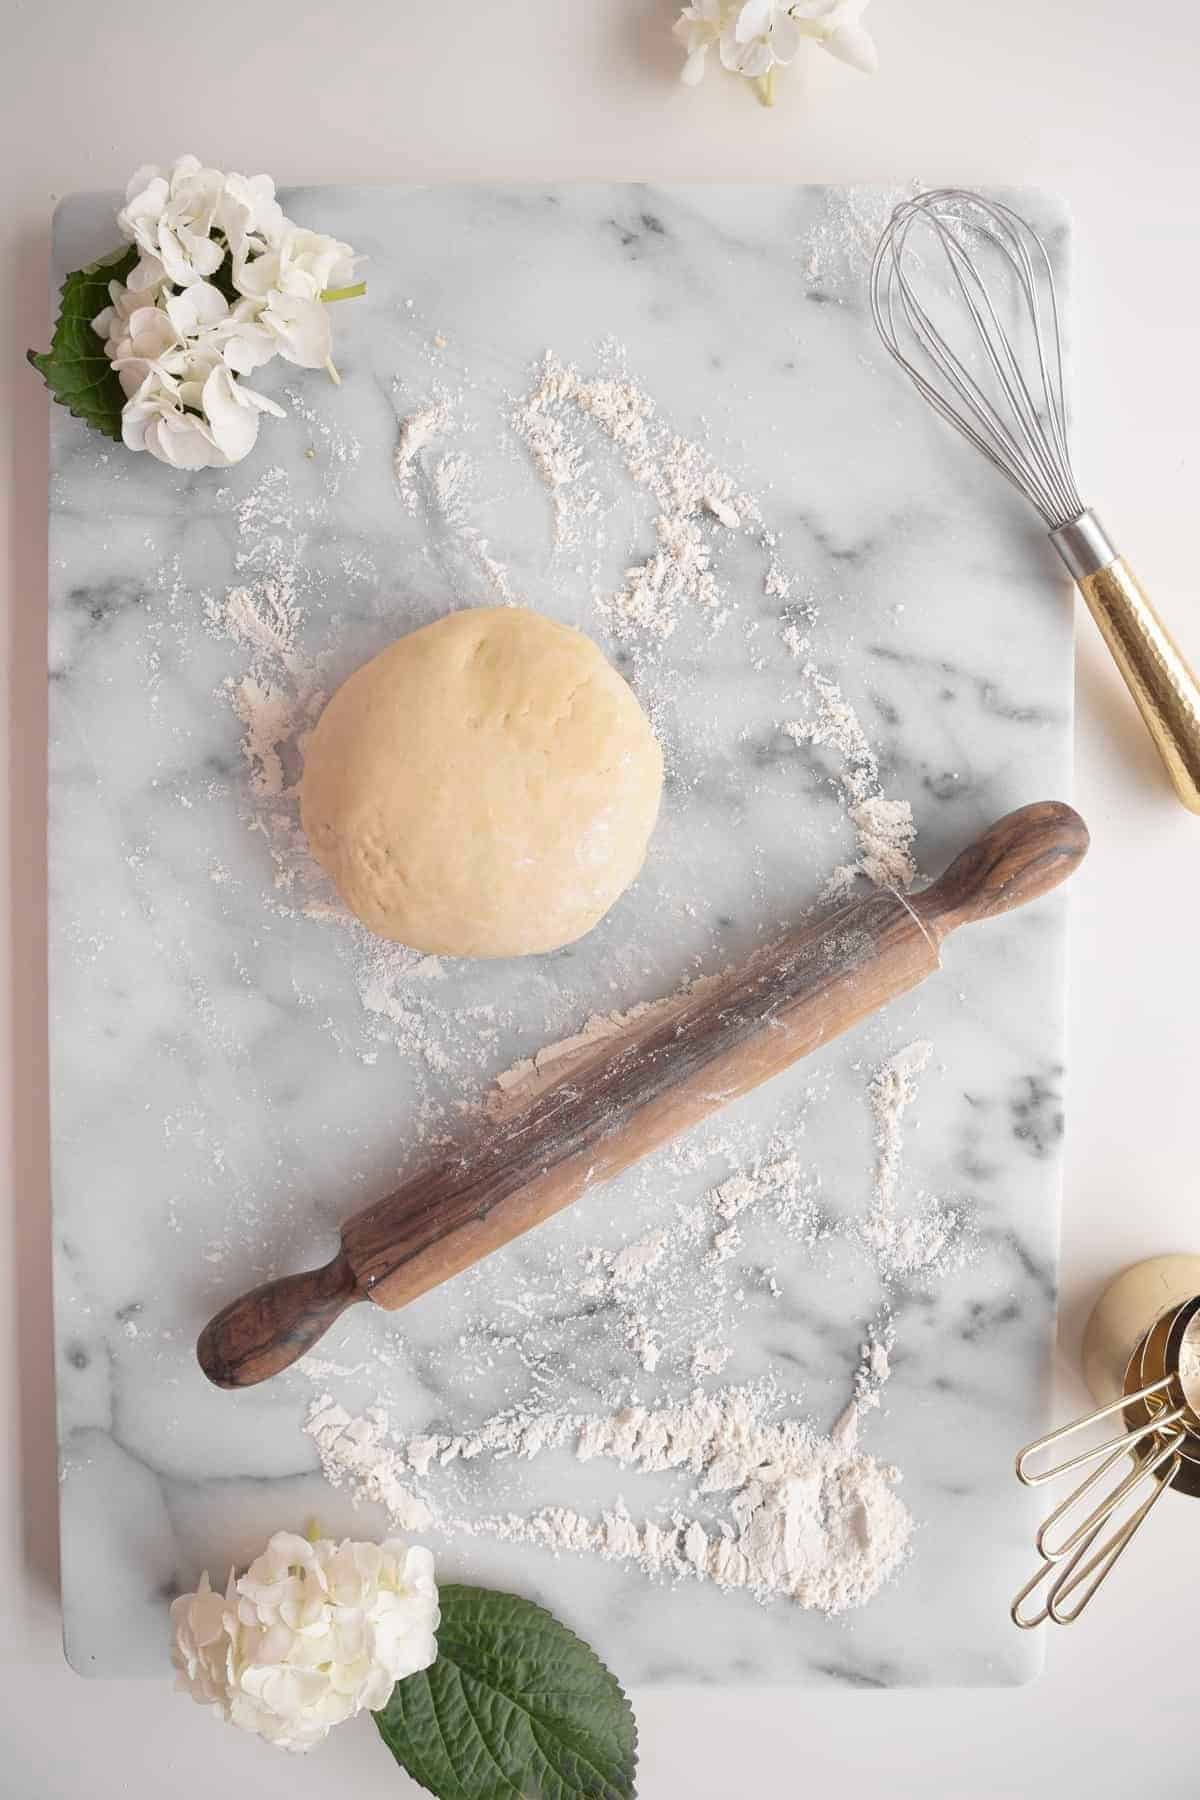
Table of Contents
Easy Pie Crust Recipe
This pie dough recipe is maybe one of the easiest versions out there. If you have trouble with complicated pastry recipes this will not be an issue for you. But it’s also a great recipe to have on hand for the holidays, especially for those last-minute dessert needs.
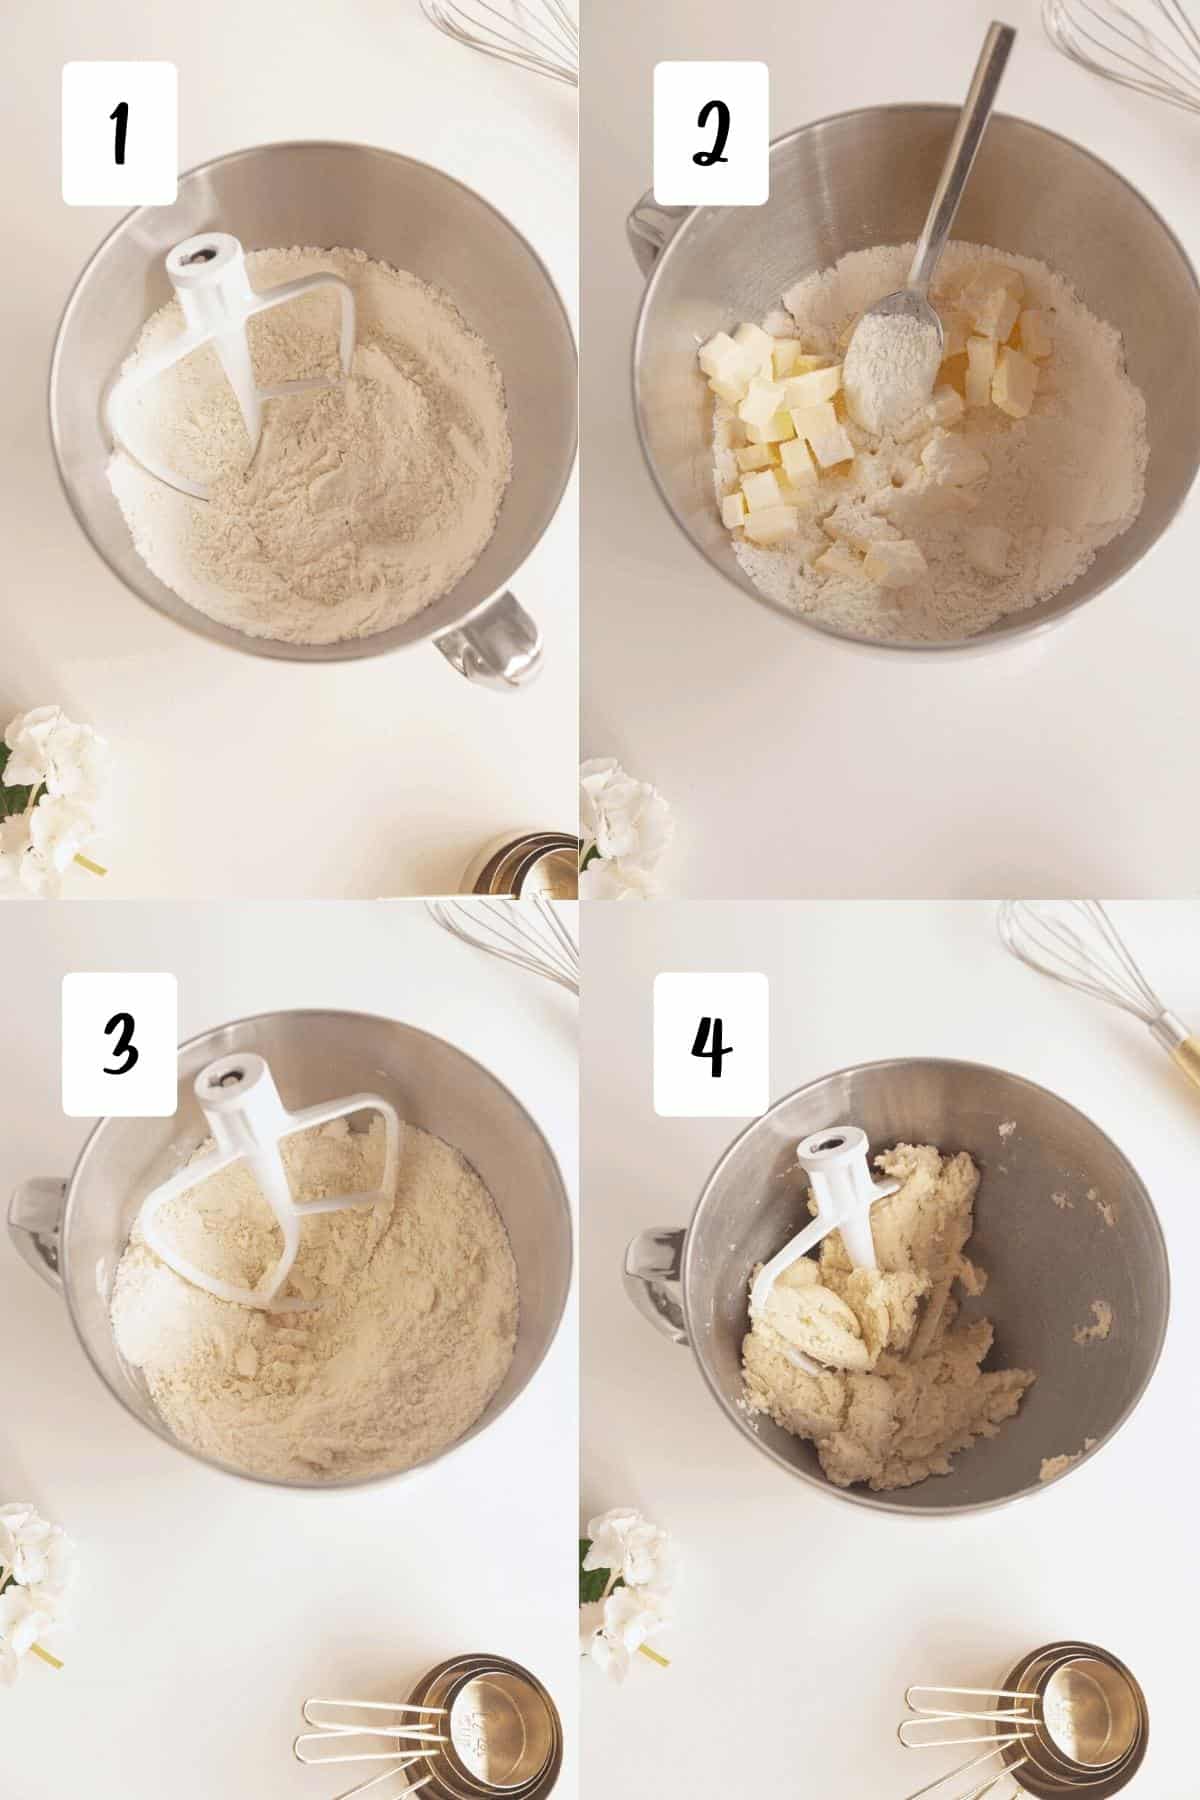
You simply 1) Place the dry ingredients into your stand mixture, mix. 2) Add in your cut-up butter and toss a bit to coat the butter with the flour mixture. 3) Mix until a coarse texture is formed, like sandy. 4) Then you add in cold water until it comes together.
It’s seriously that simple. Simply roll it out and use it right away. Or slice it in half with a pastry cutter, wrap it in cling wrap/plastic wrap or an airtight container, and place it in the refrigerator to use later. And If you need it in a few weeks, you can store it in the freezer for up to a month.
It’s a simple and amazing recipe that is perfect for pies, both sweet and savory.
Ingredients
I always suggest using exactly what a recipe calls for, especially when baking. Baking is a science and switching out ingredients can cause big issues in the recipe. If you’re looking for gluten-free, dairy-free, etc. it would be best to find a different blog with that type of recipe. I am someone with a LOT of dietary restrictions and I can tell you, making substitutions on your own isn’t your best option. You are of course, more than welcome to try it. But this is a word of warning that it won’t turn out as intended if you don’t use the right ingredients.
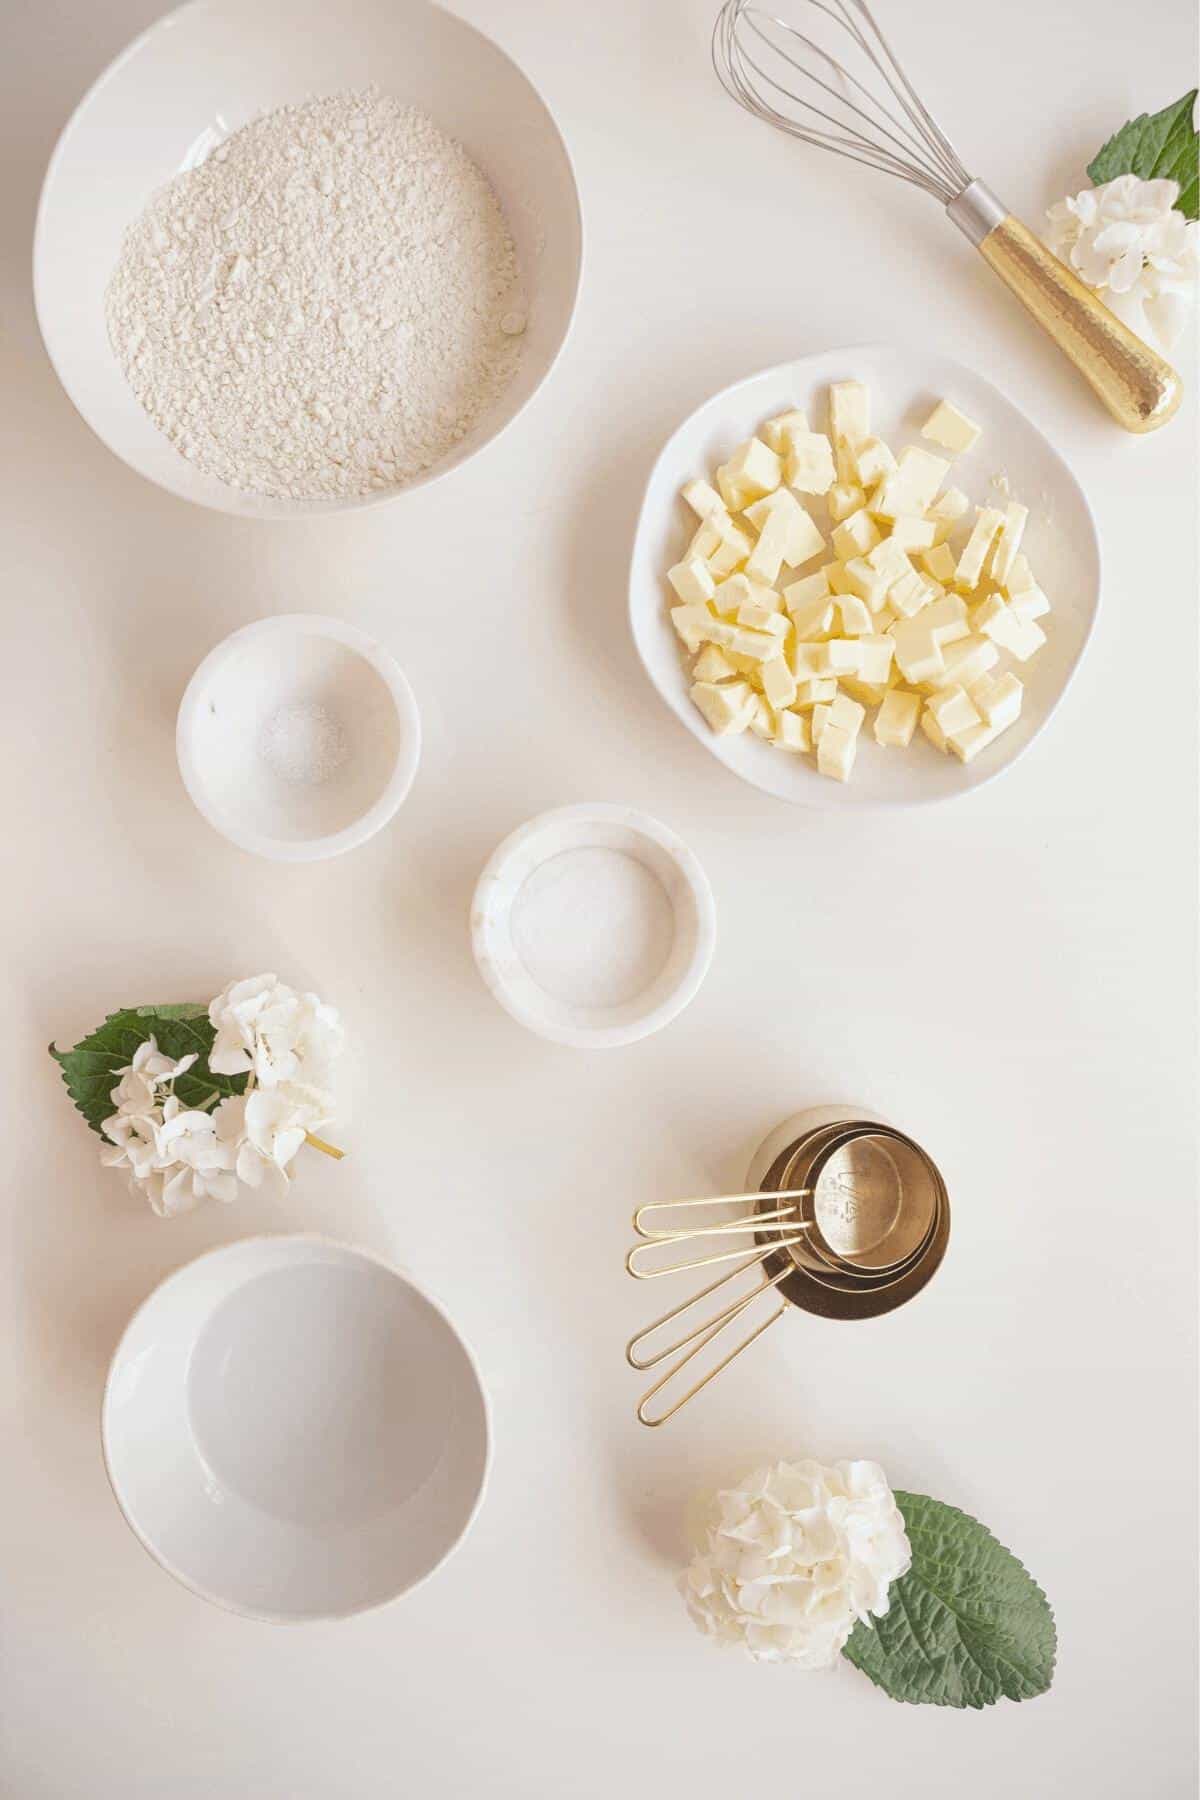
- Unsalted Butter: I never recommend using salted butter for baking. It's good to use unsalted butter for baking because we can add in salt ourselves. This way we can control the amount added. The higher quality of the butter, the better your pie will turn out as there are just a few ingredients. Your butter should also be very cold. You want to cut it up into cubes. And this is much easier when it’s super cold as well.
- Sugar: It’s best to use white granulated sugar. Usually, something like organic sugar has too thick of granules for pie dough.
- Salt: There are a lot of opinions on baking with salt. Some prefer sea salt, some kosher, some table salt. I recommend not using flakey salt for baking, but only for topping baked goods. For this recipe use something like sea salt or kosher.
- Flour: Again, there are only a fewingredients in this recipe, so this one is important to stick to. I use all-purpose flour. You can try a cup-for-cup, but I have not tested it, so I can’t guarantee the outcome. I do recommend sifting the flour to make sure there aren’t clumps in the dough.
- Water: You want to have very cold water. My suggestion is to use water directly from the refrigerator or using ice cold water.
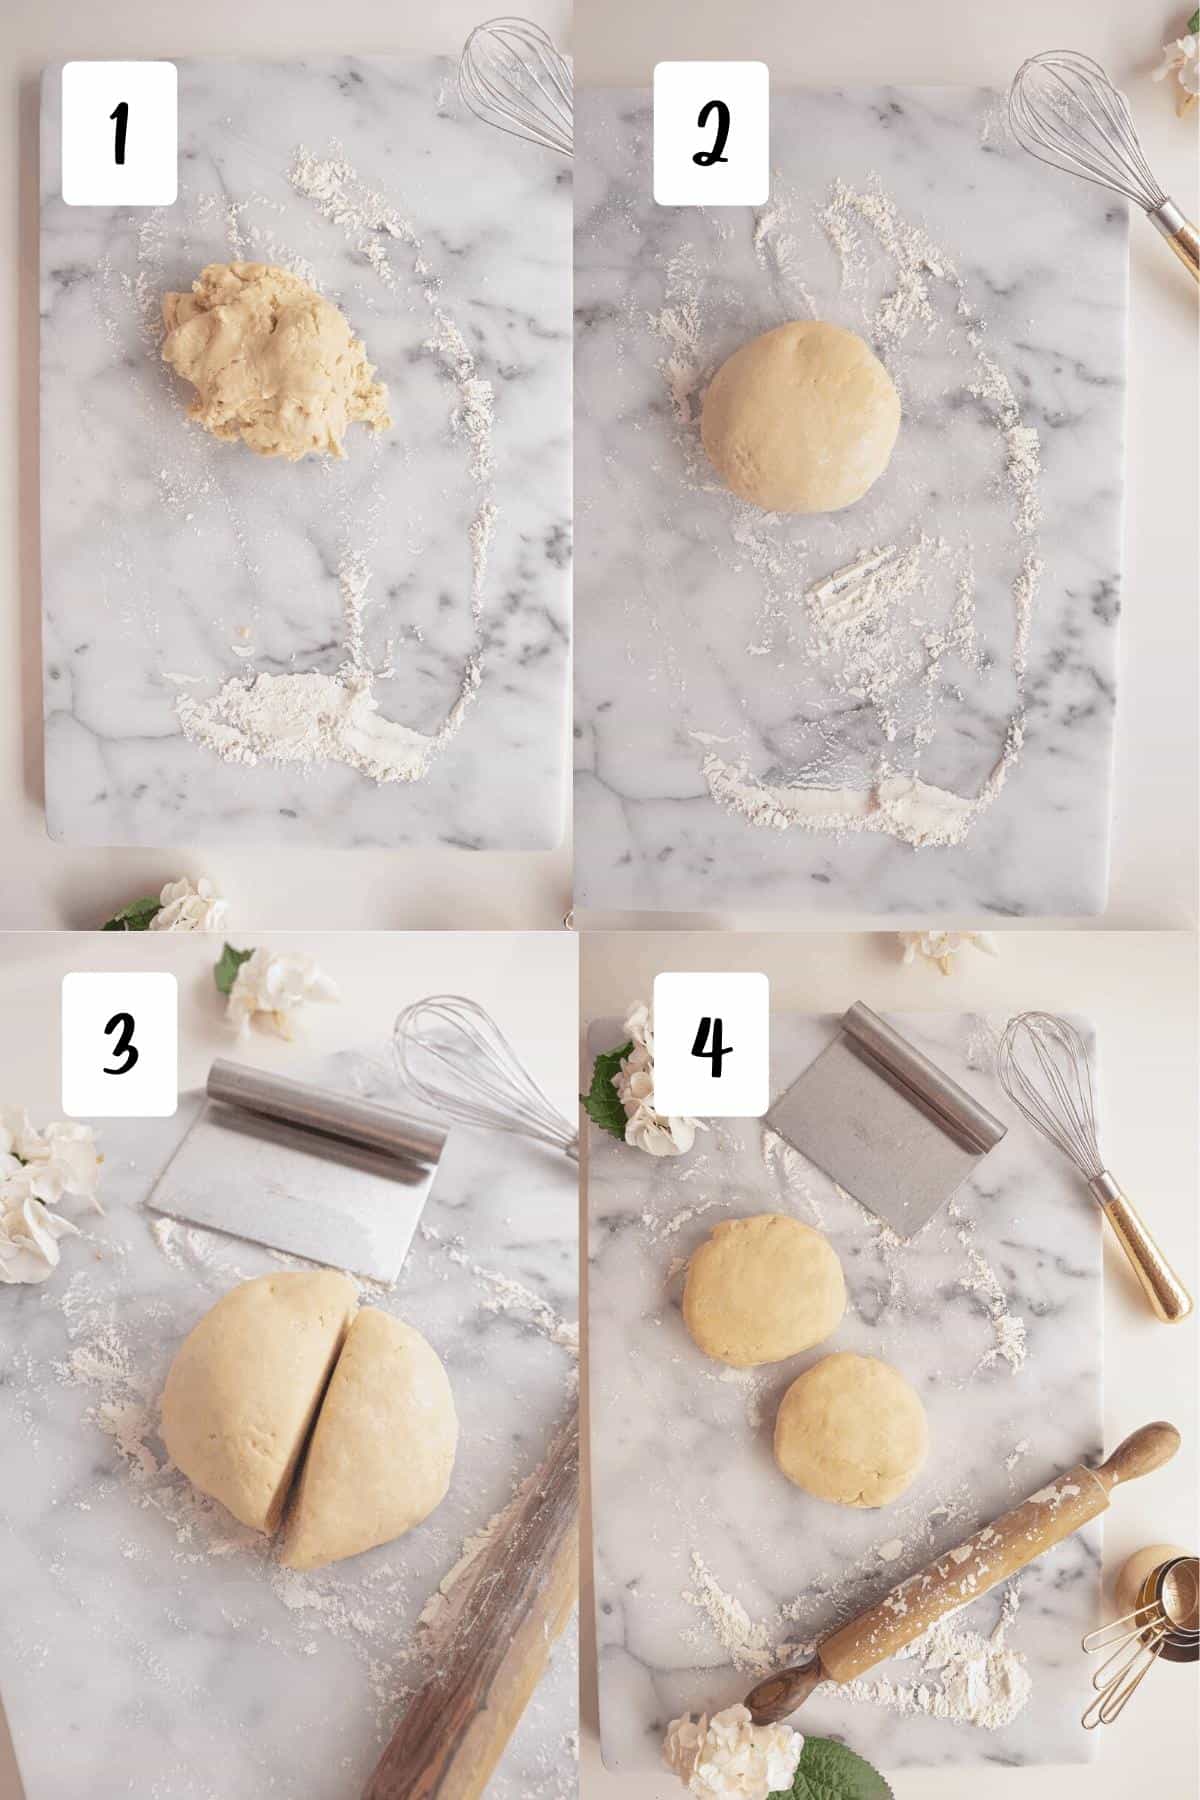
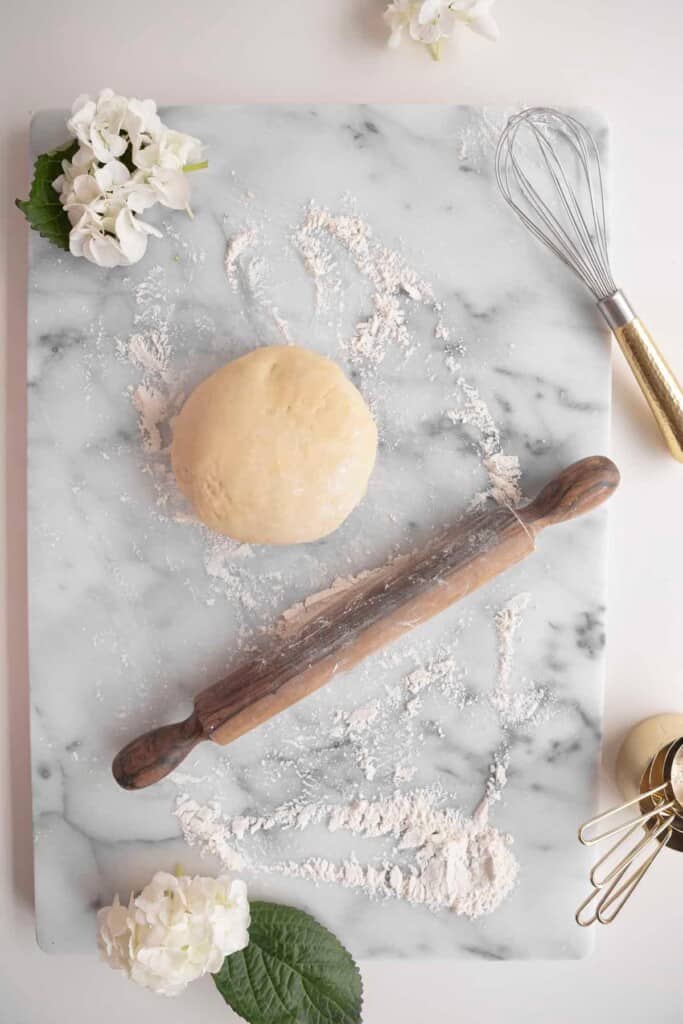
Prepping Dough into Discs
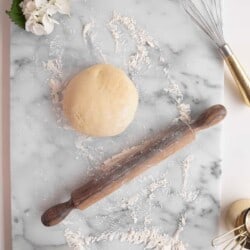
Just a few simple steps once you have made the dough to prep it. 1) You place it on a floured surface. 2) Roll it out and create a large disc. 3) Use a pastry cutter or bench scraper to cut the dough in half. 4) Make those two pieces into discs. Wrap up and place in the fridge or use directly.
Pie Decorations
Pies can truly be so beautiful and so fun to decorate in unique and fun ways. How you decorate them can transform them from a lovely dessert into a work of art. I’ll go over below some of my favorite ways to dress up a pie!
- Lattice top – check out my Mini Strawberry Pies for this design
- Lattice braided top – check out my Maple Apple and Cranberry Pie for this look
- Cut out shape top – check out my Mixed Berry Pie for a cut-out letter design or these Mini Blueberry Pies
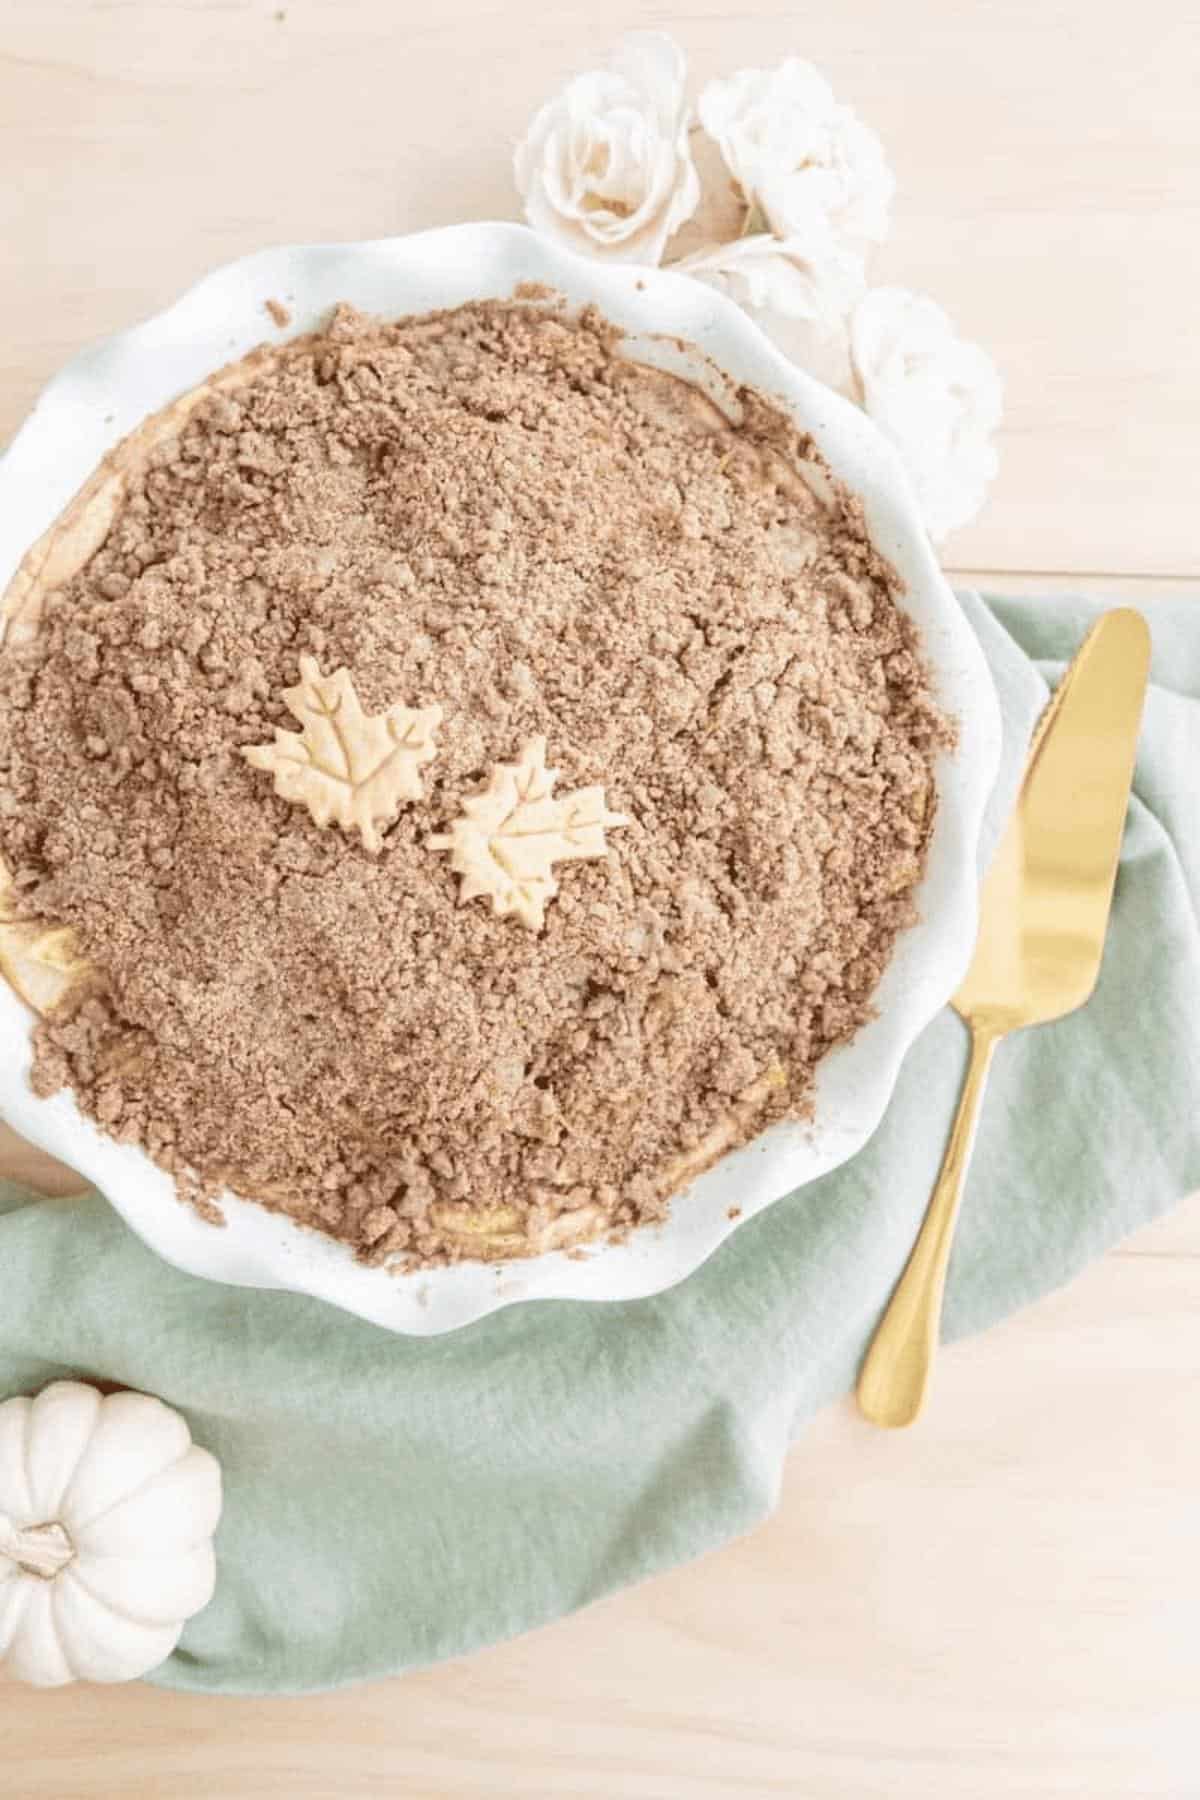
- Crumble top with pie dough shapes – I use this design for my Apple Crumble Pie
- Wrapped fruit pie – I wrapped pie dough around pear halves in these Mini Pear Pies
Other ways to dress up your pies is to add edible flowers, top with powdered sugar, do an egg wash with coarse sugar. Another way to add some pizazz is to bake your pie in a beautiful dish. Some of my favorite pie dishes I've gotten from Anthropologie and Crate and Barrel.
FAQs
Blind baking a pie crust is to bake it without a filling. Usually for a recipe that either needs the dough to be cooked without the filling (think chocolate mousse). Or one that just needs a little extra blind baking before the filling goes in and bakes together. You would see that in my Mexican Hot Chocolate Chess Pie. You add the pie dough to the pie pan, prick a few holes in the bottom of the dough (docking), then use pie weights (I like to line the dough with parchment paper first), and then bake.
Yes! 100% worth it and this recipe only takes less than 15 minutes to make. It may seem simpler to buy the grocery store pie dough, but it almost always ends up being more difficult to use. So instead of wasting time on the store-bought, just start off making this instead.
I prefer using butter over shortening with pie. The flavor of butter and texture it creates is much better. You can also get the richness and delicious flavor of butter in your pie dough, making for a tastier pie crust. It also makes the crust more sturdy and flakier with using butter.
There are a few important things to do that can make your pie crust better: 1) Using super cold water 2) Using cold butter 3) Cutting up the butter into small cubes to distribute it throughout 4) working on a lightly floured surface 5) If you refrigerate the dough, cut it into 2 pieces (one for each layer) and make it into discs. 6) Make sure you wrap up the dough in air-tight containers to make sure it doesn’t dry out 7) Work with cold dough.
You want to make sure your dough holds together. If not, your dough may be too cold or too dry. You may want to give it a few minutes out of the fridge to thaw a bit before trying to roll it out more. If it’s too dry, this might mean it needs to be redone. You could attempt to add some moisture back in with a little drizzle of water, but it might be too far gone and need to be redone.
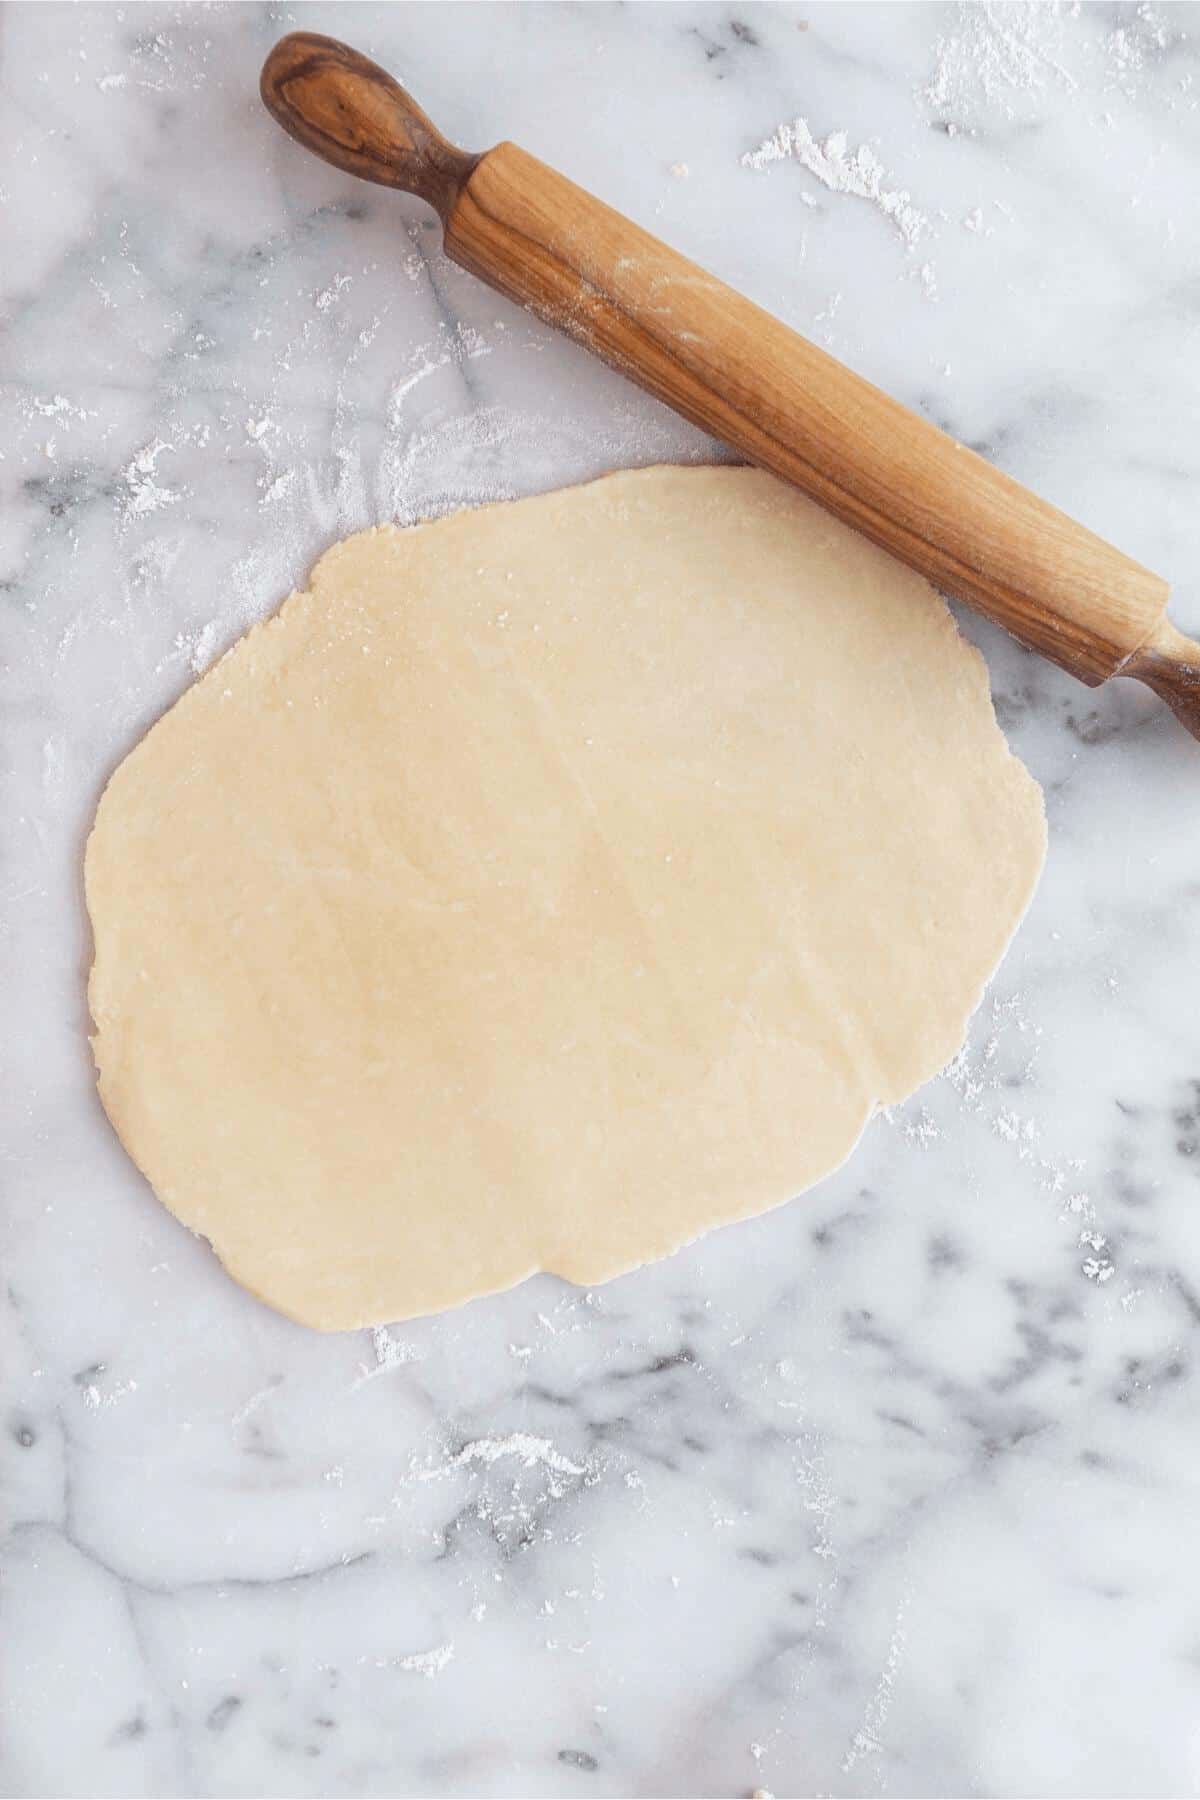
You want to use a clean and dry rolling pin. Then lightly flour the whole pin, adding more flour when needed. Also, if you are still having issues, you can lay parchment paper on top of the dough (and even under the dough between the surface and dough) and use the rolling pin on top of the parchment paper. It will easily peel off.
Pie Recipes to Try
Love this Recipe?
Did you make this recipe and just love it? Awesome! If you have a quick minute and could leave a star rating and comment below, I would appreciate the support and knowing your feedback! And if you’re over on Instagram, be sure to tag me in your photos!
Equipment
- Stand Mixer
Ingredients
- 2½ cups flour
- 2 tablespoon sugar
- ½ teaspoon salt
- 1 cup butter cut into ¼ inch cubes
- 6 tablespoon of very cold water
Instructions
- Mix the flour, sugar, and salt in a standing mixer with the paddle attachment. Once mixed turn off the speed and add the butter, use a spoon to coat the butter with the flour mixture. Turn onto speed to 2 and let mix until texture is like coarse sand, about 1 minute. Then at a speed of 4, slowly drizzle in the cold water. Let it mix until the dough forms and comes together, should be a minute or less.
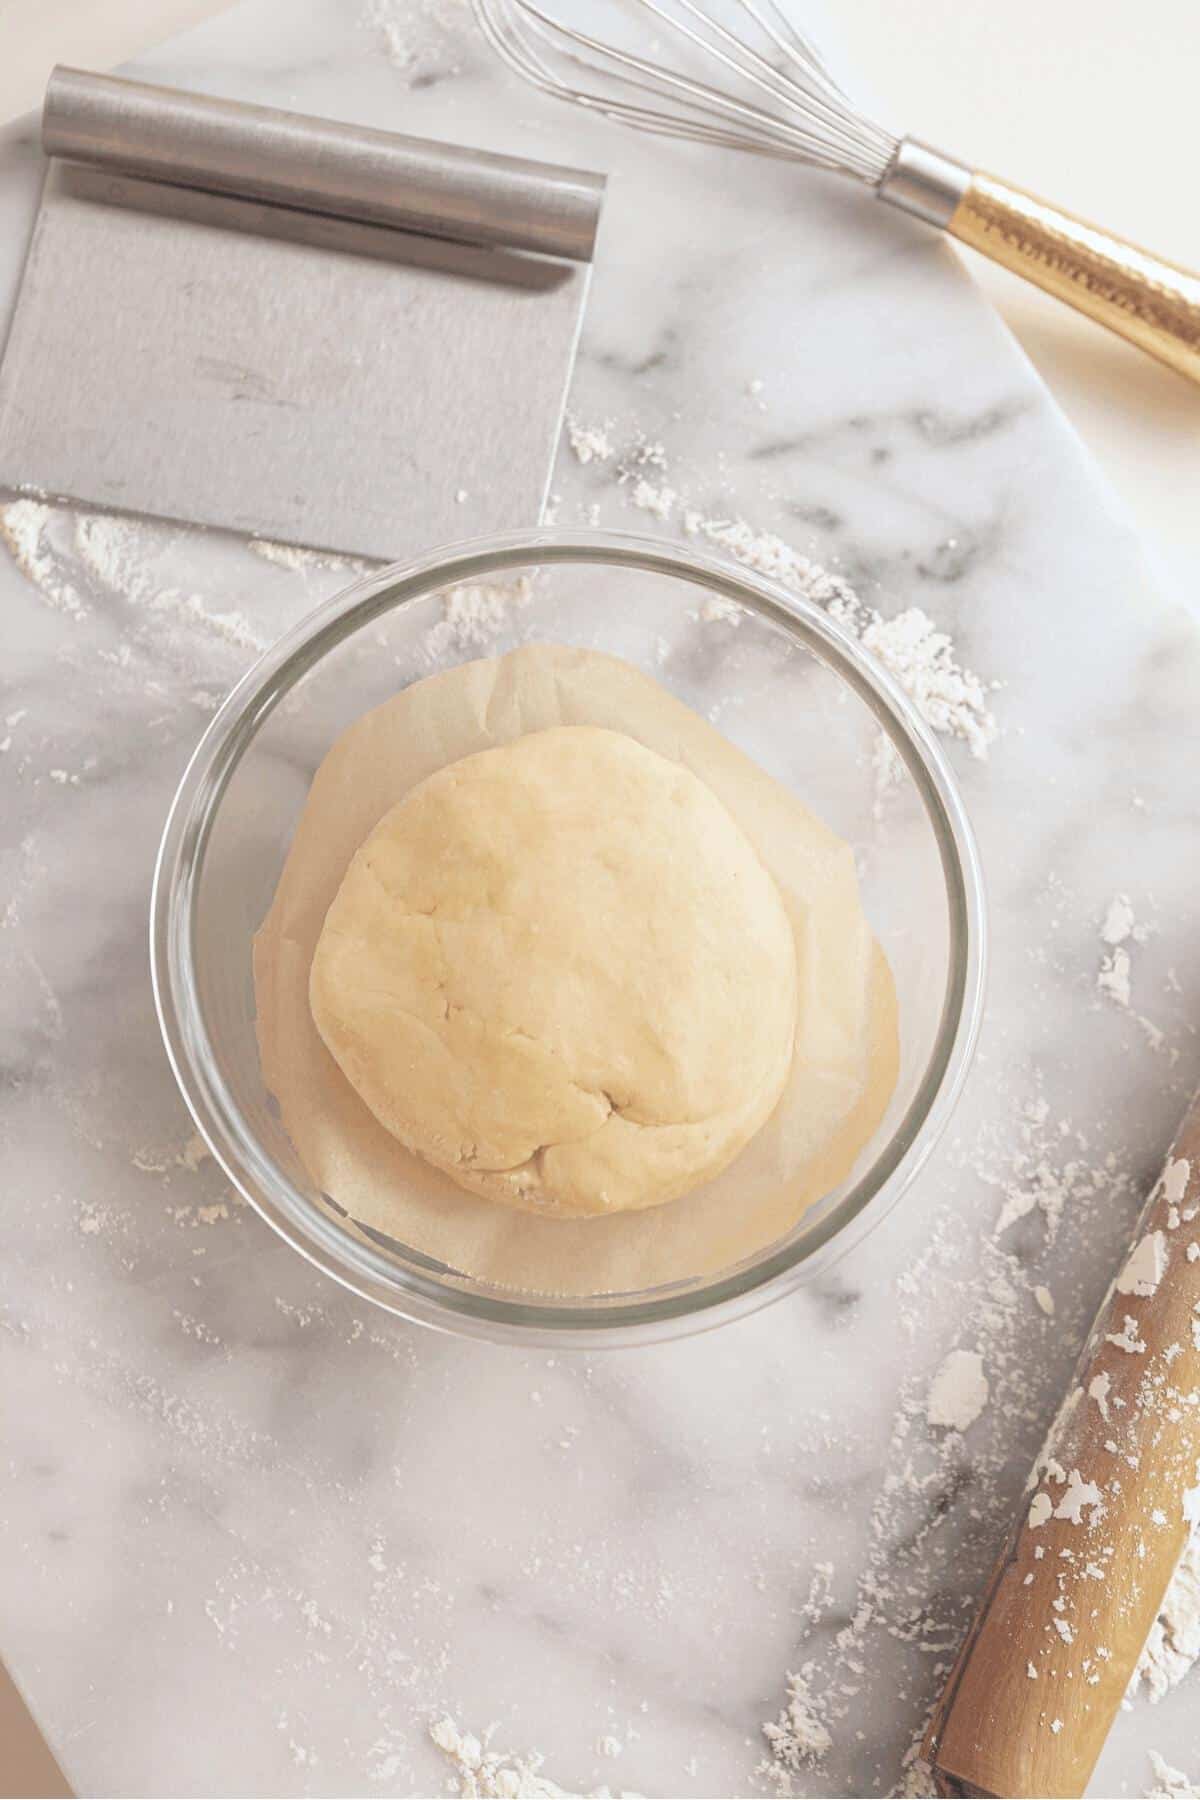
- Move dough onto a floured surface. Knead the dough and create a ball, then slice in half and wrap with cling wrap or parchment or bee's wrap and place in the fridge. This dough does not need to stay refrigerated overnight, and will be ready whenever you need it.
- You can also freeze the dough in a an air-tight container and keep until ready for up to one month.
Leave a Reply