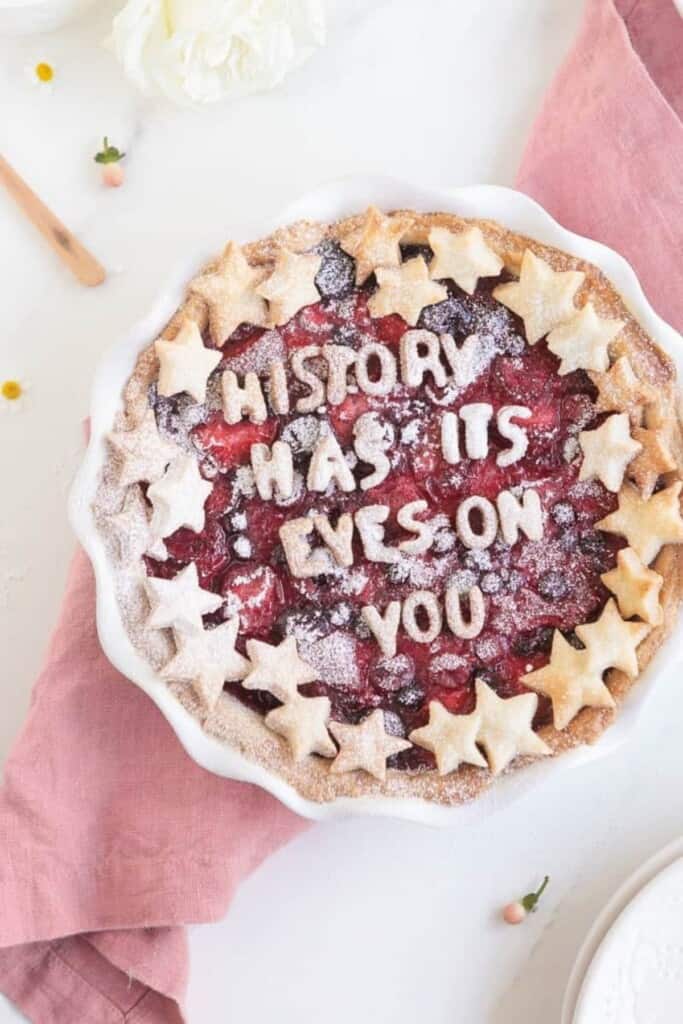
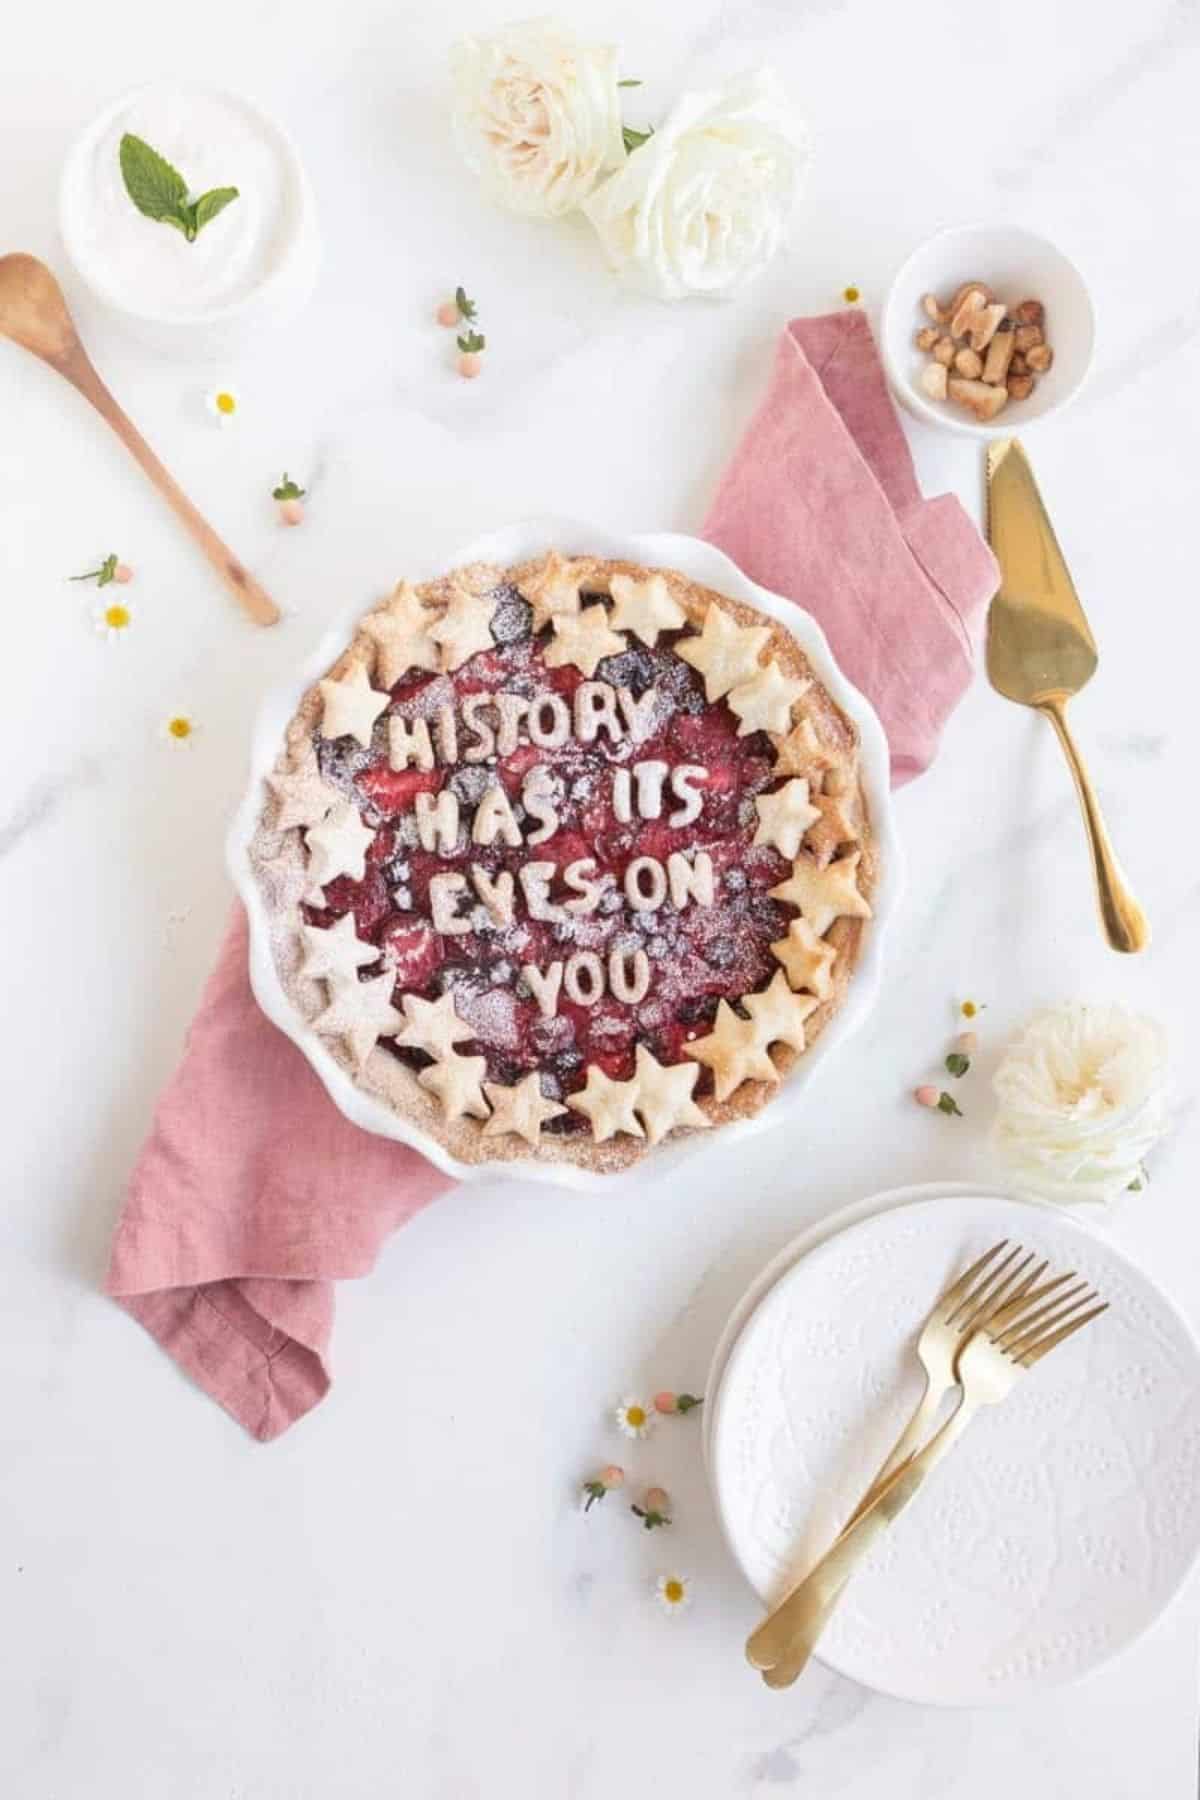
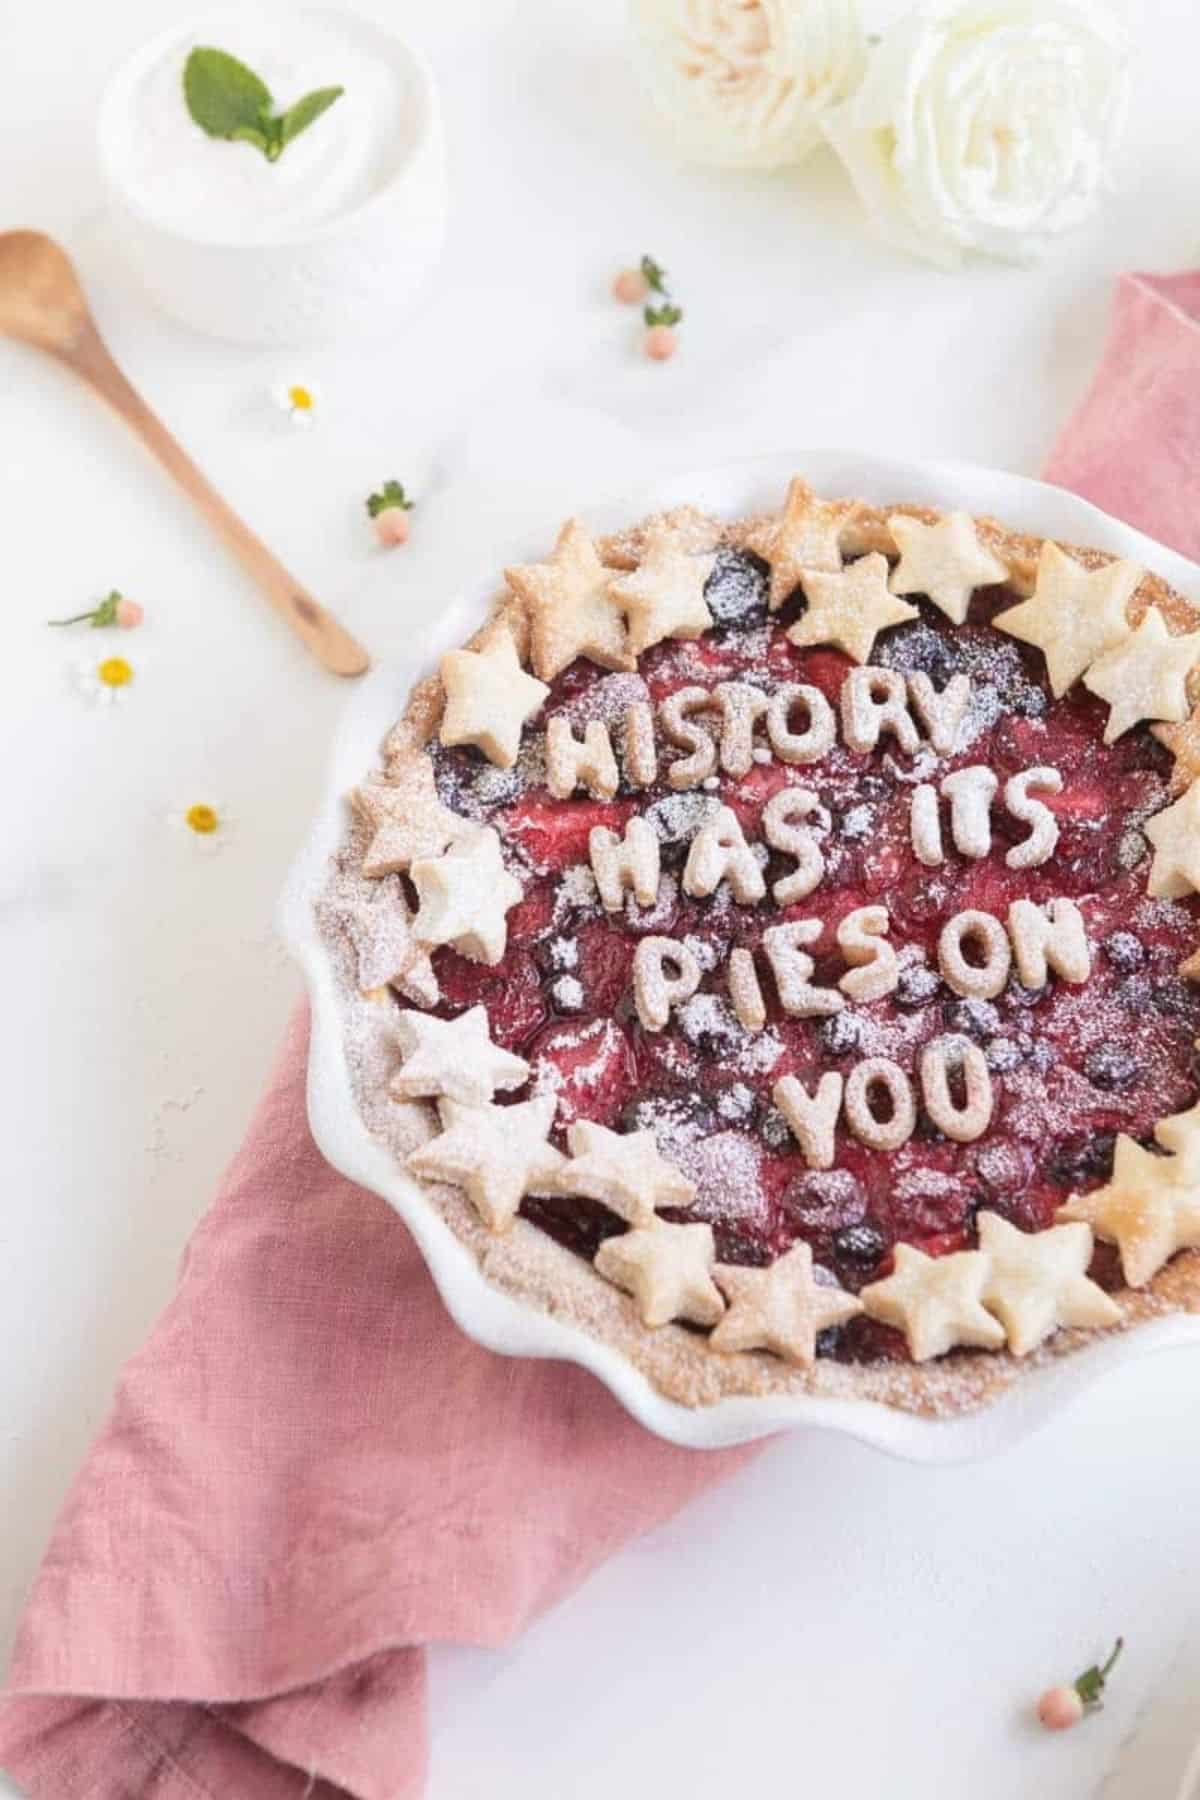
History Has Its Eyes/Pies on You, Mixed Berry Pie
I wanted to create this pie because:
1) I really missed pie. My friend and I were just talking about how much we miss Thanksgiving...so a summer pie seemed like a good idea.
2) With Hamilton coming out this July on Disney Plus I thought this would be good timing!
3) I'm not really celebrating 4th of July this year...this seems like not such a good year to celebrate some atrocities we're seeing and more coming to light in our country. So, instead this quote really speaks to how we should all be right now. We need to be doing our best for the future...because "History Has Its Eyes on You". We all need to be doing our best in this pandemic: staying home and masking up when we have to go out. And we need to be doing our best to educate and unlearn and to become anti-racist. To do our responsibility and get involved locally and nationally on politics, voting each election. We all need to be thinking about environmental changes we could be making to save the work. We all need to do our best to better the future.
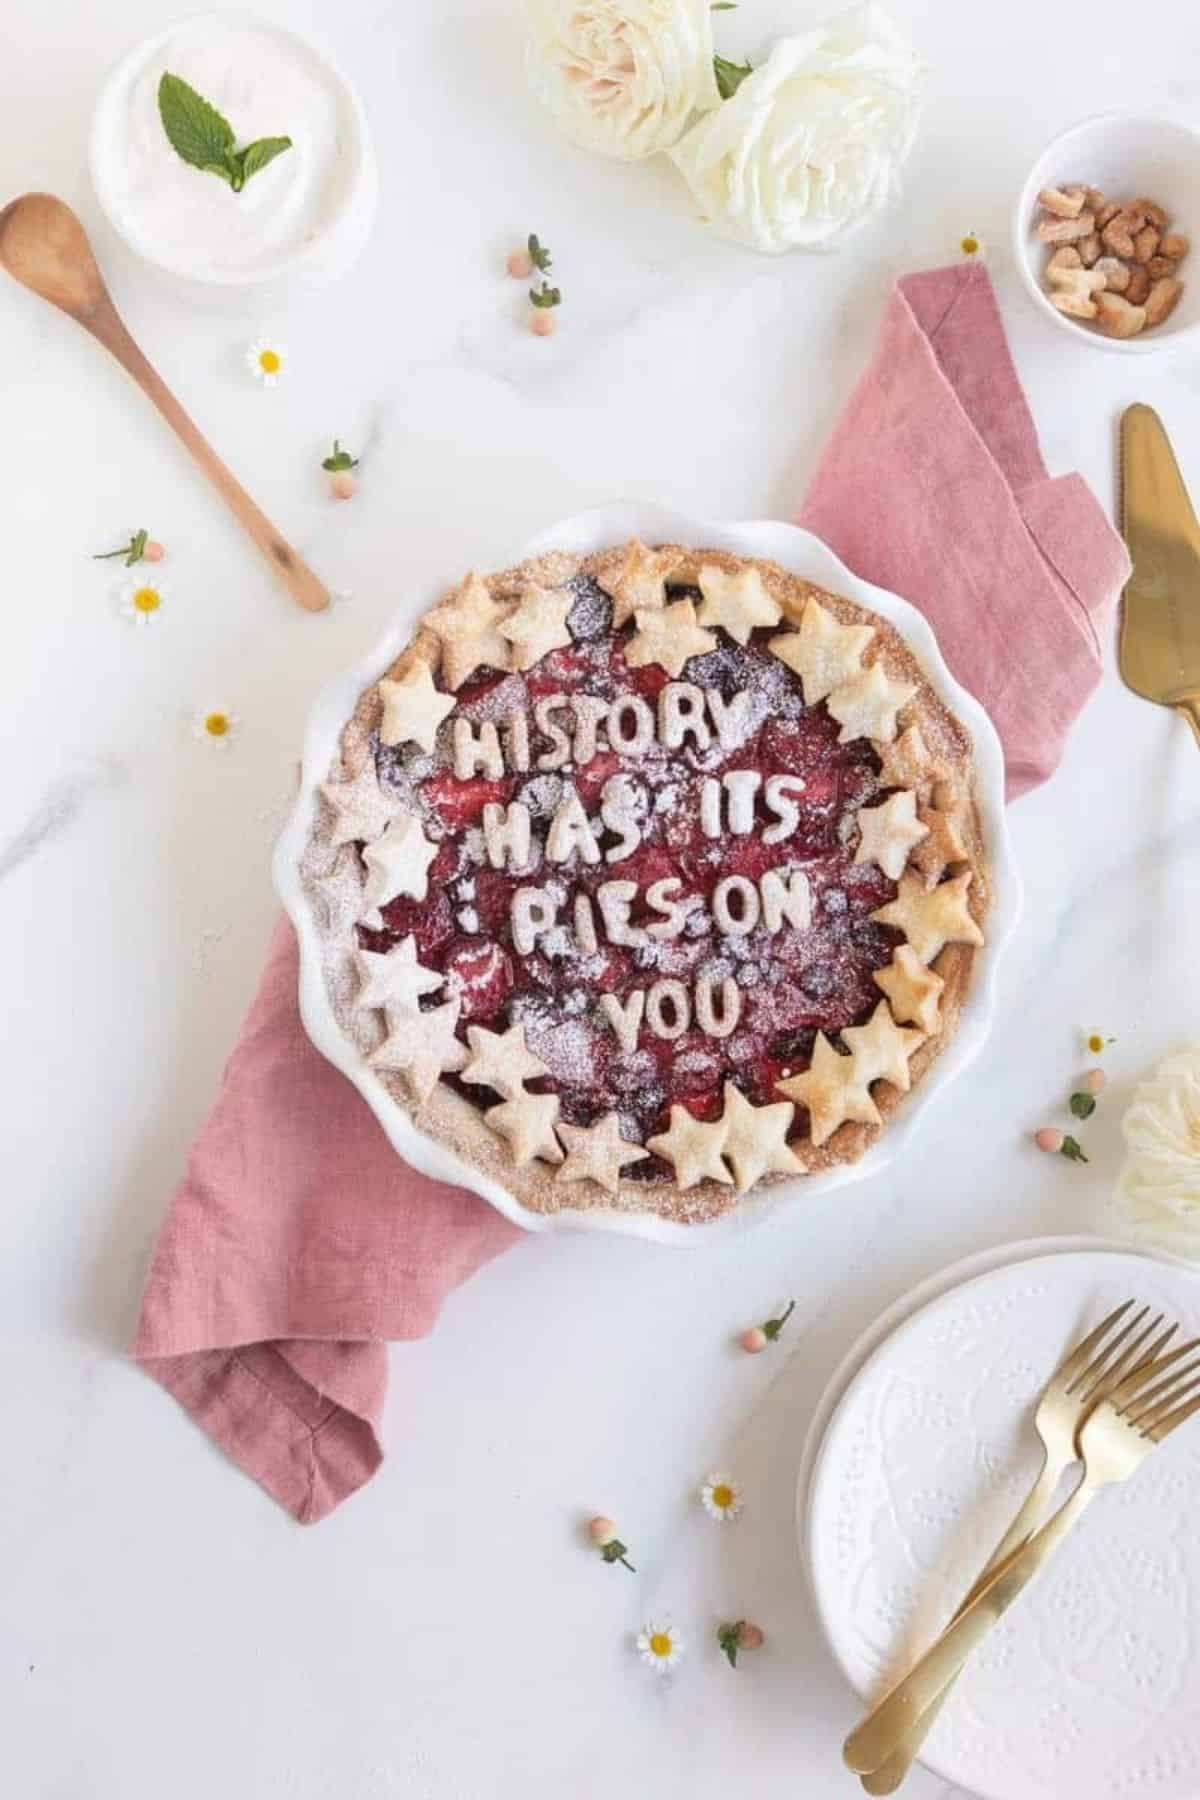
Also, I did make this 2 ways...History Has Its Eyes on You and History Has Its Pies on You...because you know...puns!
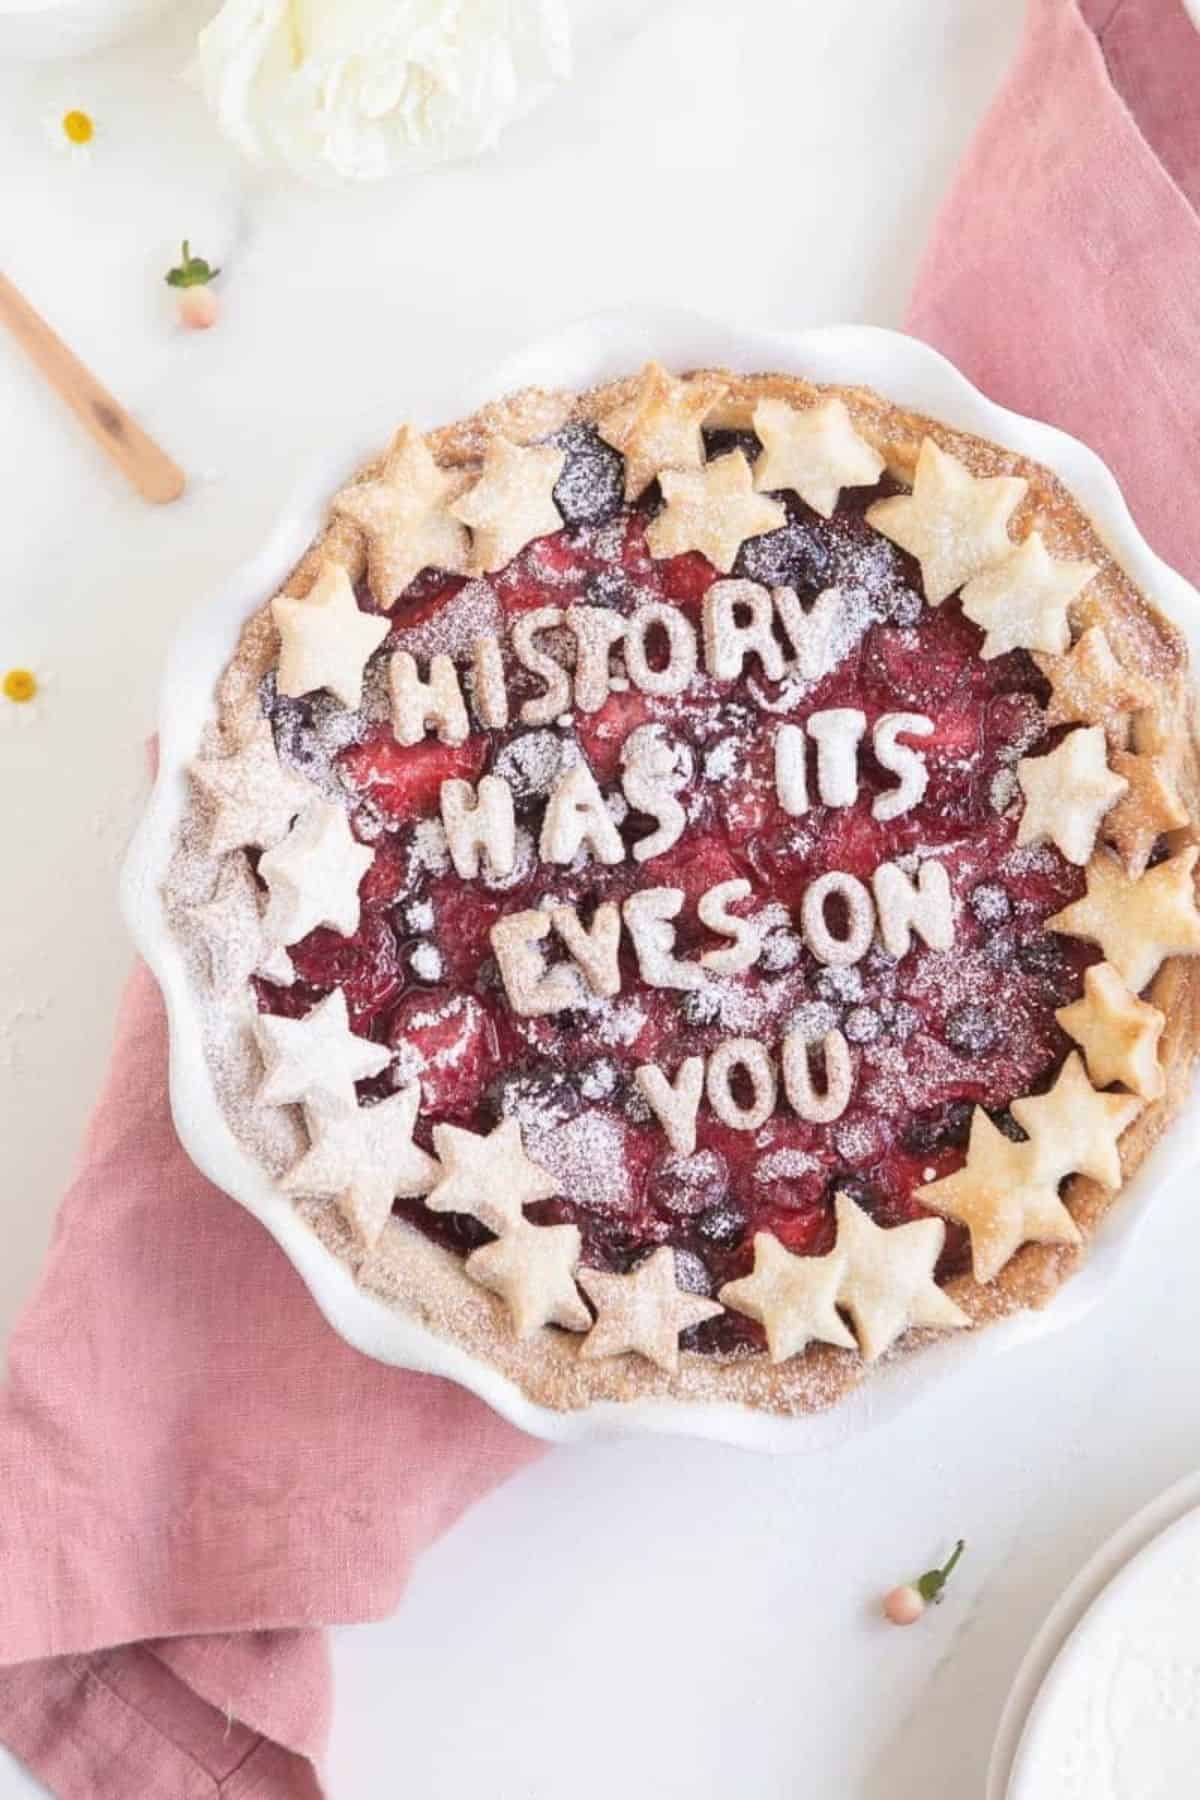
Table of Contents
Tips on Ingredients for Mixed Berry Pie
Usually the better the ingredients, the better your food will taste. However, I do like to go over which ingredients that you should have the best quality for. And the others that I think don't need to be the highest quality. But again, if you don't have access to high quality, it will still be delicious! I also let you know if a certain type or style is best.
These are the items that I have notes for. Whether it's to buy the best quality or if there are specific notes about that ingredient.
- Butter: I always suggest using a good quality when it comes to your dairy. This always helps the texture and flavor profile. I personally am a big fan of butter like Kerrygold or Tillamook butter. Unsalted always!
- Flour: this can be a little controversial for SURE, but I am always a believer in a good all-purpose flour. Some just don't hold up the same. You will notice a change in flavor if you're using a good quality...or even just one that hasn't expired/been sitting in an open bag. Always be sure that once you open a bag of flour that you seal it back up thoroughly or that you place it into sealed jars.
- Frozen or Fresh Berries: you can use either, but you need to make sure you thaw your berries. There are two ways to do this: either overnight in the fridge or on the counter. If you do it in the fridge make sure they are in an airtight container so it does spill. Or if you are short on time, place berries in a bowl with cold water on the counter. Give it 5-10 minutes. Check on them. If they are still frozen, drain and add more cold water. Let them thaw. It's important to not use warm or hot water to thaw them.
- Flour: You can substitute your filling flour for cornstarch or other flours, like whole wheat. The point of the flour in the filling is to thicken it up because the berries are so liquid-y!
Best Tips and Knowledge to make the best mixed Berry Pie
These tips are helpful for when you are making this mixed berry pie. Outside of the tips for ingredients above, these are tips on how to do something or why what I've listed in the recipe is necessary.
- Stand Mixer: I make my dough from scratch, recipe here, and I use a stand mixer with a paddle attachment. You could do this with a handheld mixer or even a food processor or blender.
- Bake Time: Now, this is the difference of a gooey or a crispy cookie. I like to bake mine crispy on the edges and gooey in the center. So, you bake for the minimum time below. But if you are a crisp all the way through, do the longer time. Also, each oven/altitude/climate can change your bake, so keep your eyes on the oven and bake to your liking. If your cookies are frozen, they may need an additional 1-3 minutes of baking time. I also check on mine to make sure the edges are brown and I use a spatula to make sure I can pick up the edges.
- Cool Baking Sheets: Now, you can reuse the parchment paper and of course you can bake using just 1-2 baking sheets. However, before you place dough or bake it, your baking sheets should always be cooled down. This helps with a good bake and keeping those cookies thick.
Other Pie Recipes
Love this Recipe?
Did you make this recipe and just love it? Awesome! If you have a quick minute and could leave a star rating and comment below, I would appreciate the support and knowing your feedback! And if you’re over on Instagram, be sure to tag me in your photos!
Ingredients
- 2 slabs of pie dough store bought or homemade
- 4 ½ cups of mixed berries
- 1 lemon zested
- ½ cup granulated white sugar
- ⅓ cup all-purpose flour
- egg wash 1 egg and 1 tablespoon of water mixed
- ¼ cup granulated sugar
- Ice cream or whipped cream optional
Instructions
- Preheat oven to 350° F.
- Roll half of the dough (1 slab) out onto a floured surface and create a thin layer of dough. Layer that one slab of the pie dough into a 9-10" pie dish.
- In a small bowl mix the sugar and flour.
- In a large bowl mix berries and lemon zest. Then mix in the sugar and flour mixture. Toss until mixed.
- Pour berries into the prepped pie dish. Egg wash the edges of the pie and top with granulated sugar. Use a pie crust shield or create one with parchment paper or foil.
- Place pie dish into oven for 60 minutes. Remove pie crust shield about 30 minutes into the bake.
- While pie is baking, prepare letters or shapes for the top of the pie. Roll out remaining dough on a floured surface. Flour cutters for the letters, stars, flowers, or anything you would like to cut out. Make cut outs into the dough, place onto a parchment paper lined baking sheet.
- Brush with egg wash and top with sugar. Place in the fridge until oven is ready.
- Remove pie to cool and place the baking sheet of cutouts into the oven and bake for 15-18 minutes, until golden brown.
- Remove letters and let them cool. Arrange on top of pie.
- Serve with ice cream, whipped cream, or solo and enjoy!
Cortney says
Literally the coolest pie I've ever seen! How do you have the patience to cut out all of those letters?! It's so beautiful but I'm afraid I'll mess it up!
Amanda Wilens says
Haha. Thank you! You can definitely make it without the letters and open-faced or as a lattice top. But the letters were definitely time consuming, but worth it in the end!