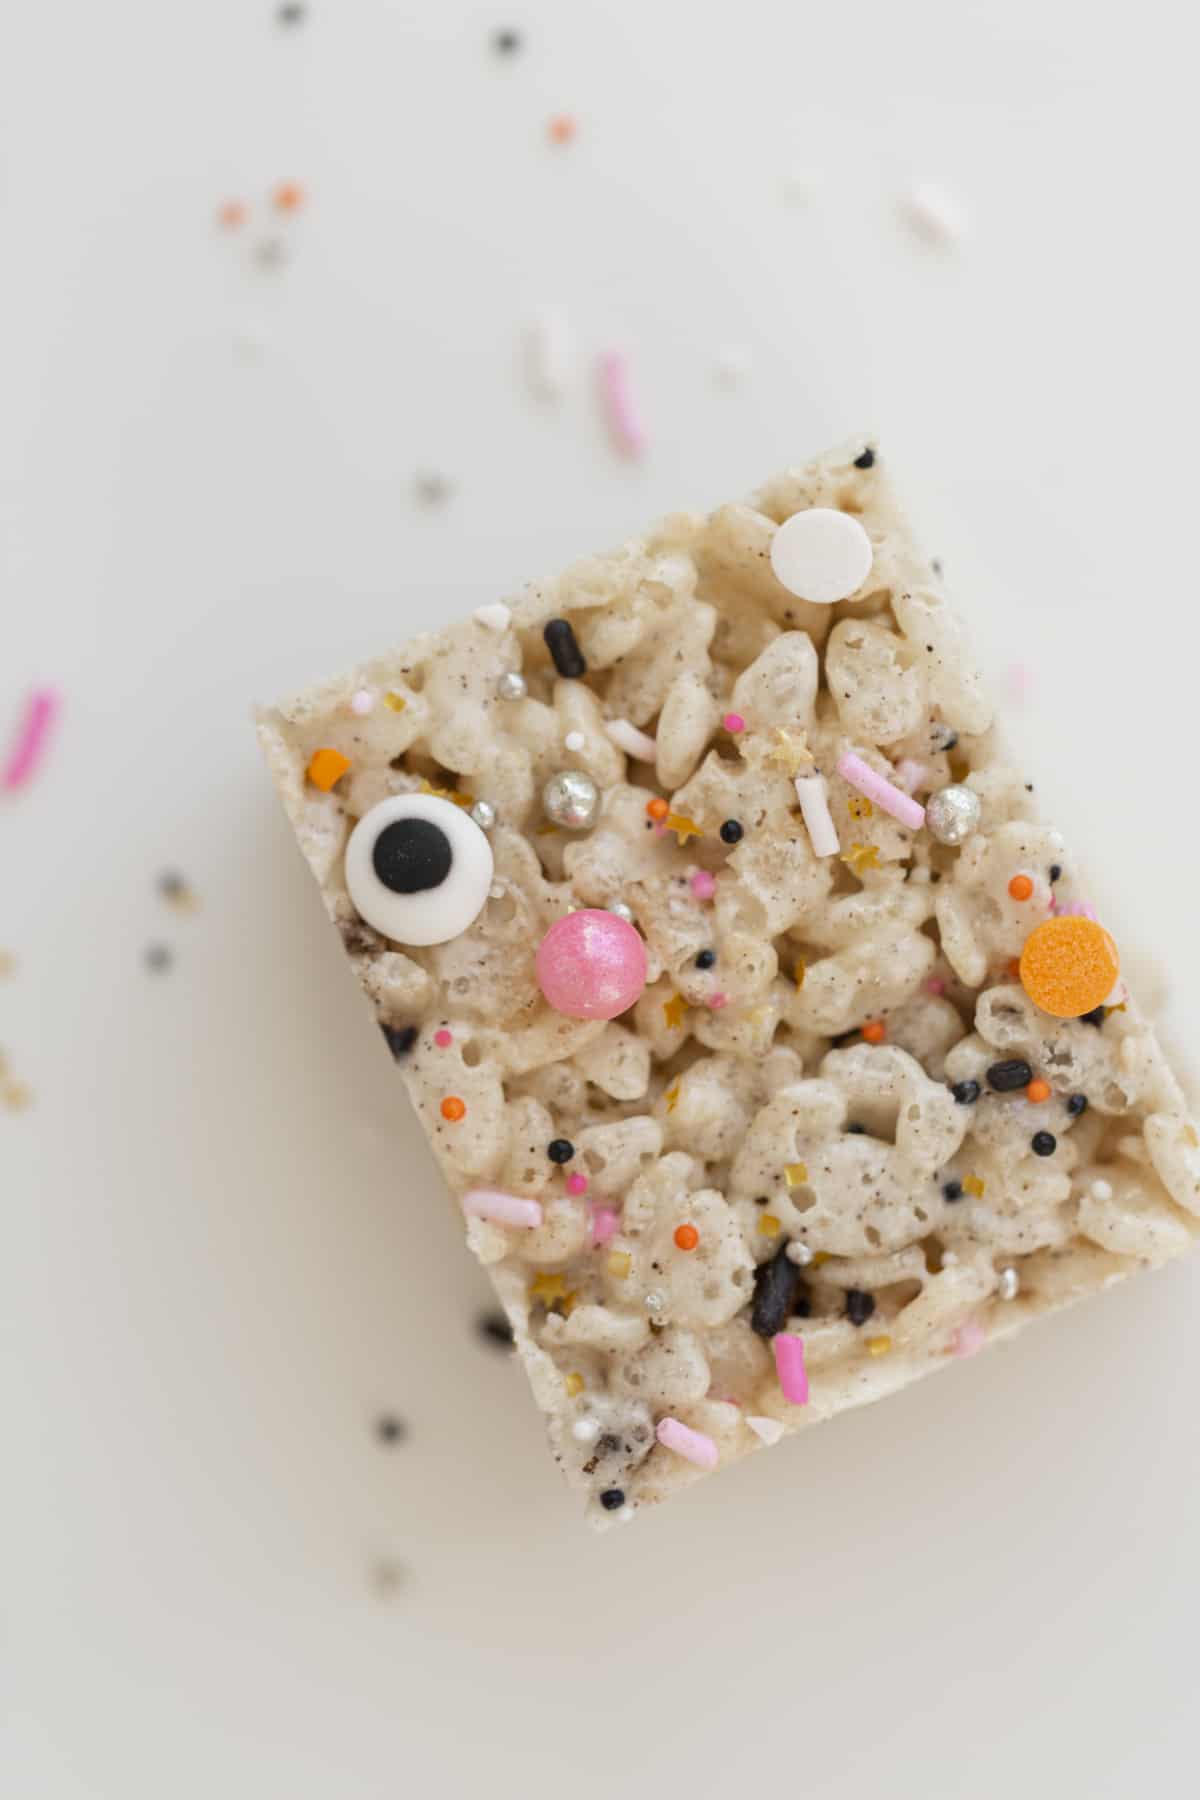
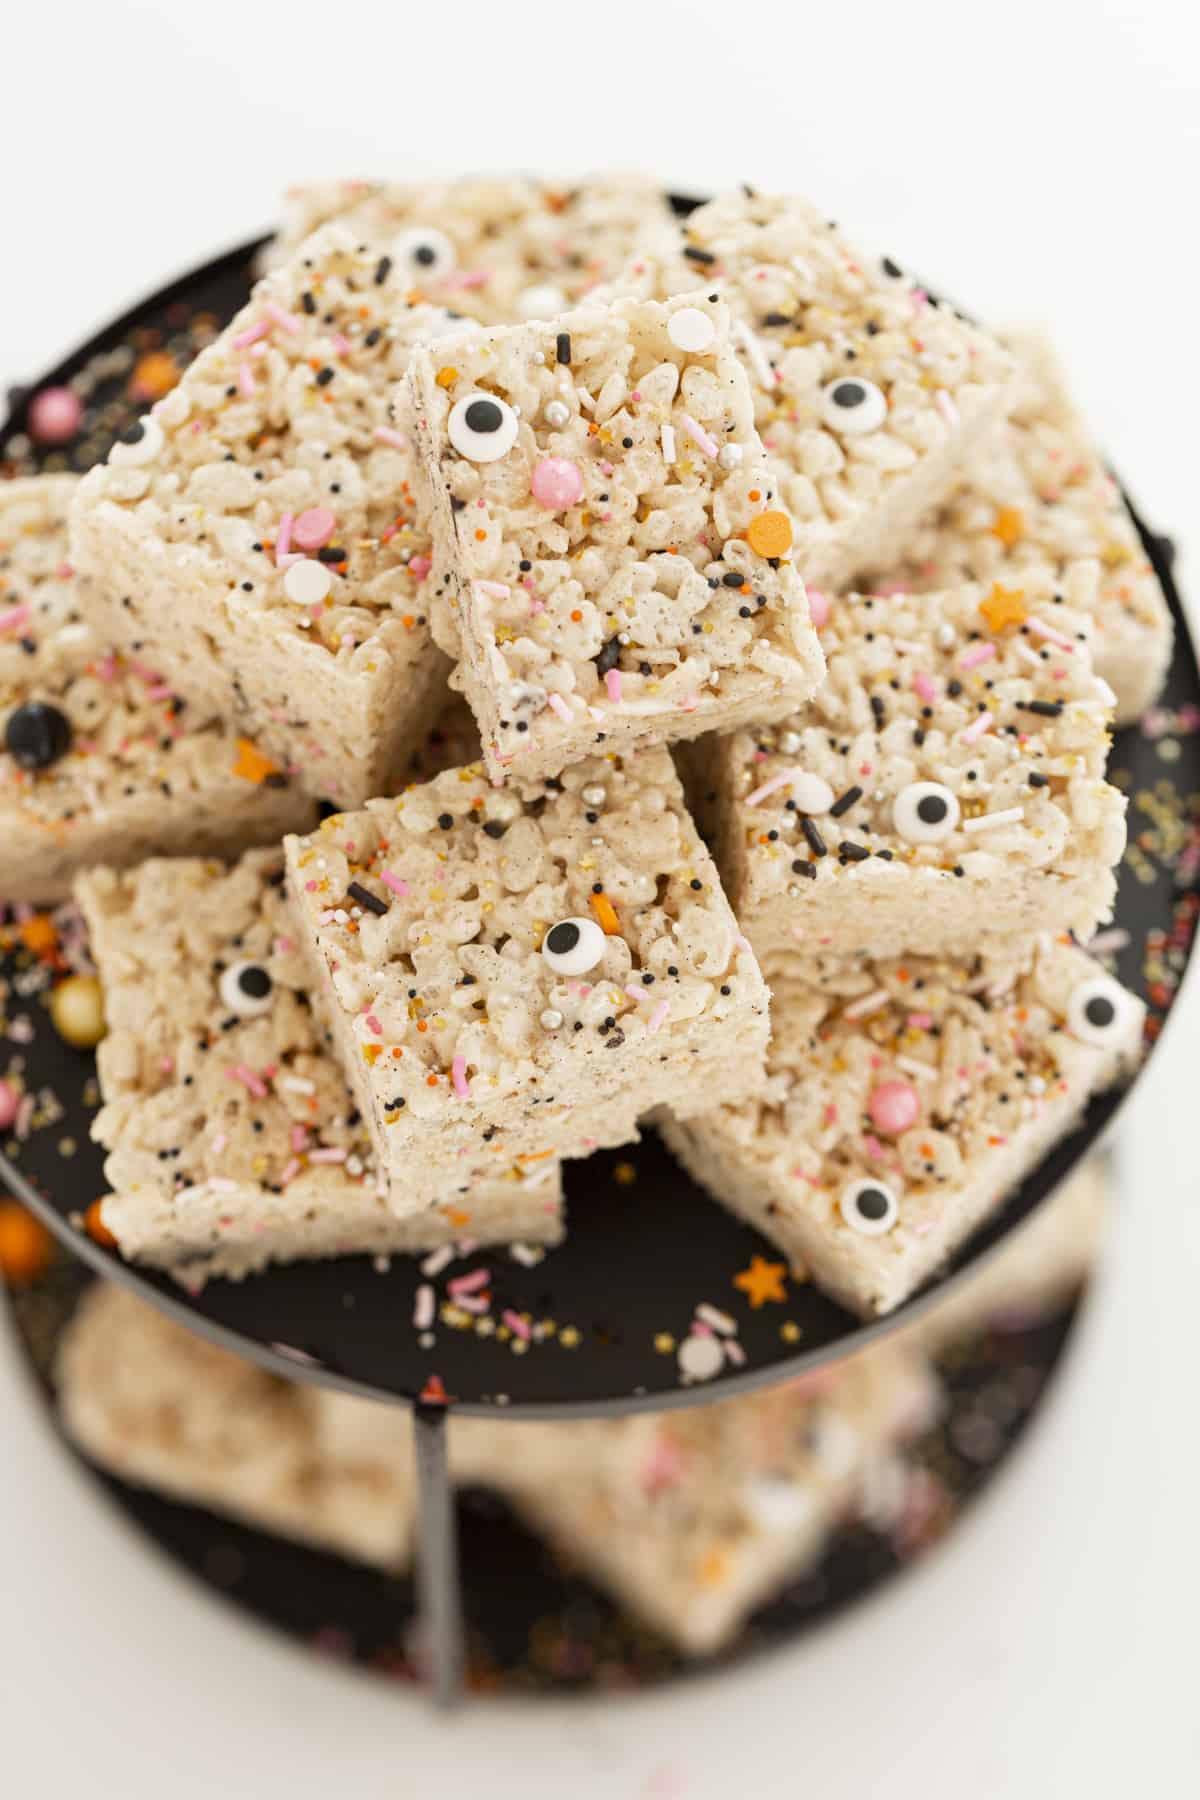
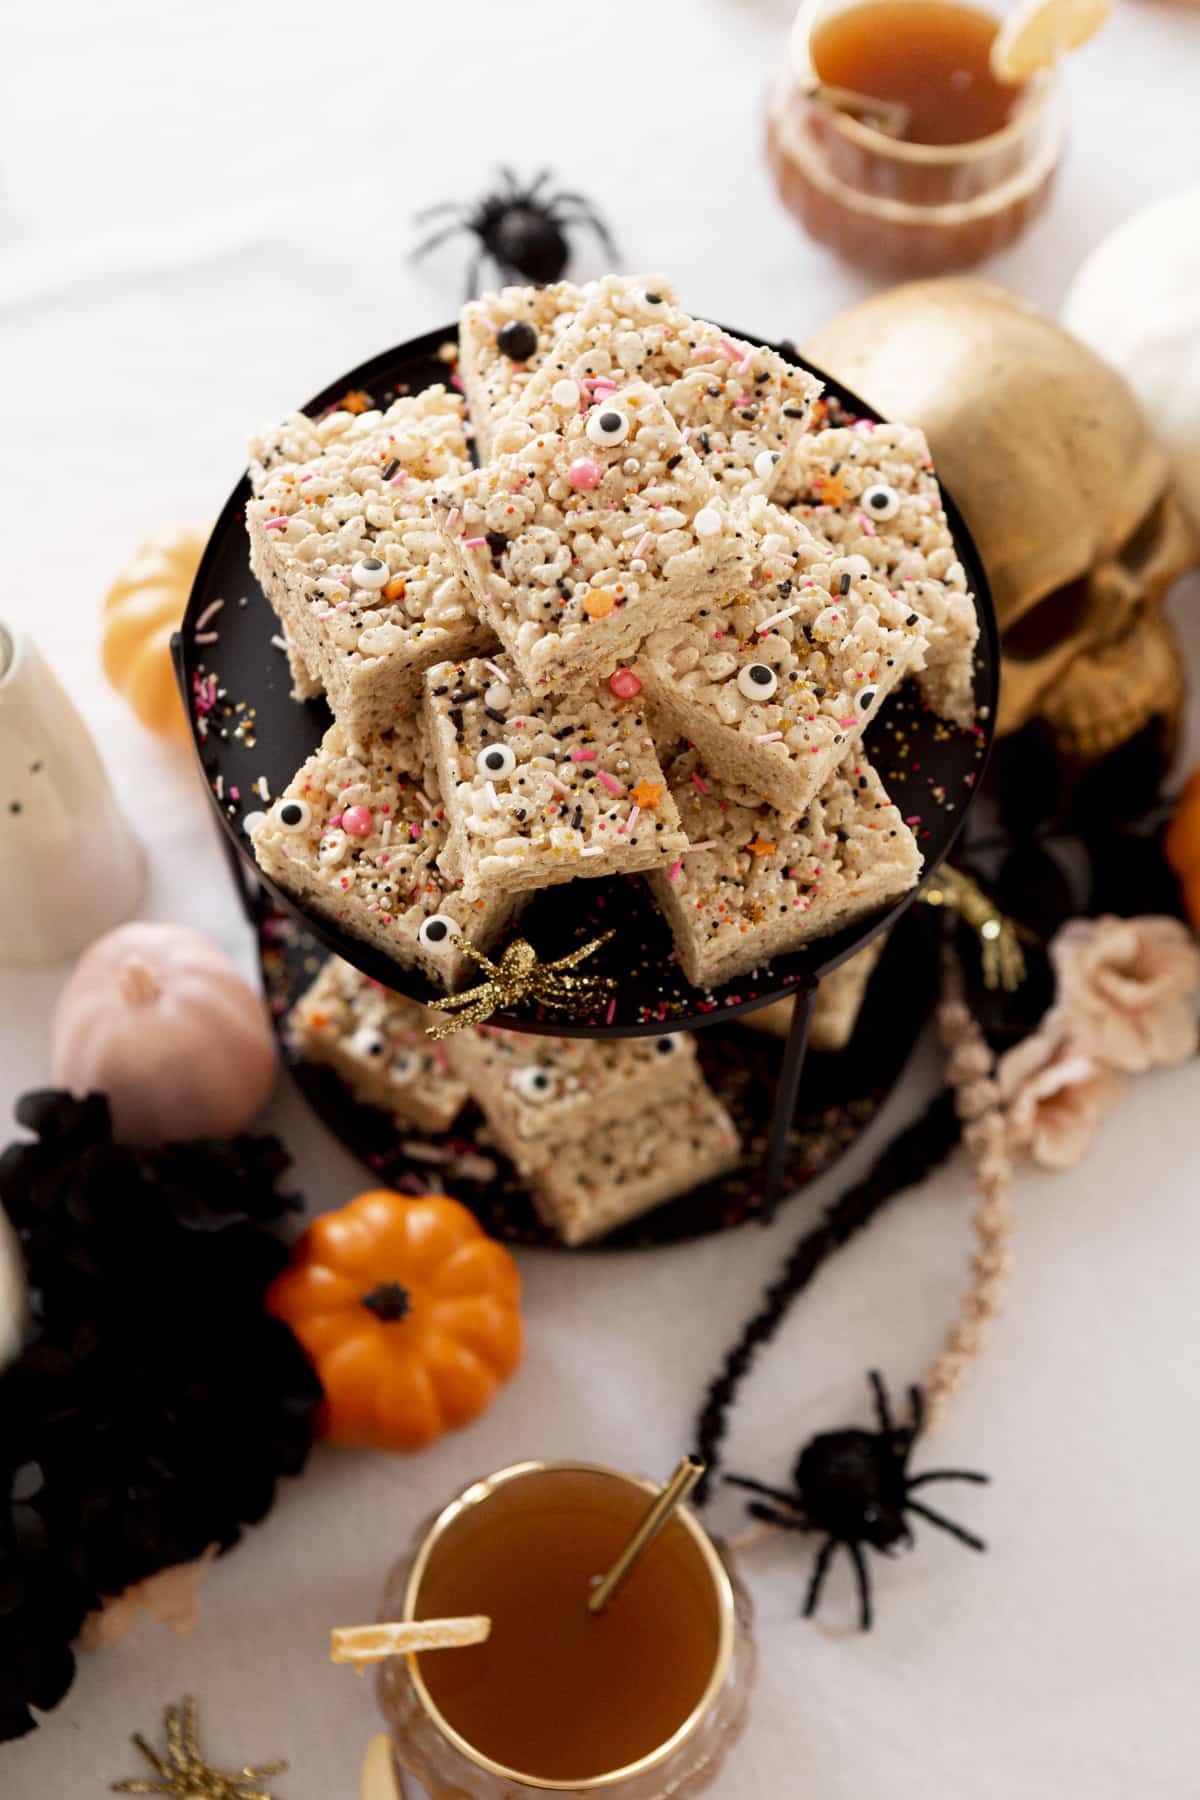
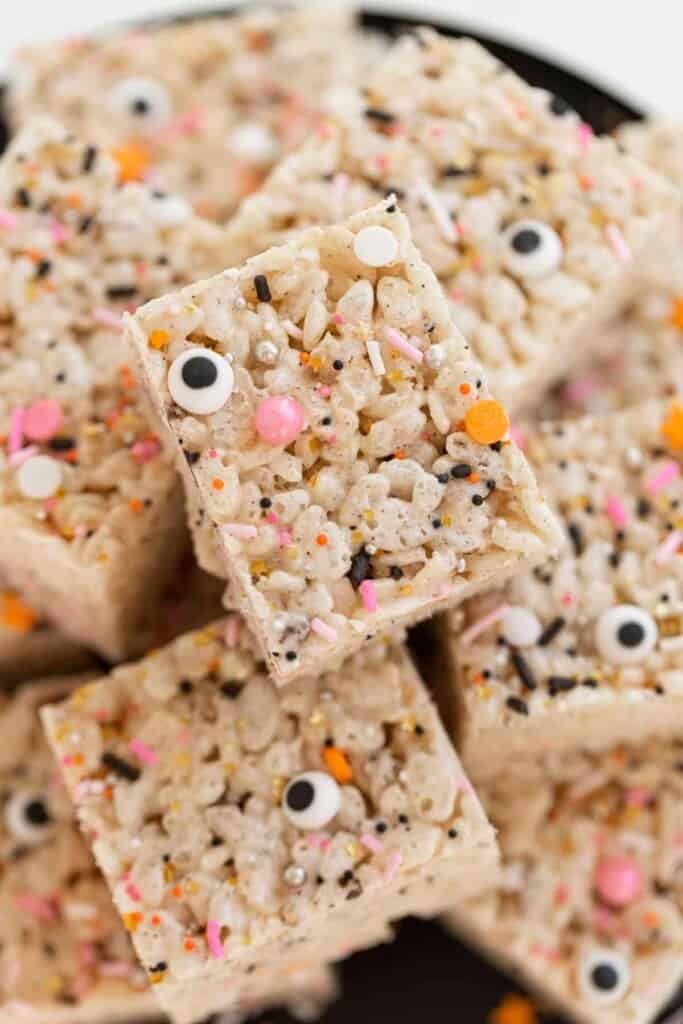
These rice krispie treats are perfect for Halloween! I used the base of my Brown Butter Rice Krispie Treats and added some super fun Halloween sprinkles and eyeball sprinkles. Needed to give them a little spooky look!
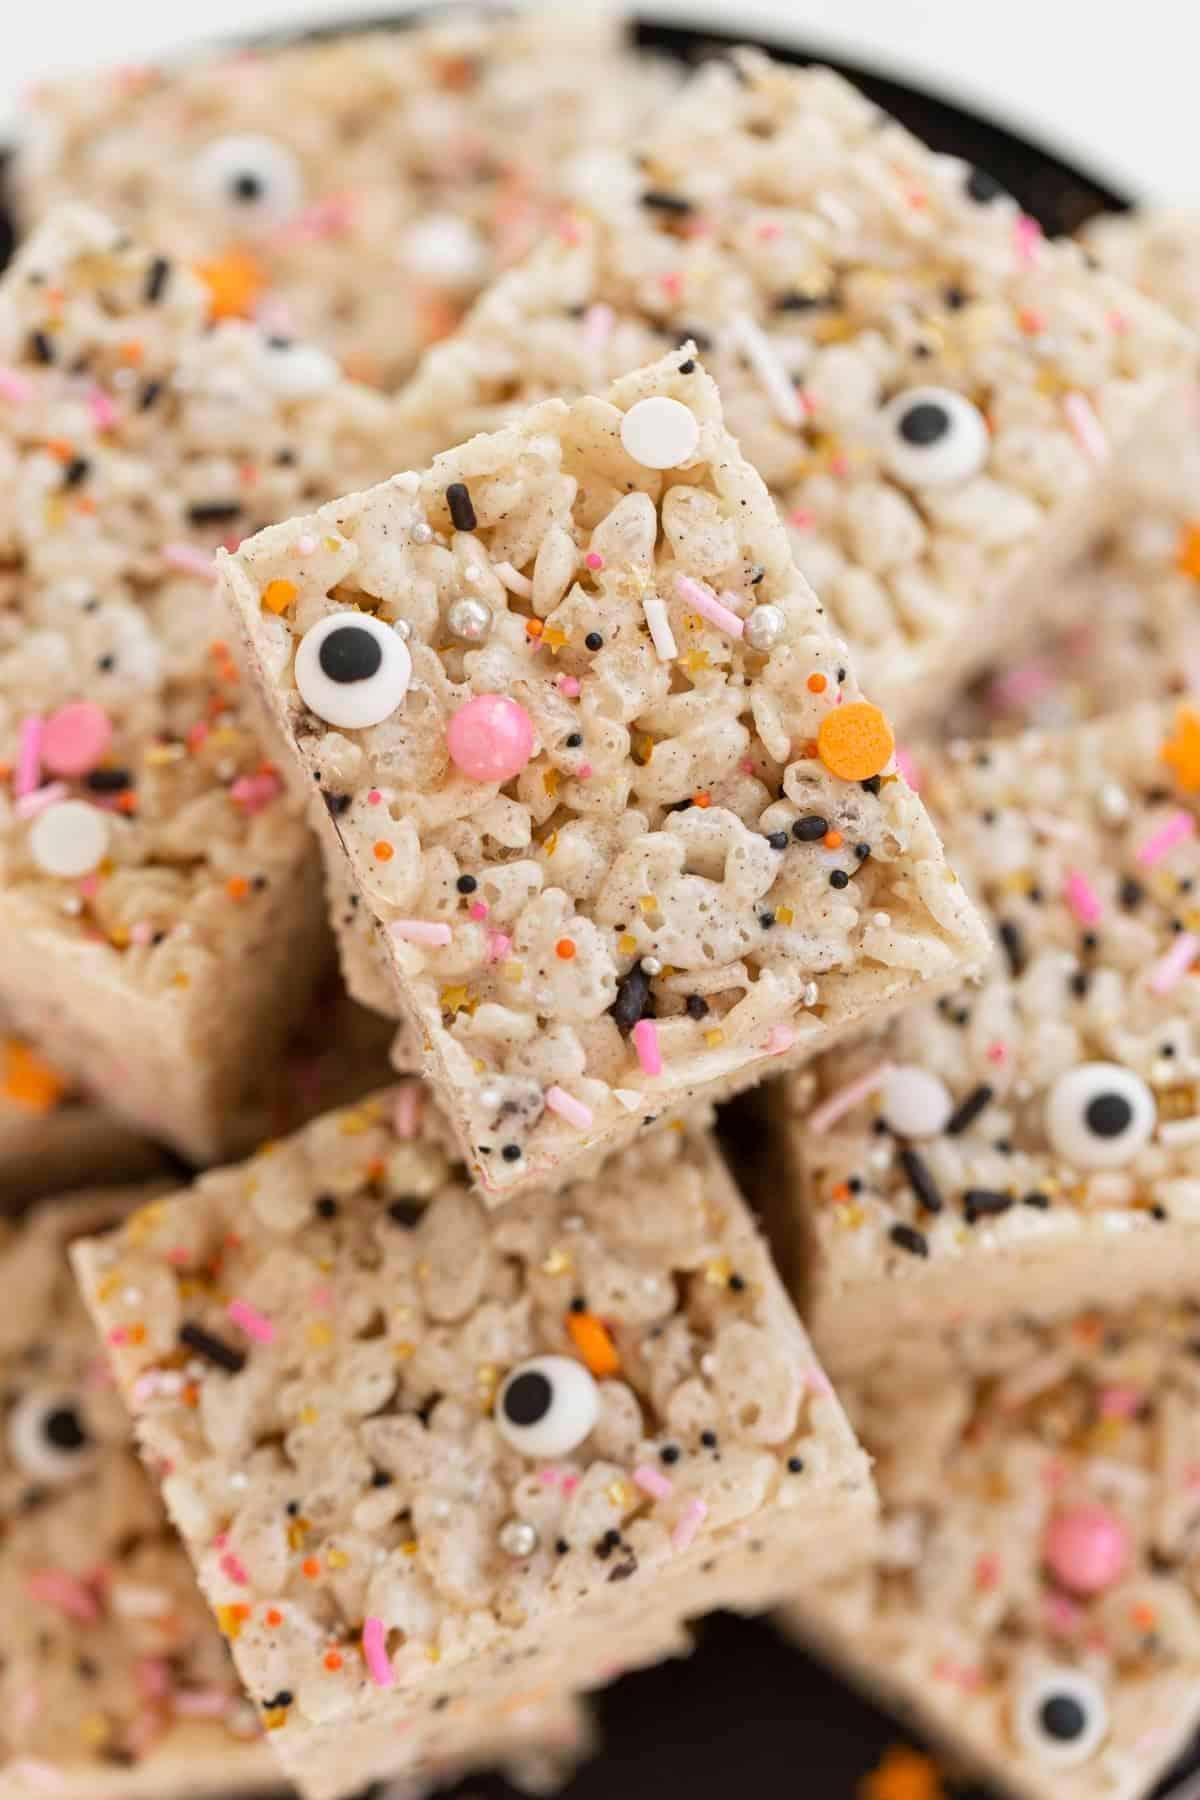
Table of Contents
Why Make These?
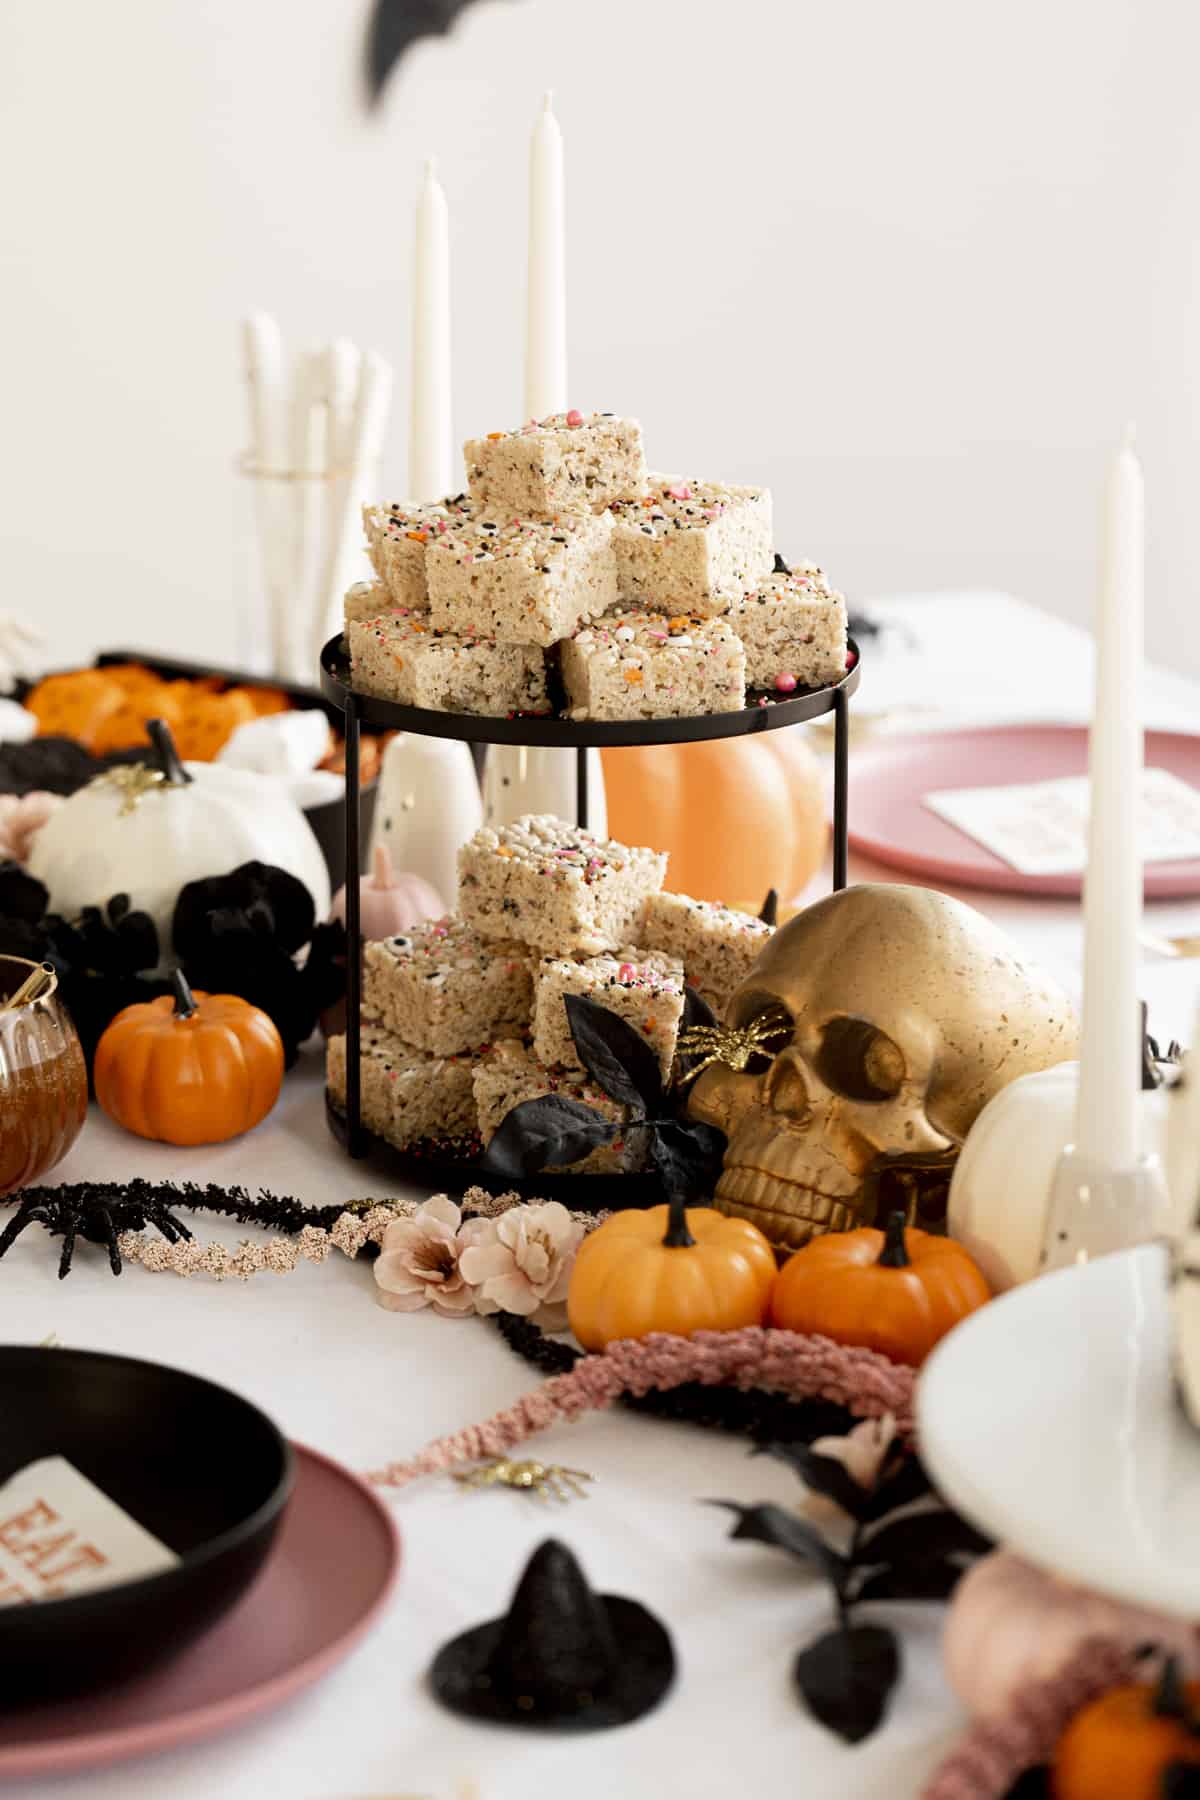
These treats are so easy to make and so quick. I love an easy dessert that can be made without turning on the oven. And they are customizable for each and every celebration. Don’t want to make them for Halloween, but rather for Christmas? Switch up the sprinkles and you’re set!
Rice Krispie treats are generally a good treat to make for events as they really do accommodate a lot of allergies. These ones aren’t vegan as I used butter and marshmallows with gelatin. But they do work great for people with nut allergies, those gluten-free, etc. Make these for your next event, kids classroom party, or even just for your family. Or box them up with some Halloween candy and treats for the neighbors.
These are a little different than a classic rice krispie treat. But also, they aren’t pumpkin-shaped or have any food coloring. Just a simple way to jazz up these treats for the holiday. October is one of my favorite months and I can’t wait for all the Halloween fun.
Ingredients
I always suggest using exactly what a recipe calls for, especially when baking. Baking is a science and switching out ingredients can cause big issues in the recipe. If you’re looking for gluten-free, dairy-free, etc. it would be best to find a different blog with that type of recipe.
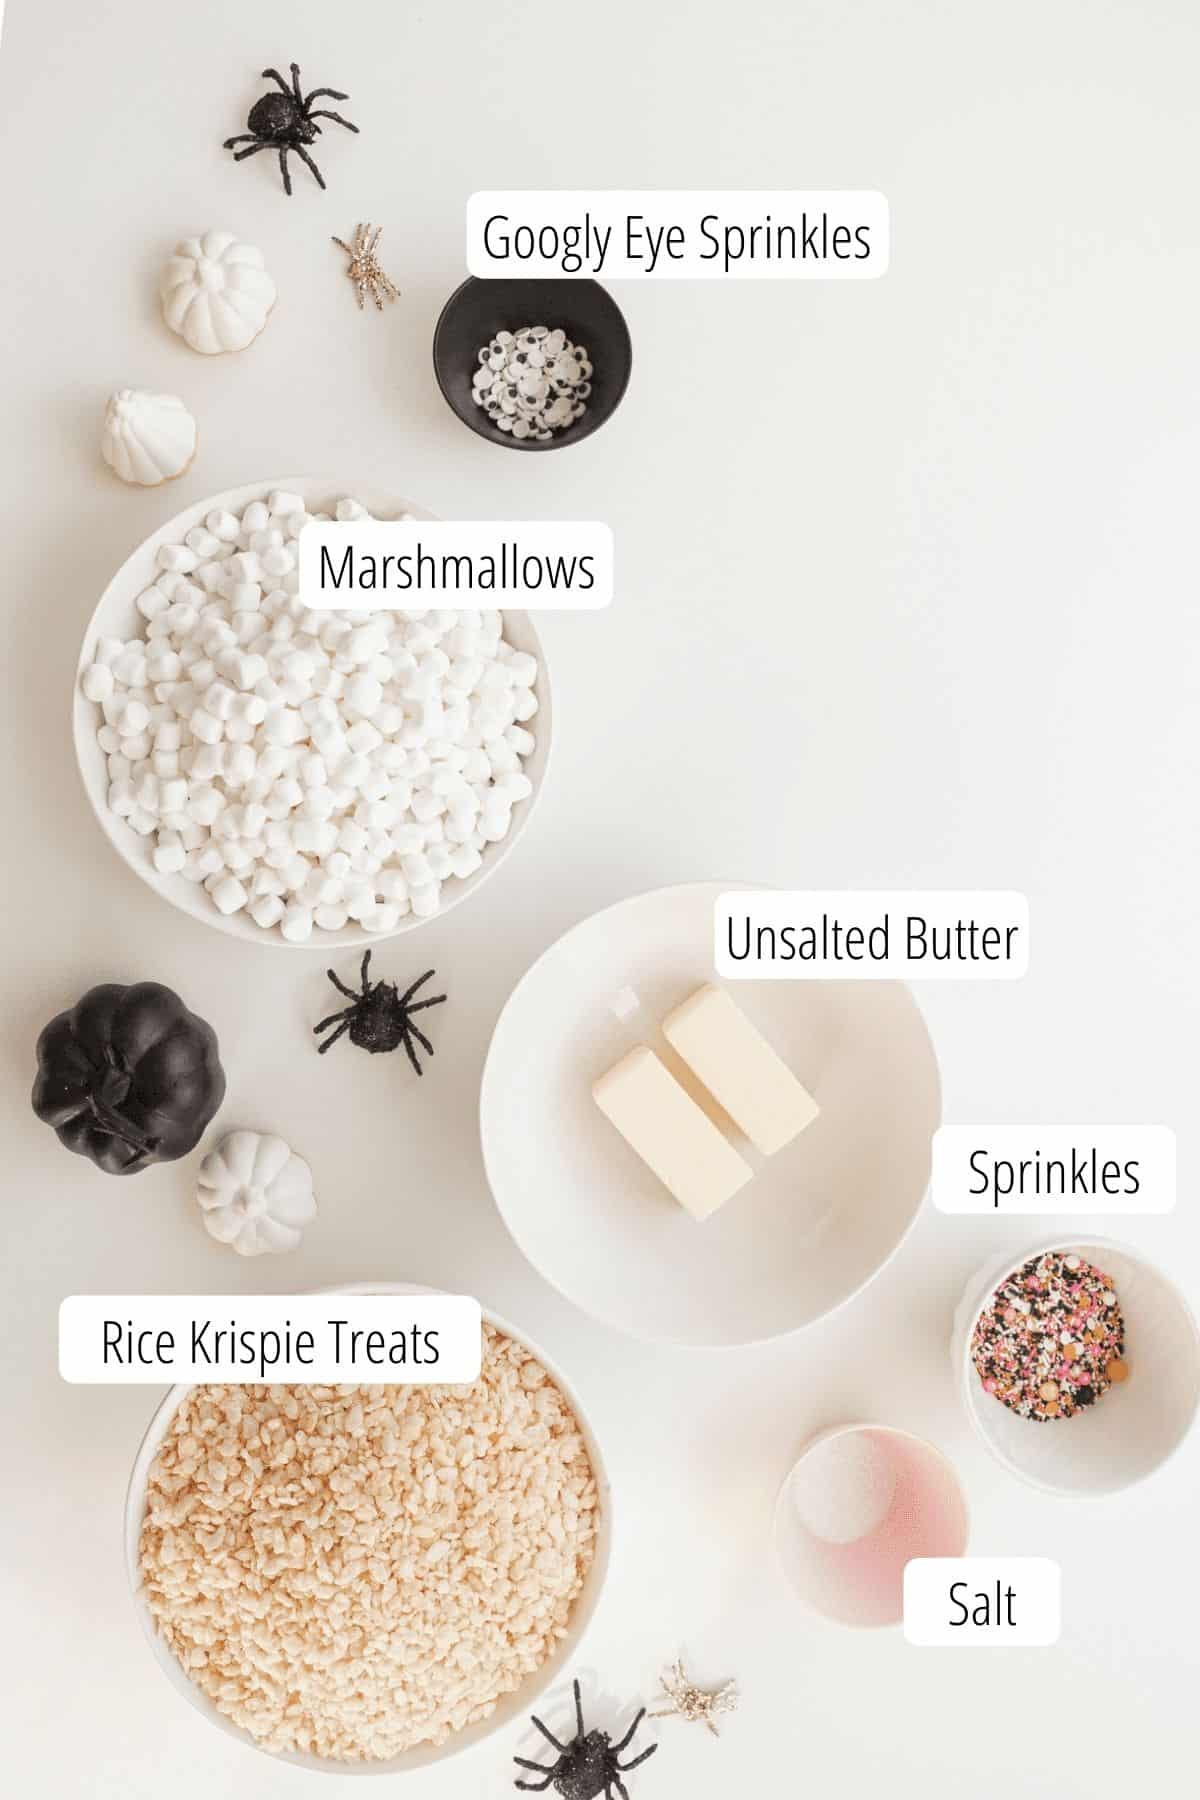
- Marshmallows – I do suggest a few things for these. One, I suggest using mini-sized marshmallows. I find these easier to melt into the butter quicker. I also suggest to use marshmallows with gelatin. I’ve yet to find a vegan marshmallow that truly melts into the butter.
- Unsalted Butter – Yes! Always use unsalted butter in baking. This allows you to control the amount of salt added into the desserts.
- Sprinkles – Now, this is the part that makes them so fun and can alter the recipe and look. You can use whatever sprinkles you want, but I suggest not using anything with sprinkle bars since those aren’t as fun to eat. And to keep bigger pieces out of the mixing process and just add a few on top. The eyeball sprinkles are essential to the Halloween look!
How to Brown Butter
Brown butter is one of the most delicious things for both desserts and savory items. I love how much dimension it can add to a dish. However, brown butter can scare even the more experienced cook or baker away. But it’s important to remember that if you do over brown or burn your butter…it’s okay to start again!
Making brown butter is a simple process, but requires a lot of attention. Place your butter into a saucepan or pot, set to a medium heat. Stir with a wooden spoon. The butter will melt down, then start to bubble and simmer. This is when you can’t take your eyes off.
You’ll want to stir the butter every 30-60 seconds, but you do want the butter to sit on the bottom of the pan, this is how it browns. It will start to make little flakes of brown butter. You want the majority of it to look darker brown and it will give off a strong nutty and warm smell. You don’t want it to burn, so once it looks like the majority of the bottom is covered in browned bits, take it off the heat. Stir it again.
If you are making this recipe, you’ll want to leave it on the stove if you’re using a big pot and mix your marshmallows in there. It helps the marshmallows to break down faster being so warm.
How to Make Halloween Rice Krispies
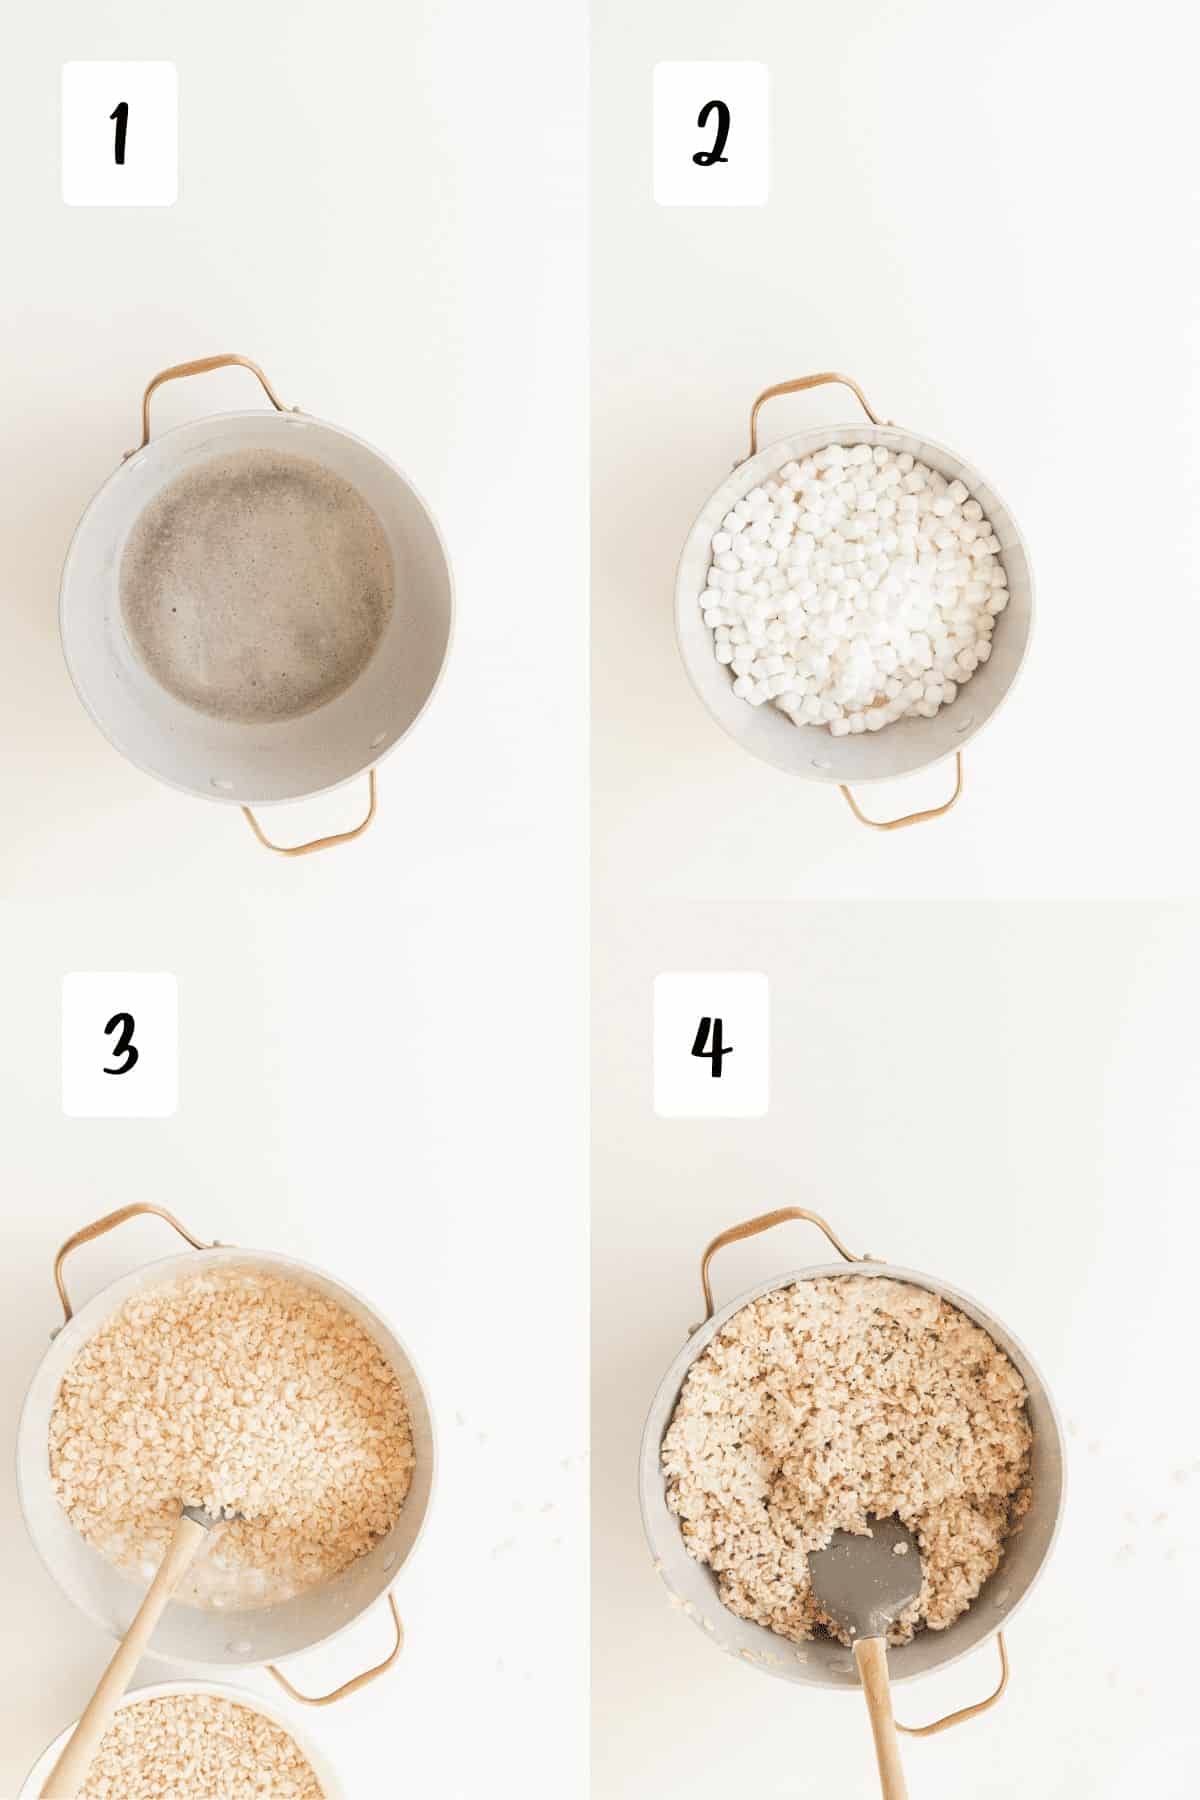
- Brown the butter in a large 5-8 qt. pot.
- Add marshmallows about ½-1 cup at a time and stir until incorporated. Then add in salt and stir until incorporated.
- Take off of the heat and add in the rice krispie cereal about ½-1 cup at a time. Mix until incorporated.
- Add in sprinkles and mix until fully mixed in. Add into pan and let cool. Cut and enjoy.
Pan Tip
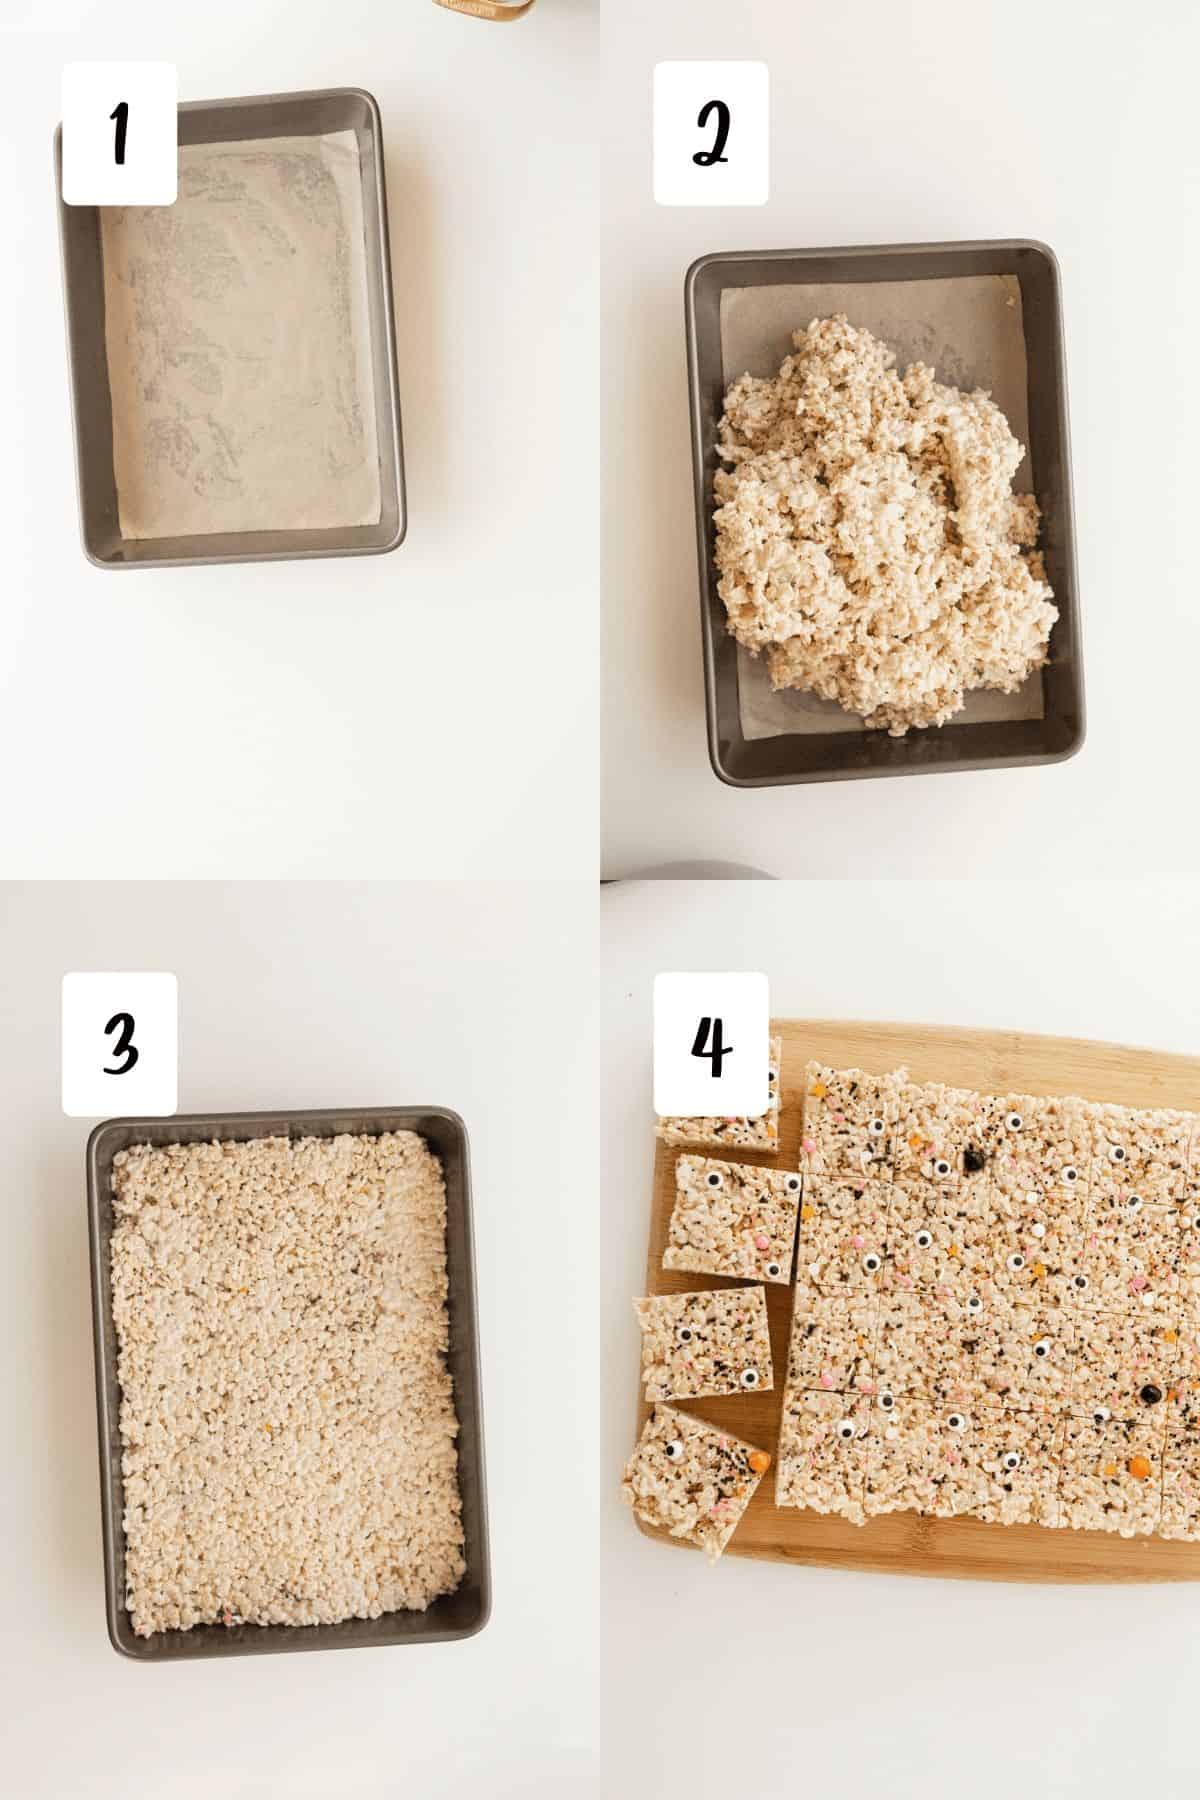
- Line your pan. I like to use a 9x13” pan for this recipe. Or you can use two 8x8” or 9x9” pans. But I like the thickness of a 9x13” best. The easiest way to get these treats out of the pan is to grease the pan with extra butter, a neutral oil, or cooking spray. Then to also add a parchment paper sling. It makes it so much easier to pop out. Or you can just line the bottom of the pan with parchment, but you’ll need a little more skill to flip it out of the pan when ready.
- Add warm rice krispie mixture to the pan. The warmer the better as it’s more malleable.
- Use your hands, back of a spoon, or a greased bottom of a cup or measuring cup to tap down the top and create an even level. Add additional sprinkles.
- Let the mixture cool and somewhat harden. Then remove the treats and place on a cutting board. Using a very sharp knife, slice into pieces. Serve and enjoy!
FAQs
The treats might be getting hard for a few reasons. One, if you are using stale marshmallows, they might be hard to melt down and get too hard. Another reason is there isn’t any gelatin in them. If you use vegan marshmallows they don’t have the elasticity of gelatin-based ones. So, they will be difficult to mix and harden faster.
Most likely your cereal is stale or soggy. You want to make sure you have fresh cereal, not stuff you’ve had sitting opened in the pantry for a long time. Also, you might have added too much butter to the mixture and that can make your cereal soggy.
If you’ve added too much butter your treats might be a bit soggy or greasy. Unfortunately, if you’ve already made them, it’s hard to come back. But if you’ve done it in the marshmallow stage, you can just simply add more marshmallows and then more cereal too. Remember you’ll need a bigger pan.
You can use regular-sized marshmallows, they just might take a little longer to melt down. You can also replace that for marshmallow creme or fluff!
Other Treats to Try
- Brown Butter Rice Krispie Treats
- Black Velvet Cupcakes
- Black Velvet Cake
- Double Chocolate Chunk Cookies
- Chewy Brownies with Cocoa Powder
- Chocolate Chip Meringue Cookies
- Egg Yolk Chocolate Chip Cookies
Love this Recipe?
Did you make this recipe and just love it? Awesome! If you have a quick minute and could leave a star rating/recipe rating and comment below, I would appreciate the support and knowing your feedback! And if you’re over on Instagram, be sure to tag me in your photos!
Ingredients
- 1 cup unsalted butter
- ½ teaspoon salt
- 16 ounces marshmallows
- 12 ounces Rice Krispies cereal 1 small box
- 3 tablespoon sprinkles
- 1 tablespoon googly eye sprinkles
Instructions
- Grease a 9"x13" baking dish with butter or neutral oil. Then line with a parchment paper sling or just the bottom.
- In a large 5-8 qt. pot add butter over a medium heat. Melt the butter until completely melted. Then keep stirring as the butter browns - from melted, to dark golden, to a brown and nutty fragranced mixture. This usually takes about 4-6 minutes in total. You don't want it to burn, so keep a close eye on it. Mix in salt.
- Slowly stir in marshmallows about 1 cup at a time until incorporated well. I use a wooden spoon as it's sturdiest.
- Turn off heat and mix in the cereal, about ½-1 cup at a time.
- Add in 1 tablespoon of sprinkles at a time (2 tablespoon) until all ingredients are incorporated.
- Scoop mixture into the prepared baking dish and push down mixture until it has a flattened surface (can use hands, spoon, or bottom of a cup – greasing it makes it easier to use). Top with remaining 1 tablespoon of sprinkles and the googly eye sprinkles.
- Let cool, remove from pan, slice, and enjoy!
Notes
- Marshmallows – I do suggest a few things for these. One, I suggest using mini-sized marshmallows. I find these easier to melt into the butter quicker. I also suggest using marshmallows with gelatin. I’ve yet to find a vegan marshmallow that truly melts into the butter.
- Unsalted Butter – Yes! Always use unsalted butter in baking. This allows you to control the amount of salt added to the treats.
- Brown Butter – it should give off a nutty smell and be fairly dark. Just be sure to keep your eyes on it to make sure it doesn't burn.
- Parchment Sling – try using a parchment sling to pop the treats out and cut them on a cutting board.
Leave a Reply