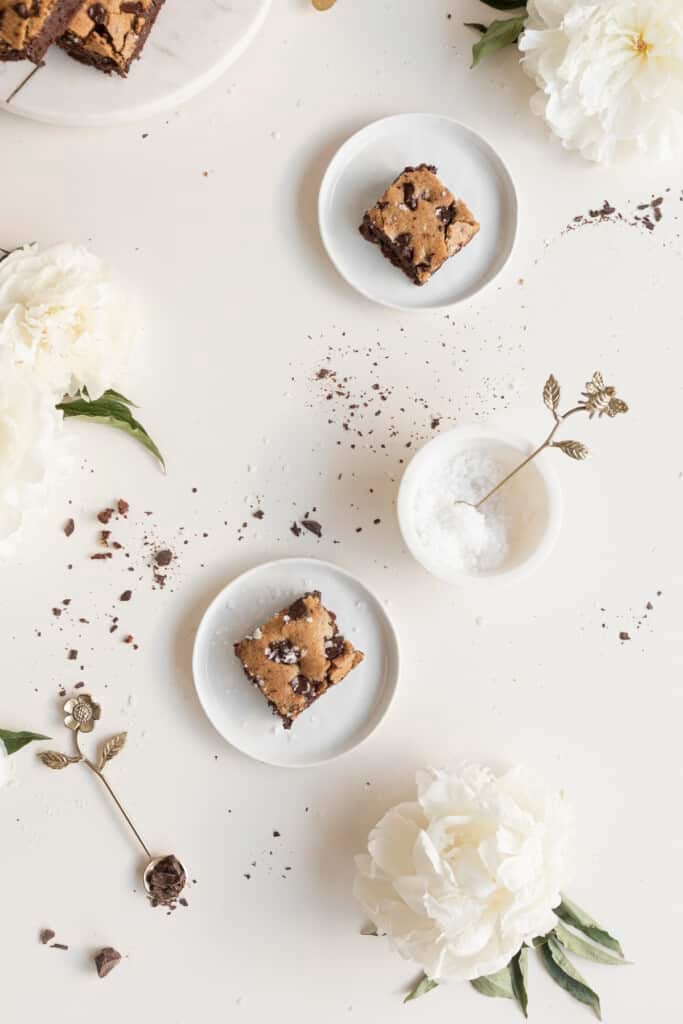
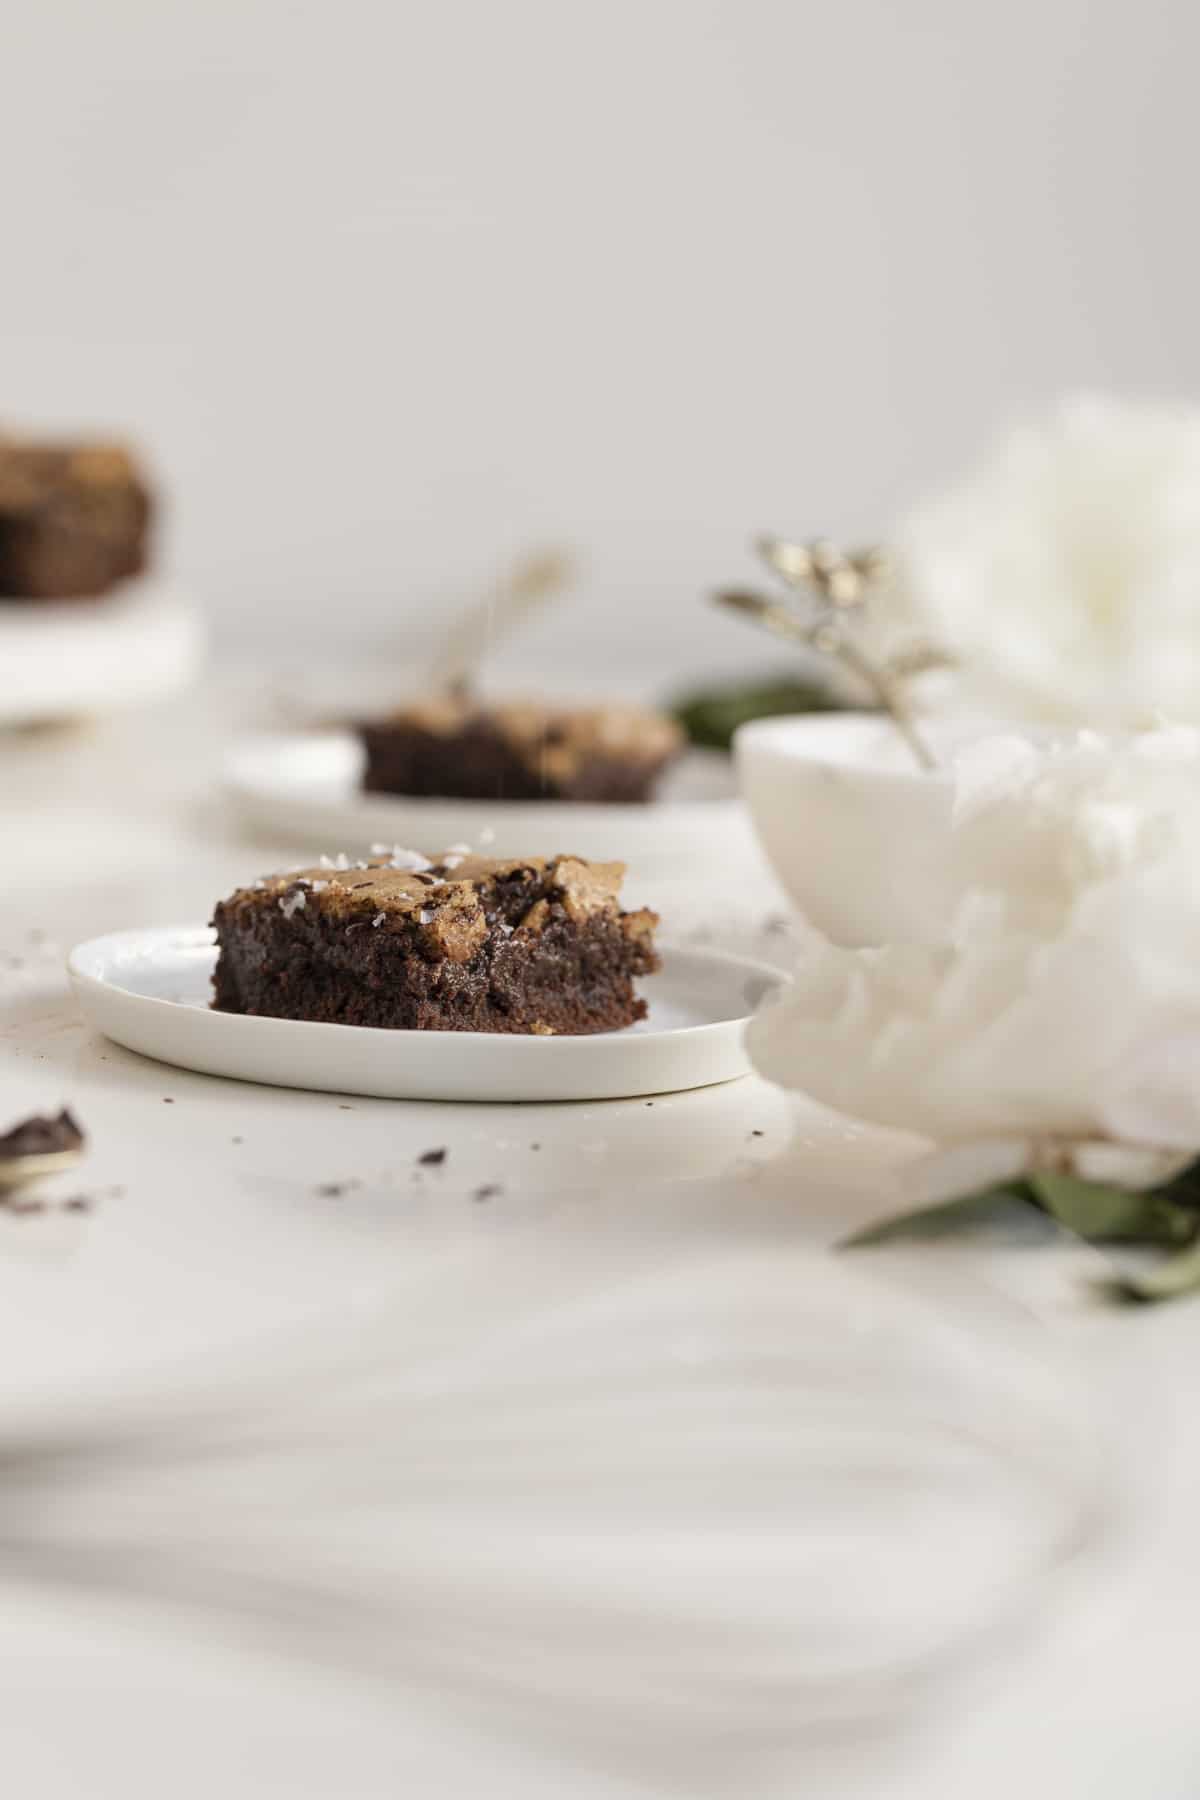
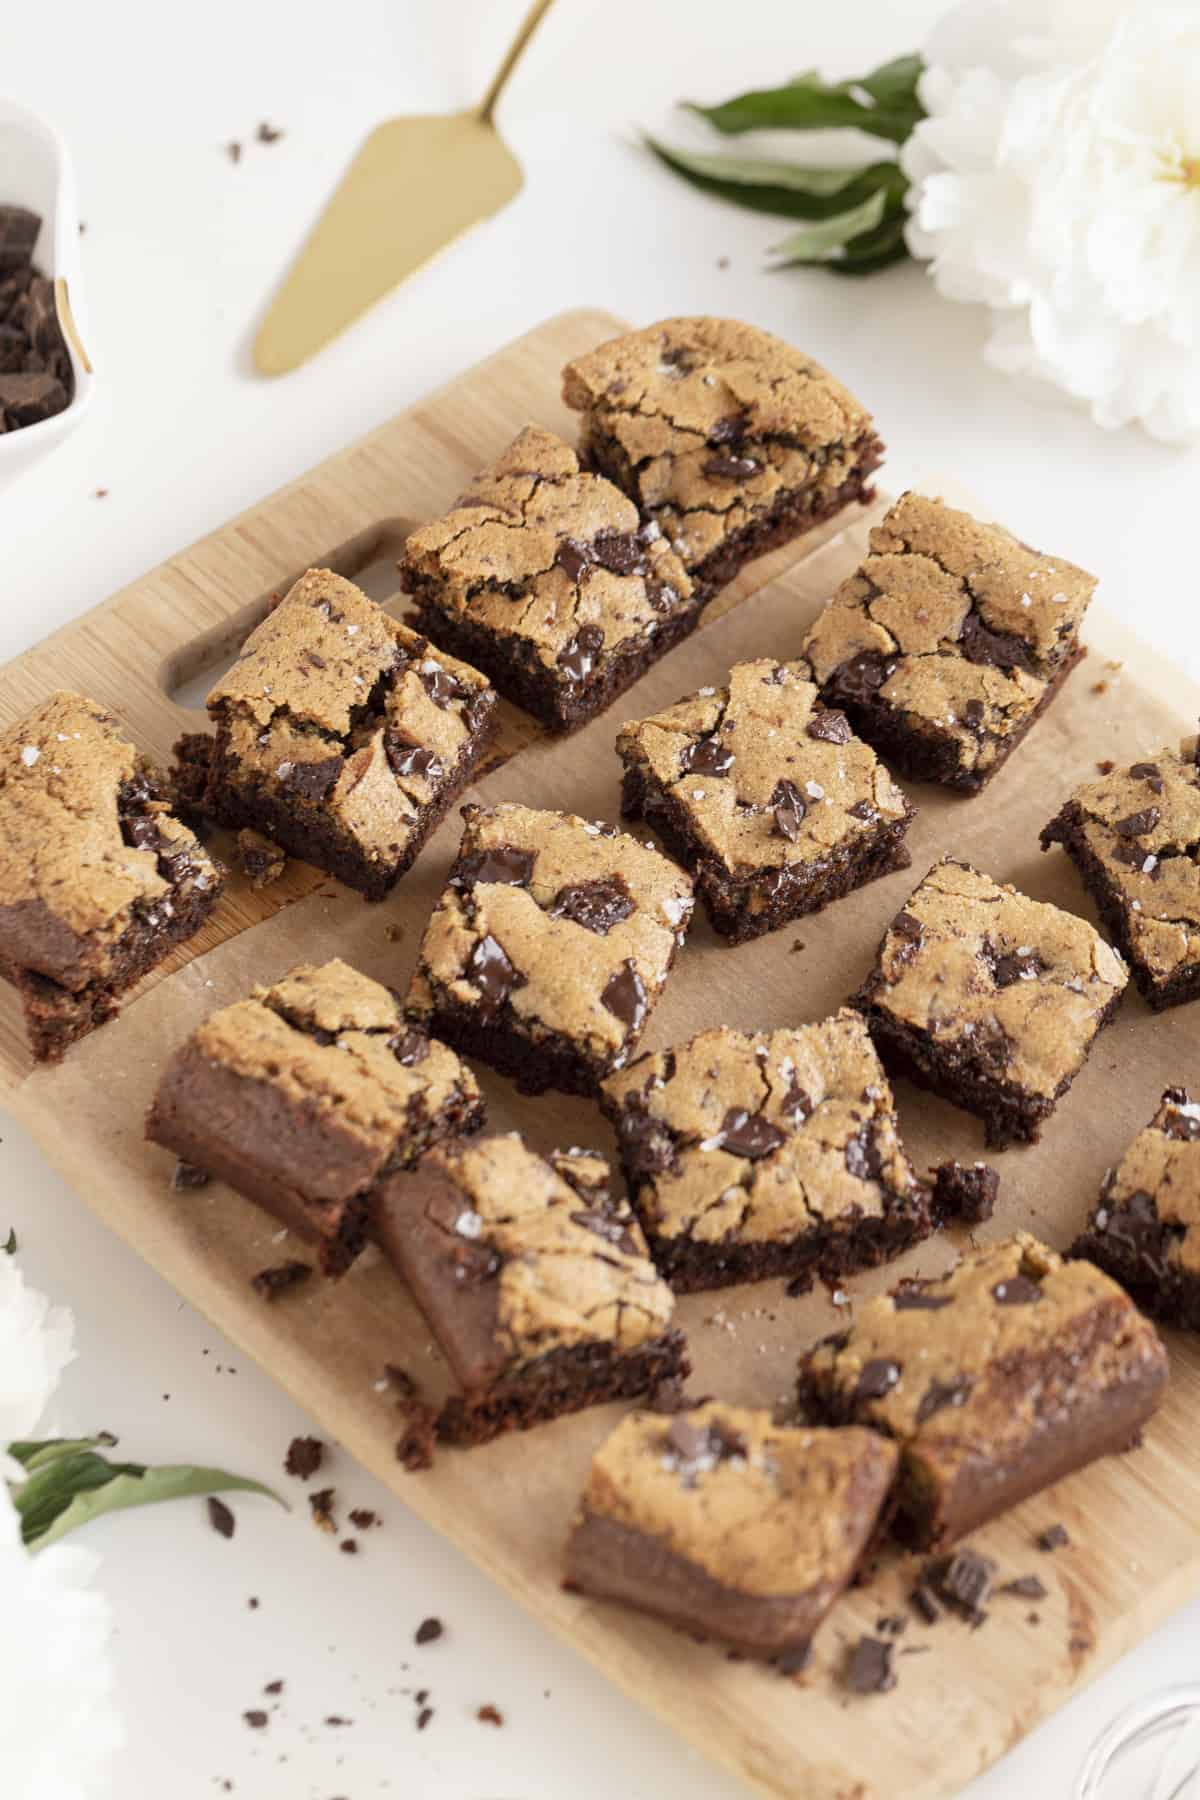
These delicious brookies are decadent, fudgy, and all the good parts of a chocolate chip cookie and a brownie mixed together. Brookies are brownie cookies. I personally had only had one brookie a few years ago at a bakery. It was crumbly, dry, and honestly, I was NOT impressed. Then, a while ago, I tried the brookies from Trader Joe’s. And I love them. They really take like Nestle Toll House cookie dough, not thoroughly cooked, on top of their brownie bites.
While I enjoyed the grocery store version, I wanted to make my own. One, to get more treats out of it (duh) and two, to have a delicious warm treat. If you are new to this site, I love a warm dessert. So many desserts are just better when warmed up…an oatmeal chocolate chip cookie, slice of mixed berry pie, brownie. Or alternatively, a delicious cool treat like ice cream, chilled lemon bars, etc.
So, below you’ll find my recipe for these perfect brookies, or browkies, as I’ve seen them called as well. And so many tips and tricks down below to make them come out like mine. As a reminder, any alterations that you make to the recipe will change it and I can’t guarantee the outcome.
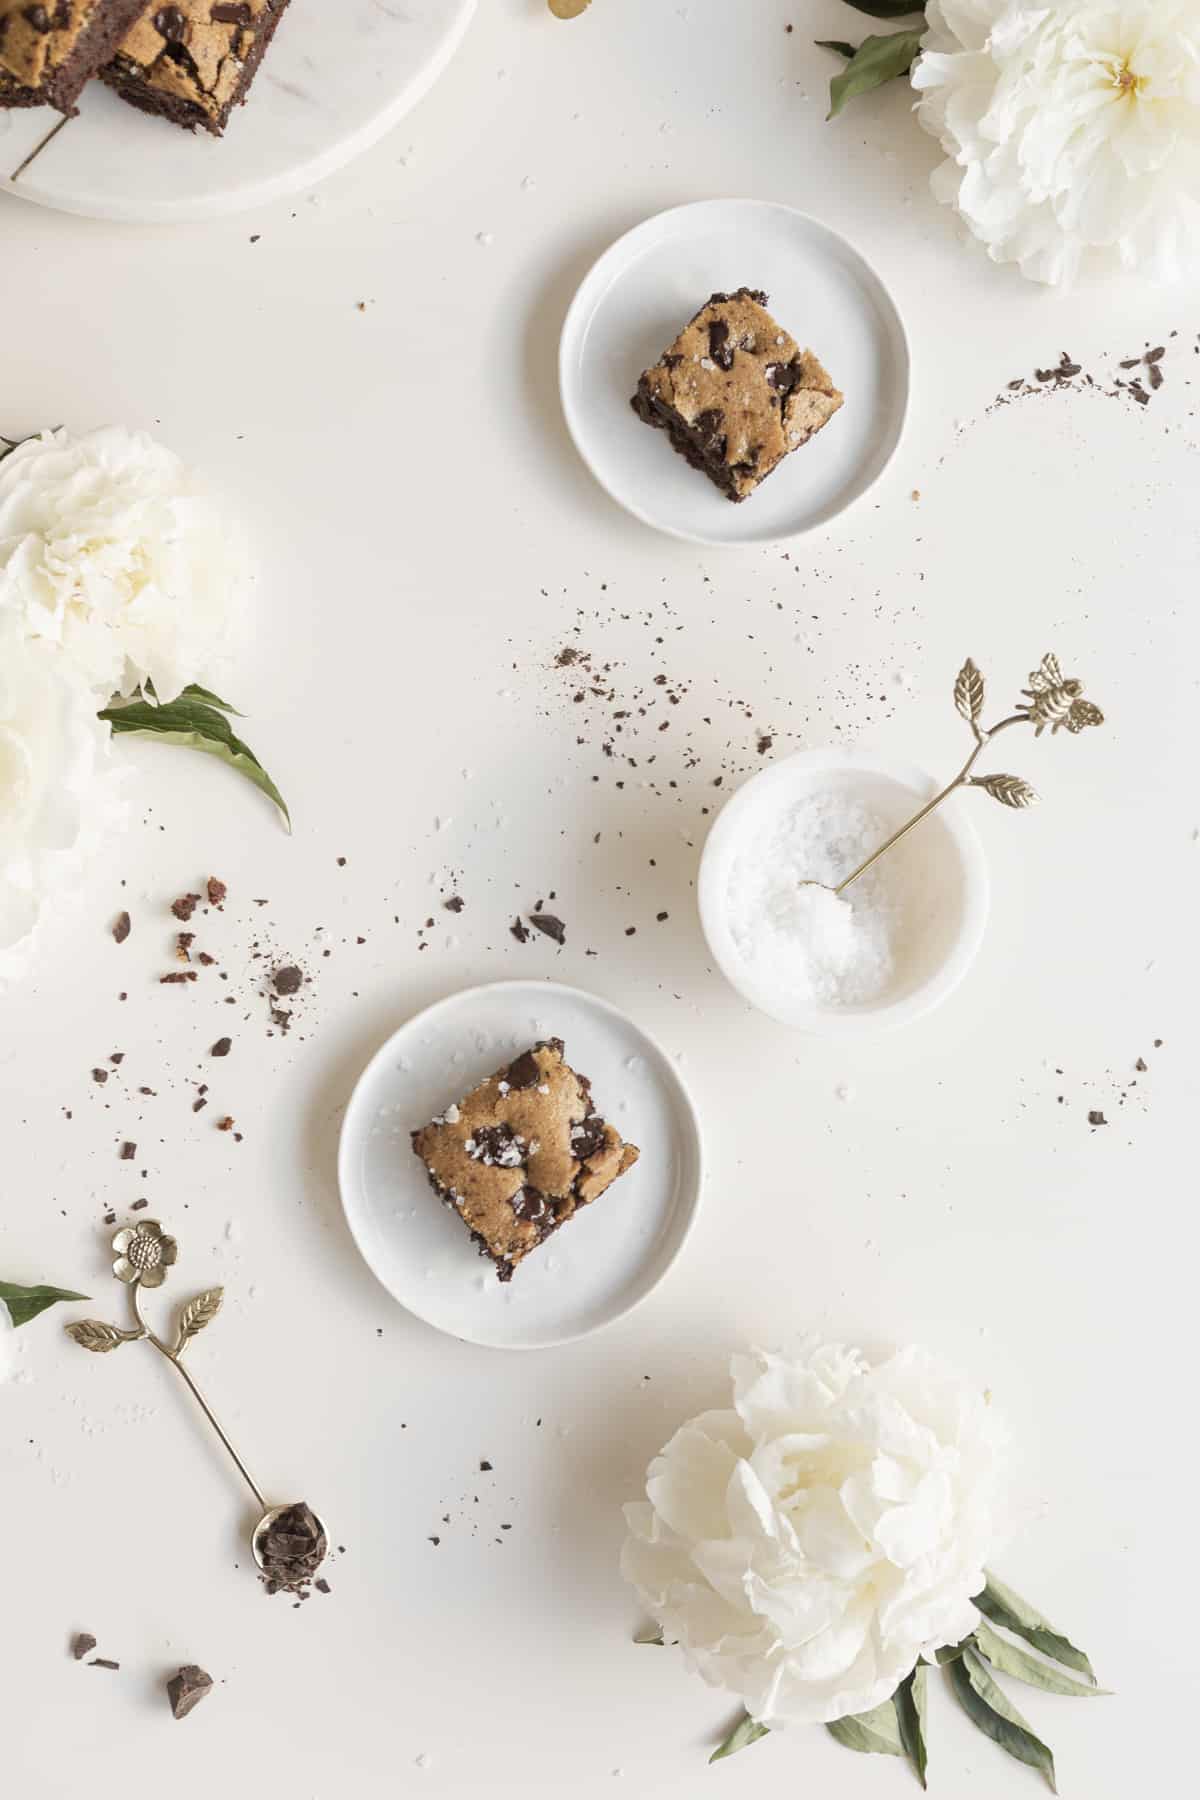
Table of Contents
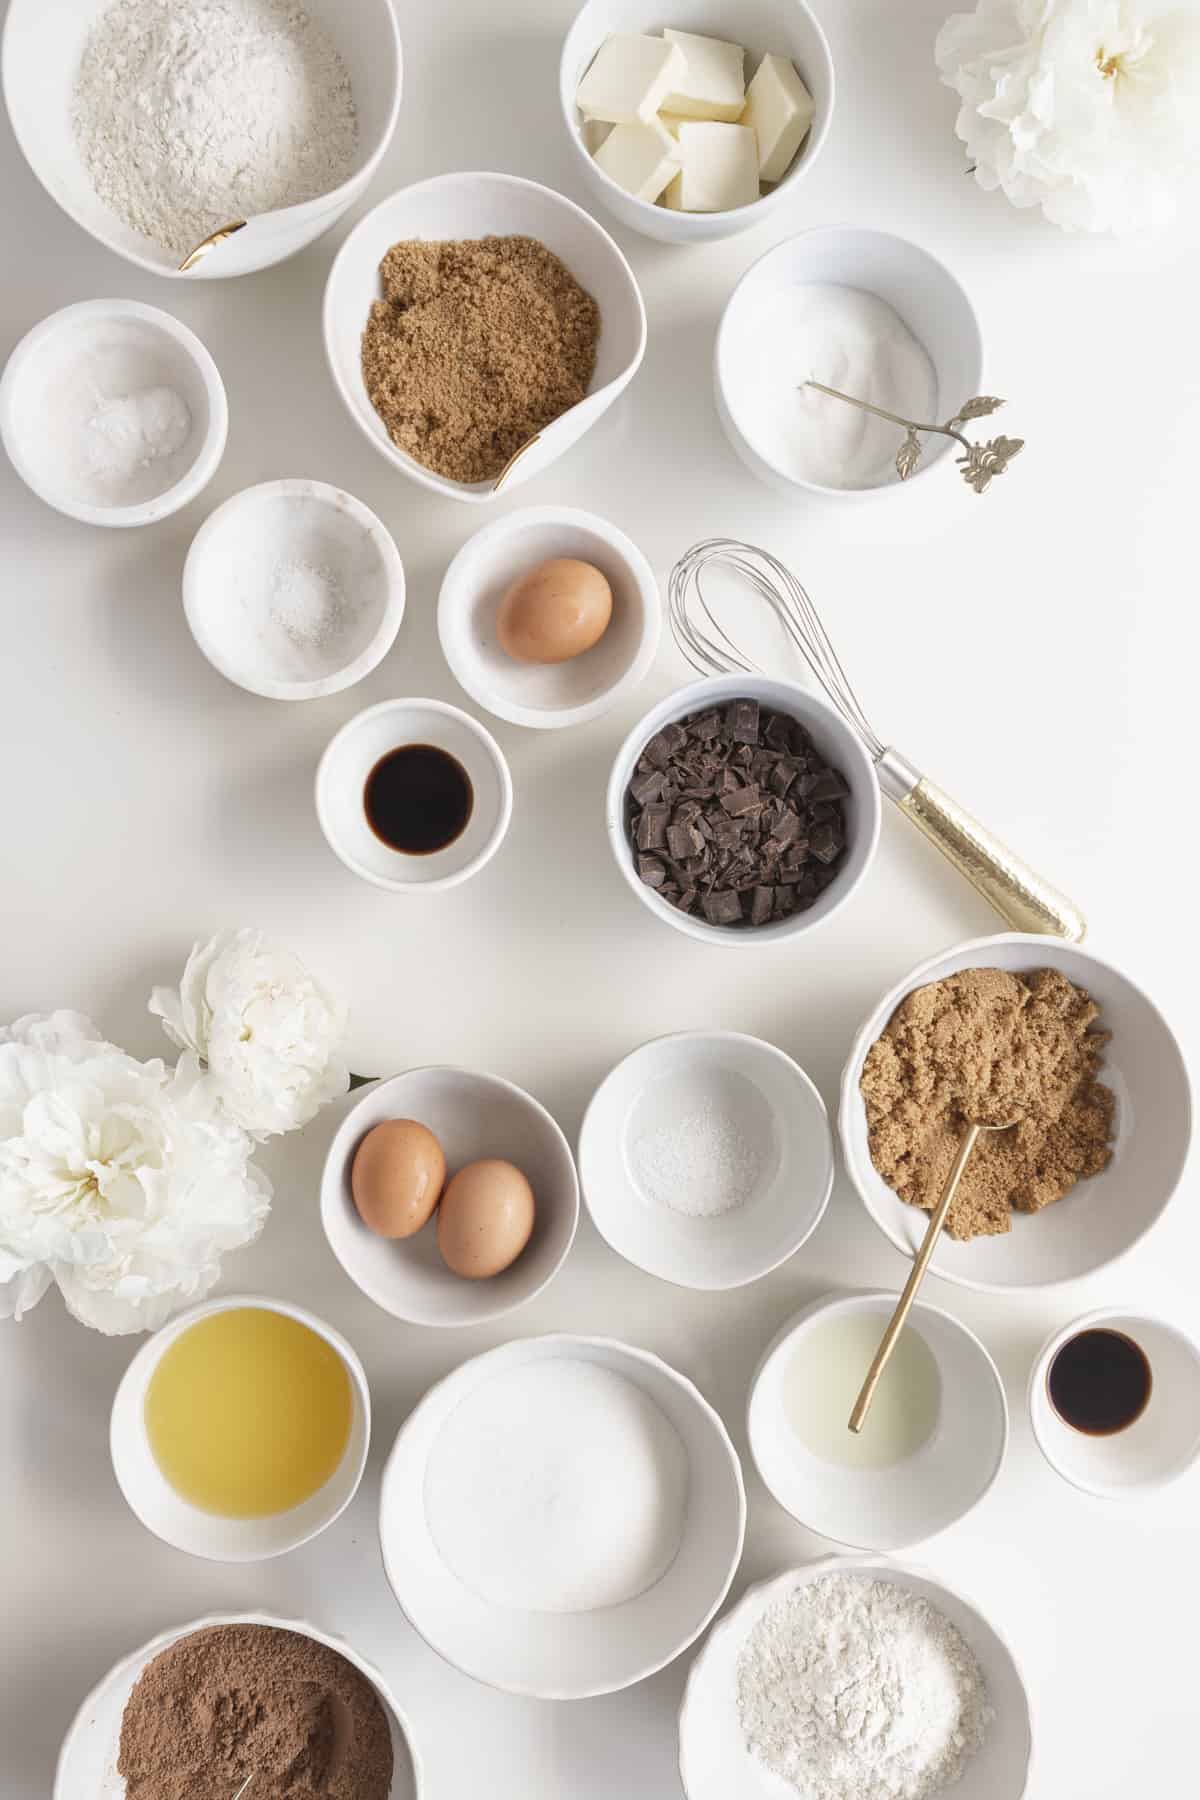
Ingredient Tips for Browkies
I always suggest using exactly what a recipe calls for, especially when baking. Baking is a science and switching out ingredients can cause big issues in the recipe. If you’re looking for gluten-free, dairy-free, etc. it would be best to find a blog with that type of recipe. I am someone with a LOT of dietary restrictions and I can tell you, substituting isn’t your best option. You are of course, more than welcome to try it, just a word of warning.
- Unsalted Butter: It's good to use unsalted butter for this recipe because we'll add kosher salt and that way you can control the amount of salt in the brownies.
- Oil: The combination of oil and butter in brownie recipes is great for moist brownies. Instead of grapeseed or a neutral oil, you can use others like canola or vegetable oil, or even olive oil, but olive oil may leave a hint of a taste versus the others.
- Sugar: A cup brown sugar and one and a half cups granulated sugar used together helps add to the moisture and create the best balance of sweetness. If you'd like to dust a little powdered sugar on top when the brownies are done, feel free.
- Vanilla Extract: Vanilla extract is one of the key flavor ingredients in many baking recipes and helps to bring out chocolate flavor as well.
- Flour: I suggest using all-purpose flour for the tastiest brookie. The consistency will come out perfectly with this flour.
Room Temperature Ingredients
Why do I need to bake with room temperature butter?
So many baking recipes call for room temperature butter. This is due to a few things. 1) An emulsion is formed when all the wet ingredients are at room temperature and mixing. You are whipping in the air into the batter. Which will later help in baking when you get that light and fluffy texture. 2) Room temp butter is also able to blend smoother and create a cohesive batter. If you don’t have it room temp it can become very dense.
How to get butter room temperature for baking
I usually leave mine on a plate on the counter for a couple of hours. Or maybe on the oven if it’s being used for something else. If you are in a hurry you can zap in the microwave in very short increments. Just don’t melt it.
Why do I need to Bake with Room Temperature Eggs?
A lot of baking recipes (mine included) ask for room-temperature eggs. This is because a room temp egg is easier to break down than a cold egg. So, therefore, it mixes into the batter better. ALSO, room temp eggs get a better volume making for a fluffier baked good.
How to get eggs room temperature
I would suggest leaving them on the counter for 1-2 hours to get room temp. However, if you forget or run out of time, another option is to place the eggs into a bowl of warm water (not hot) for about 10-15 minutes.
Pan Tips
- Brownie pan: I use a 9x9 inch pan as this helps to get a thicker brownie and cookie that. However, if you like yours thicker ot thinner, use a 13x9 or an 8x8 pan. You'll need to add in or remove additional time at least by about 8 minutes (just keep an eye on it) for the perfect chewy brookie.
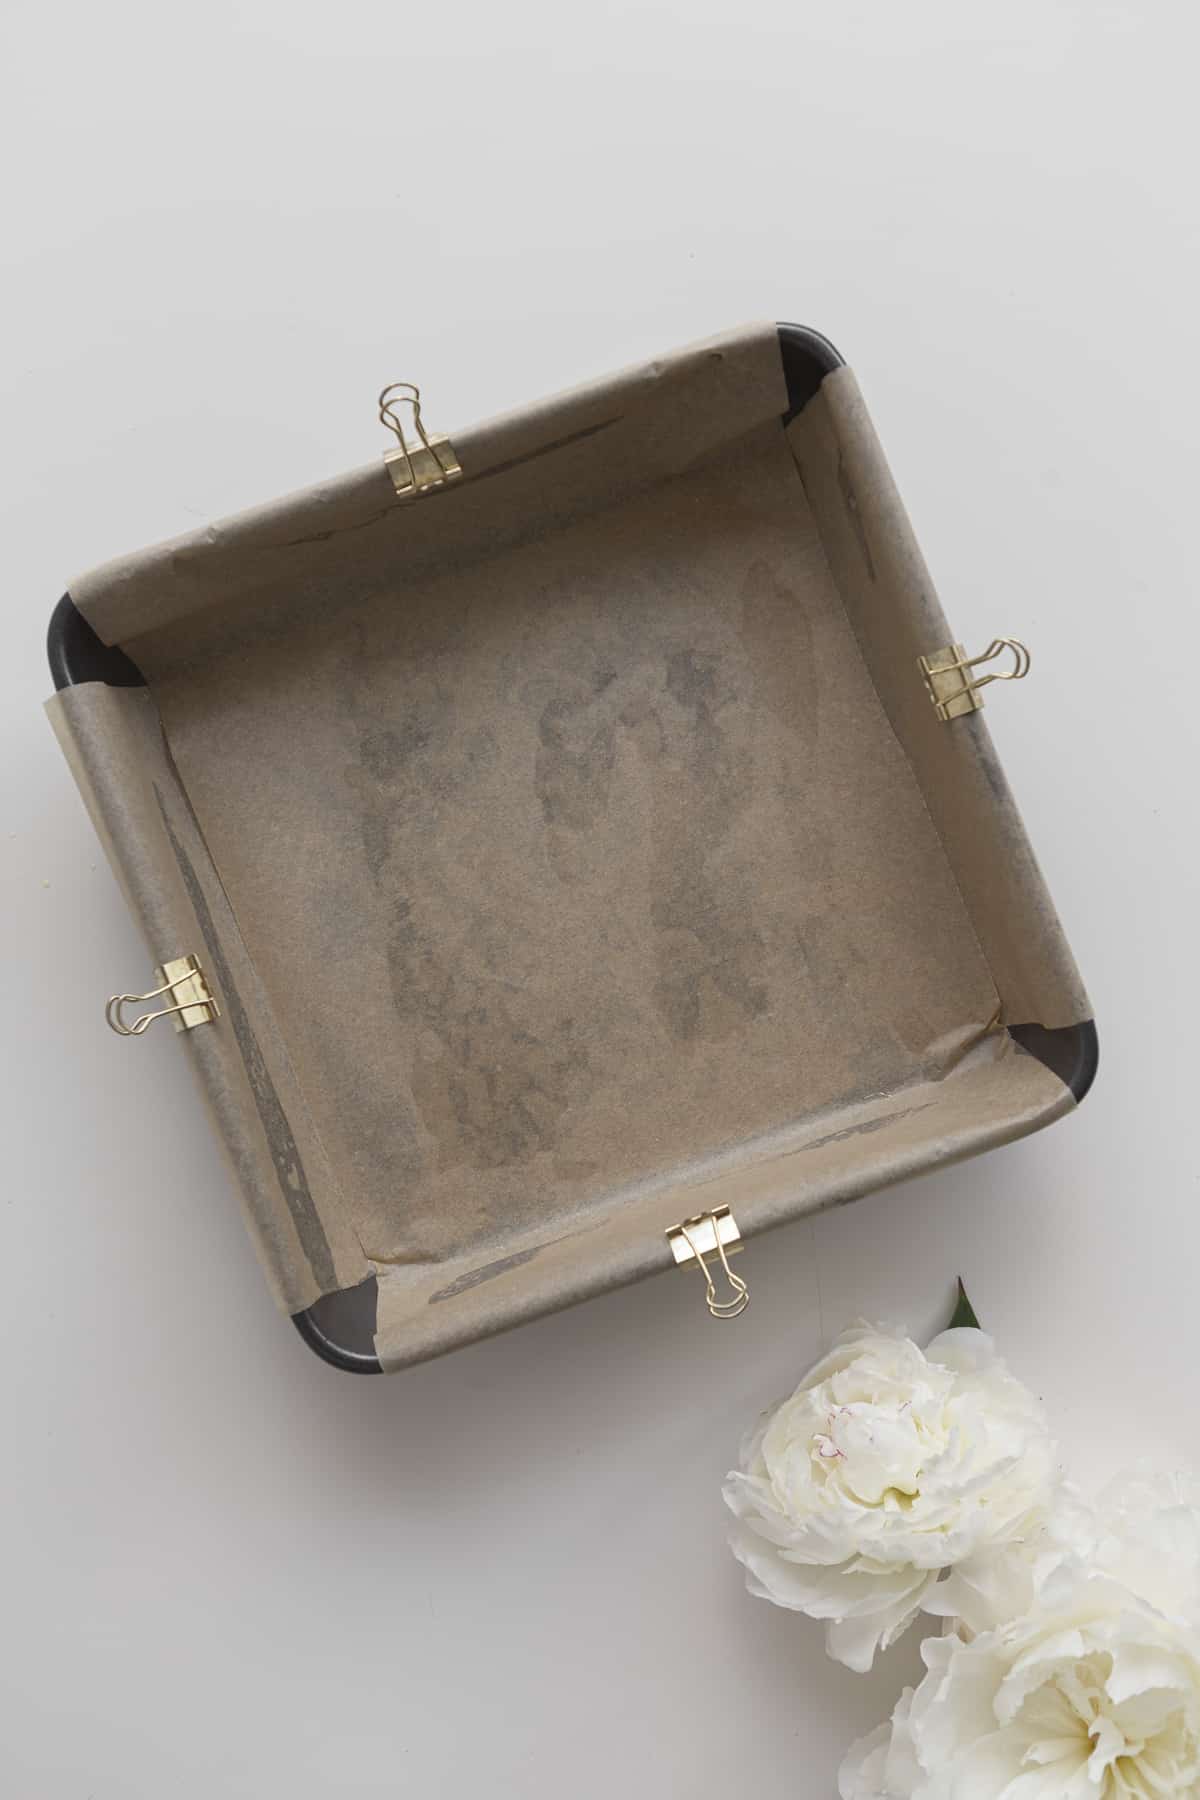
- Prep your pan: Be sure you prep your pan for easy removal. You can do a few different methods for this; my favorite is the parchment sling. Take two long pieces of parchment paper, cut the width of the base of your pan. The length should run over the sides. And then cut one on the perpendicular side. Grease your pan and add in the two sheets overlapping. Use metal binder clips to pin down each side (has to be completely metal, not plastic). This works great on square pans, but not always necessary for two pieces on a rectangle pan. You can also just grease your pan well.
Baking Tips
- How to slice brownies: The easiest way to slice brownies is to make a parchment sling so you can remove all your brookies from your pan. Then use a sharp knife, run it under warm water, wipe of excess water with a cloth, and slice. Repeat warm water/wiping as needed.
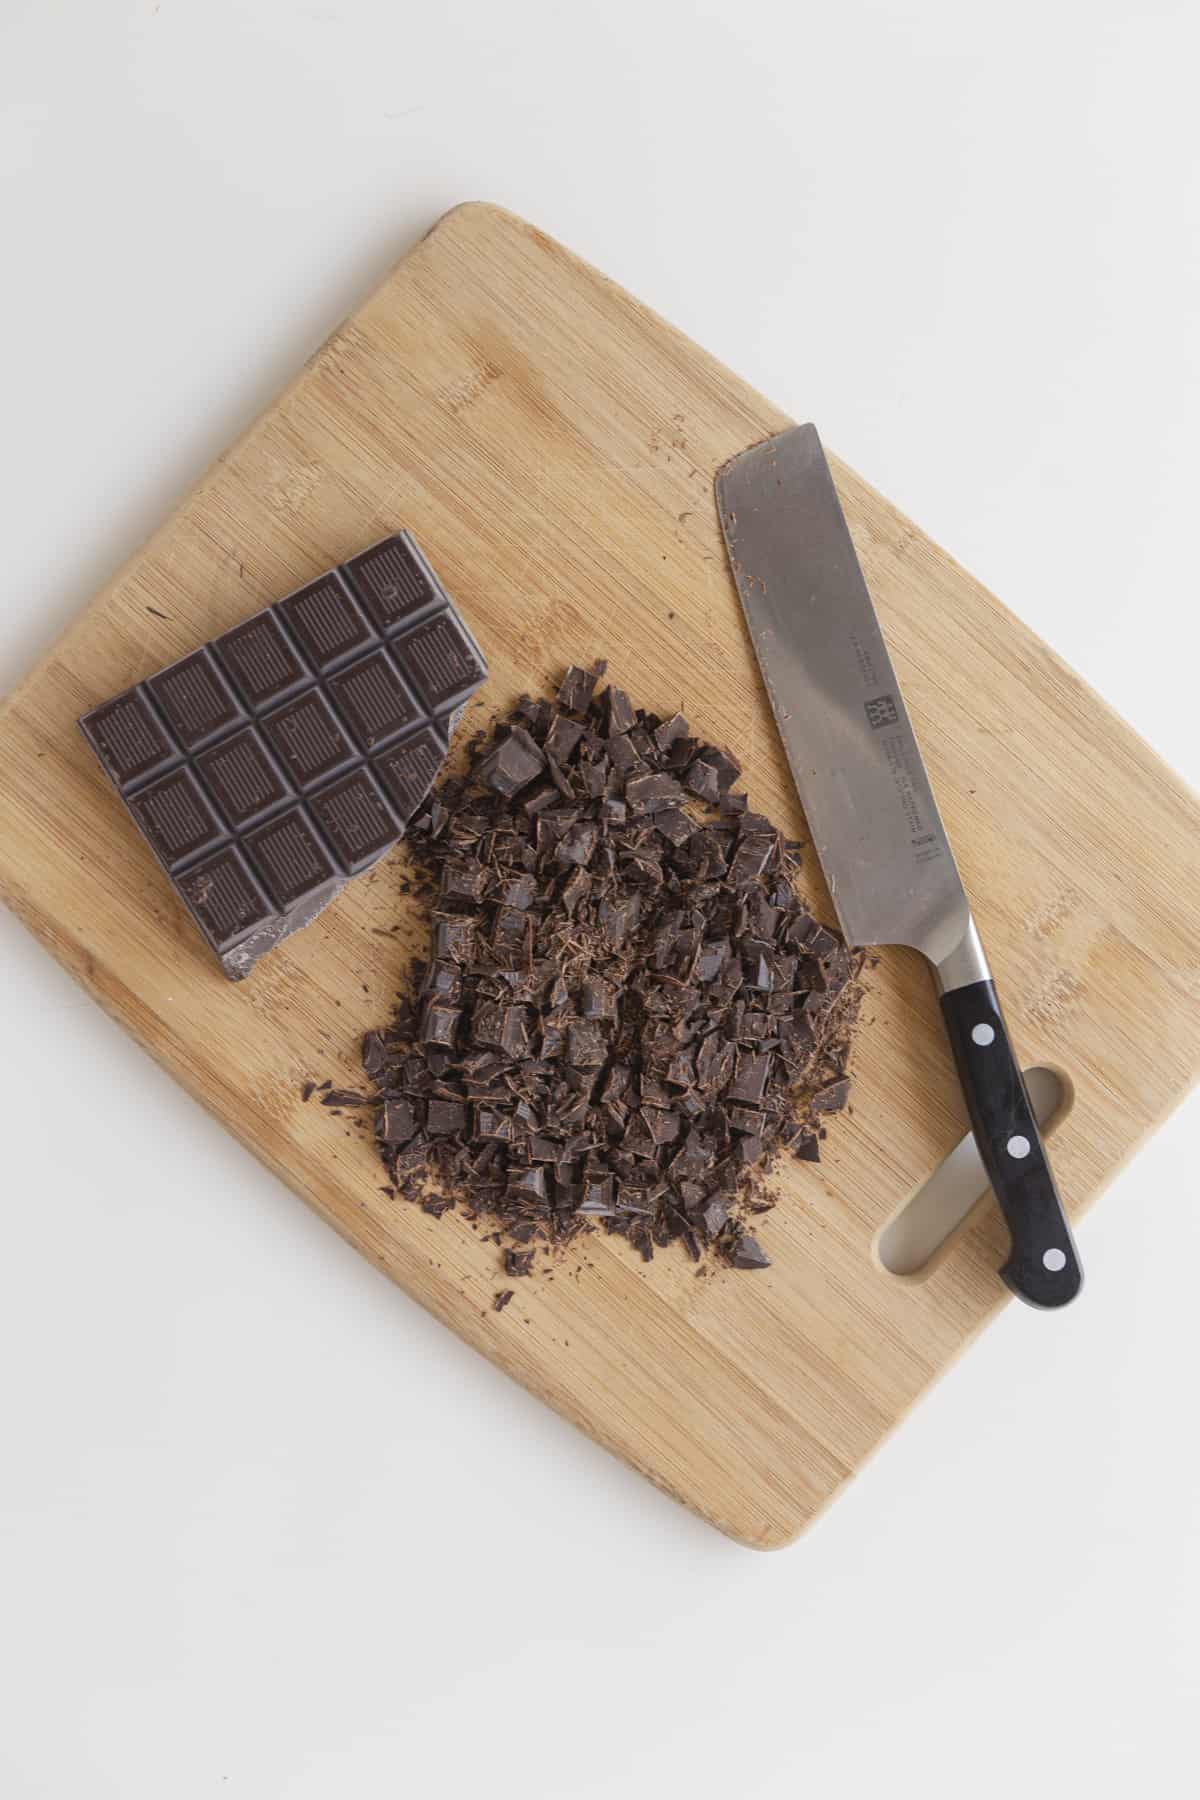
- Chocolate Chips v. Chopped Chocolate: Personally, when I can, I like to use chopped chocolate instead of chocolate chips. I choose this for a few reasons. One, is the flavor. The flavor is so much more delicious from a chocolate bar than the chips. Two, is the waxy exterior on the chocolate chips are meant to help it keep in shape. However, with a chocolate chunk, you can get those beautiful puddles on top. Three, you get a lot of variety of size of chocolate in the actual bake, creating so much more of a chocolatey goodness inside.

Steps for Assembling Brookies
Because you have to assemble these in such a particular order, I wanted to give you some step-by-step photos and instructions so it can be easier for you.
- Make the cookie layer first so that you can press the cookie dough into a lined 8x8 pan (or 9x9), place it in the fridge to cool. Then separately make your brownie batter and pour it into your prepared pan.
- Gently remove your cookie dough from its pan. And flip your chilled cookie dough into your brownie batter pan. Do not push it into the batter too far.
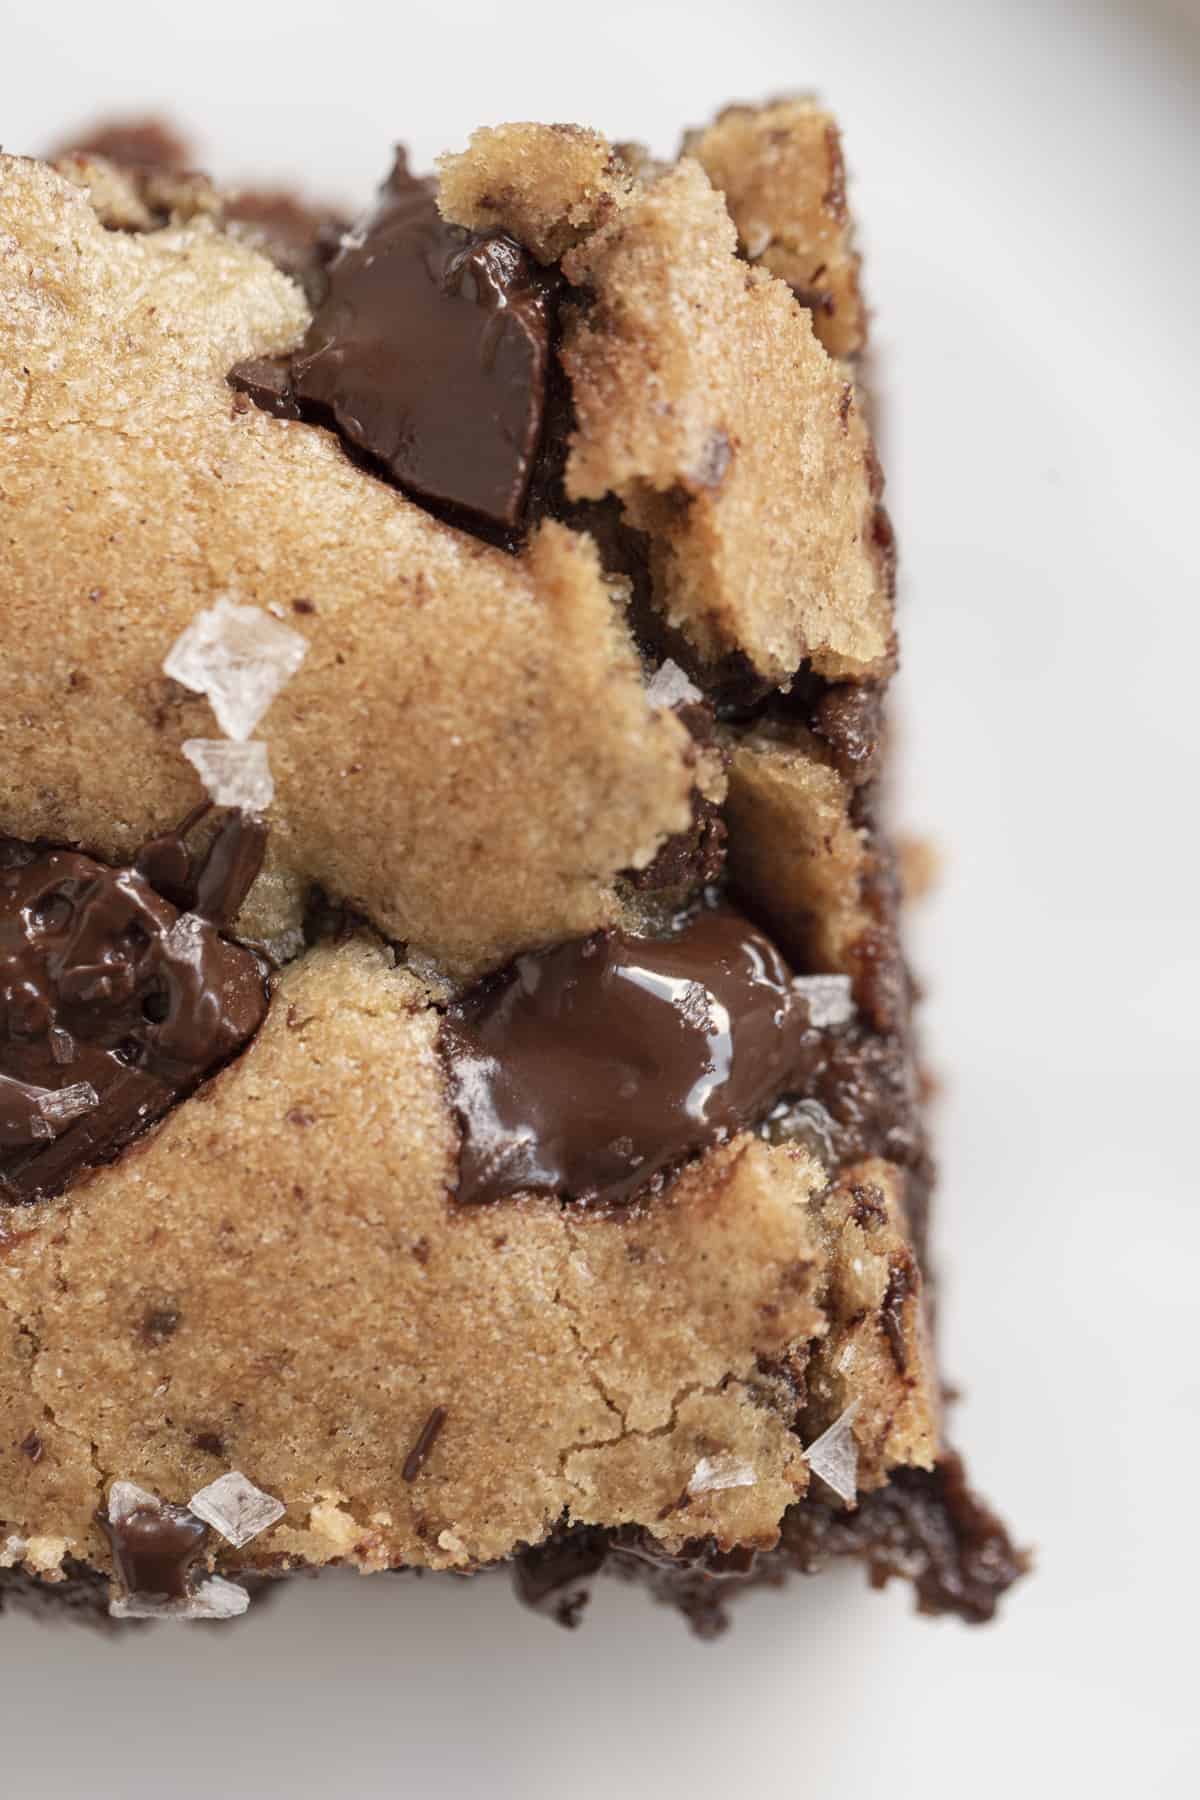
- To get those puddles of chocolate on top of your brookies, add chopped pieces of chocolate (or chocolate chips) on top of the cookie dough. Gently pushing them in slightly into the dough.
- Cover the top of the pan with foil, folding over the edges. Now you’re ready to put it into oven.
FAQs
Of course, you can! The most difficult part will just be whipping sugar and butter/oils. You want to whip it to the point where they cream together, so you may need to double your whipping time. This is just the faster or easier way to do it. For the wet ingredients use a whisk (or handheld mixer) to mix. You can also use a wooden spoon for mixing wet and dry together.
Whipping (whether by hand or stand mixer) is so important to many baked goods. This will add necessary air to your baked goods. They also emulsify your sugars and cream them into the butter to make sure in the end the baked good is not grainy.
For this cookie, we chill the dough for a few reasons.1) To allow the sugars to fully incorporate into the dough. Otherwise, you’ll have grainy cookies. 2) To get a fluffier cookie. Baking with the cooled cookie dough helps to give it a nice rise and keep a fluffier consistency. Not all cookie dough requires chilling. It will be a short amount of time for this recipe. I prefer to chill this dough in the freezer to quicken the process, but you can do the fridge.
This recipe has the foil covering the batter and dough for the first half, to keep the dough from getting too hard and keep a doughier bake. Keep checking in on your brookies at the end to make sure they are the doneness you desire. I bake the first half for 30 minutes covered, then the last 15-20 minutes uncovered.
Other Treats to Try
- Double Chocolate Chunk Cookies
- Chewy Brownies with Cocoa Powder
- Chocolate Chip Meringue Cookies
- Egg Yolk Chocolate Chip Cookies
- Perfect Chocolate Chip Cookies
- Oatmeal Chocolate Chip Cookies
- Snickerdoodle Cookies
Love this Recipe?
Did you make this recipe and just love it? Awesome! If you have a quick minute and could leave a star rating and comment below, I would appreciate the support and knowing your feedback! And if you’re over on Instagram, be sure to tag me in your photos!
Equipment
- 8x8” pan
- 9x9” pan
- Stand Mixer
Ingredients
Cookie Layer
Wet Ingredients
- ½ cup unsalted butter room temperature
- ⅔ cup brown sugar
- ⅓ cup granulated sugar
- 1 large egg room temperature
- 1 tablespoon vanilla extract
Dry Ingredients
- 1 ½ cups all-purpose flour
- ½ teaspoon baking soda
- ½ teaspoon baking powder
- ½ teaspoon sea salt
- 1 ¼ cups dark chocolate chunks divided
Brownie Layer
Wet Ingredients
- ½ cup unsalted butter melted but cool
- 2 tablespoon grape seed oil
- ¾ cups granulated sugar
- ½ cup brown sugar
- 2 large eggs room temperature
- 1 tablespoon vanilla extract
Dry Ingredients
- ¾ cup all-purpose flour
- ½ cup unsweetened cocoa powder
- ½ teaspoon kosher salt
Optional
- flakey sea salt
Instructions
Cookie Layer
- Prepare an 8x8” pan with butter or oil and make a parchment sling or partial sling.
- Use your stand mixer with the paddle attachment. Add butter and sugars into the bowl. Mix until thoroughly combined and fluffy. This is about 5 minutes on a speed 4.
- Add the egg and mix until incorporated. Then add in vanilla extract and mix thoroughly.
- In a second medium to large bowl whisk flour, baking soda, baking powder, and salt.
- Slowly add the dry ingredients into the wet ingredients with the mixer turned onto low/medium speed.
- Once well mixed, fold in 1 cup of chocolate chips, leaving behind about ¼ cup for topping the dough.
- Cover and place in the freezer while you make the brownie batter. If you’re leaving it for more than 30 minutes, place it in the fridge instead.
Brownie Layer
- Preheat your oven to 350° F.
- Prepare a 9x9” pan with butter or oil and make a parchment sling.
- In your stand mixer with the whisk attachment combine butter, oil, and sugars to cream, about 4 minutes on a speed of 4.
- Add in one egg at a time, each should incorporate before adding another. Add in vanilla and mix.
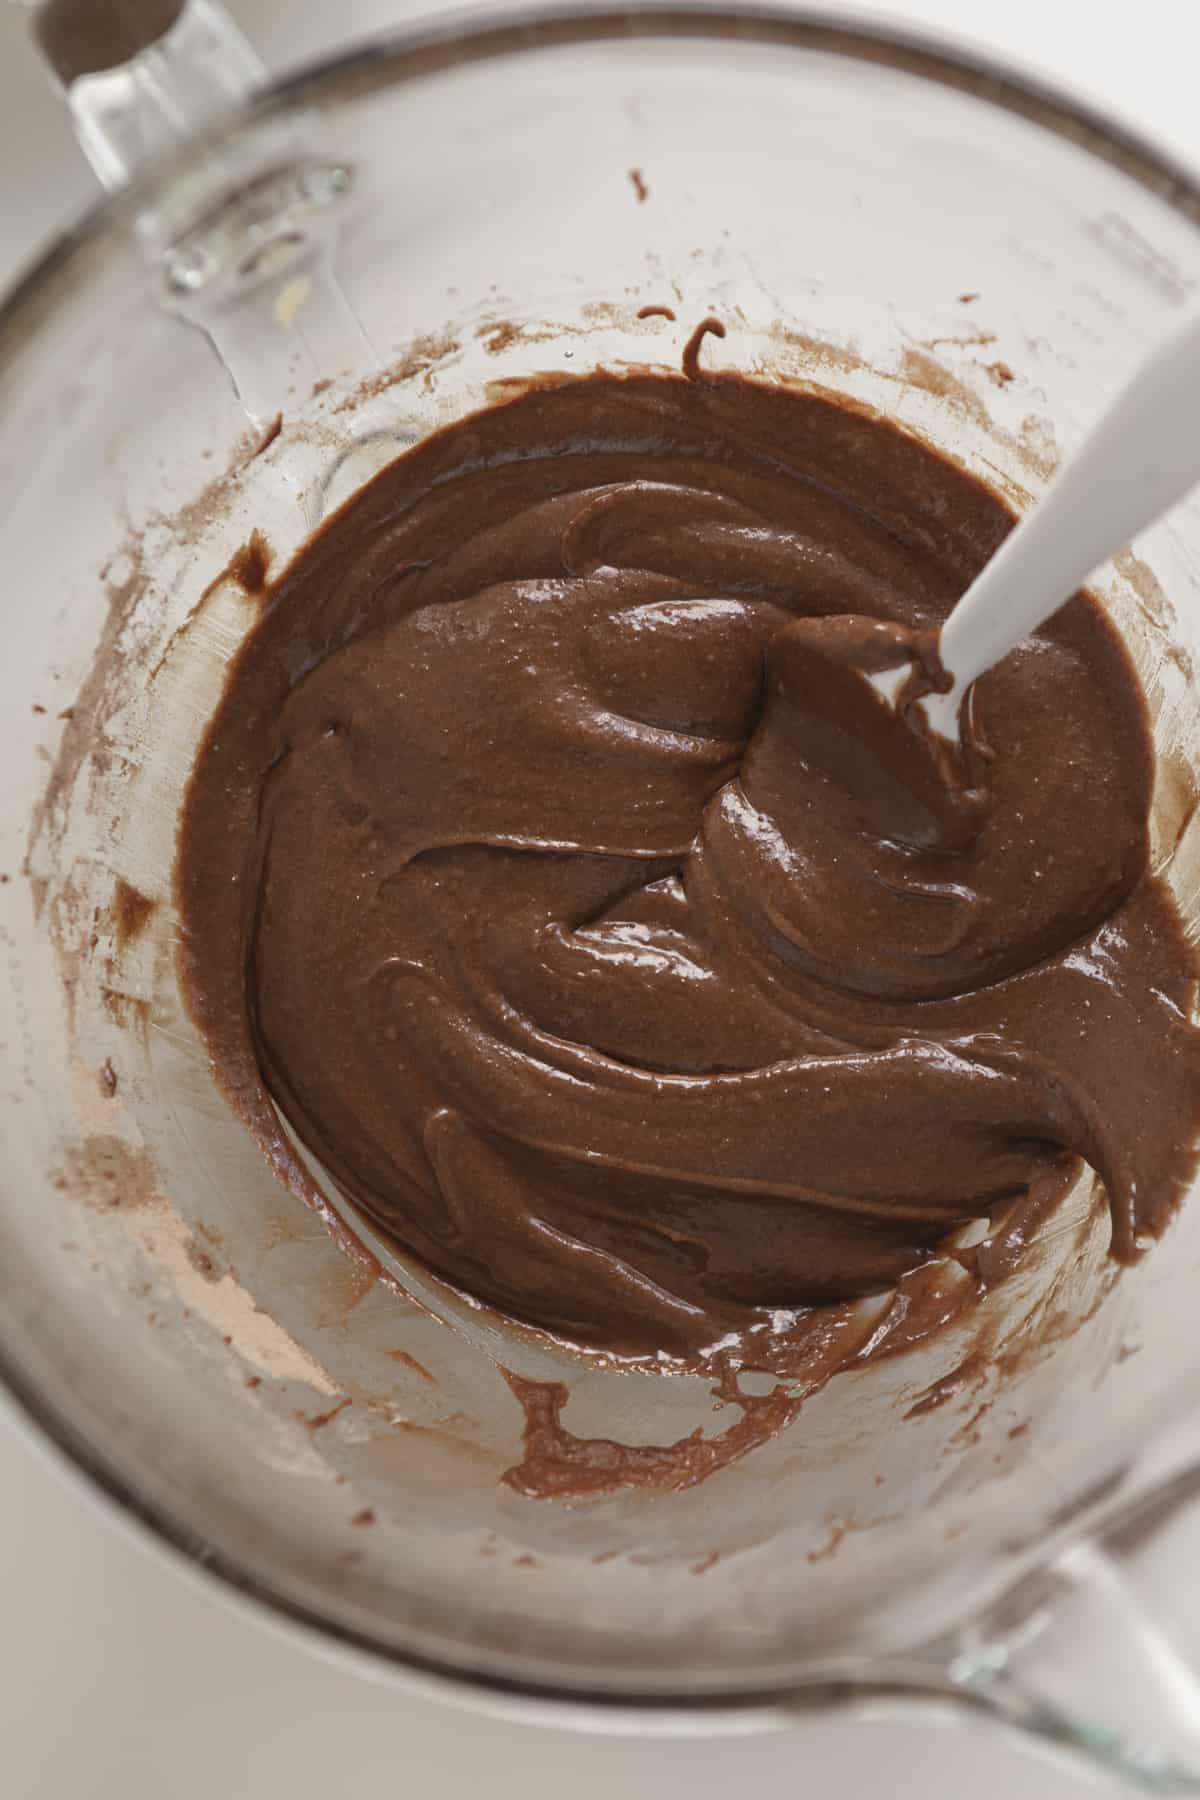
- In a separate large bowl sift in the flour, cocoa, and salt. Mix well.
- Pour dry ingredients slowly into the wet ingredients slowly. Mix until just combined. Be sure to not over mix.
- Pour batter into the prepared pan. Using a rubber spatula or offset spatula, smooth across the entire pan.
Assembling
- Place both batter and cookie dough on the counter. Gently remove your cookie dough from its pan. And flip your chilled cookie dough into your brownie batter pan. Do not push it into the batter too far.
- To get those puddles of chocolate on top of your brookies, add chopped pieces of chocolate (or chocolate chips) on top of the cookie dough. Gently pushing them in slightly into the dough.
- Cover the top of the pan with foil, folding over the edges. Now you’re ready to put it into oven.
Baking
- Place in the oven and bake covered for 30 minutes. Remove the foil and bake uncovered 15-20 minutes. Keep checking for doneness.
- Take out of the oven and let sit and cool for 15-20 minutes. Also, you can add flakey salt on top.
- Remove the clips and pull the sling out gently, placing brookies on a cutting board. Slice and serve.
Leave a Reply