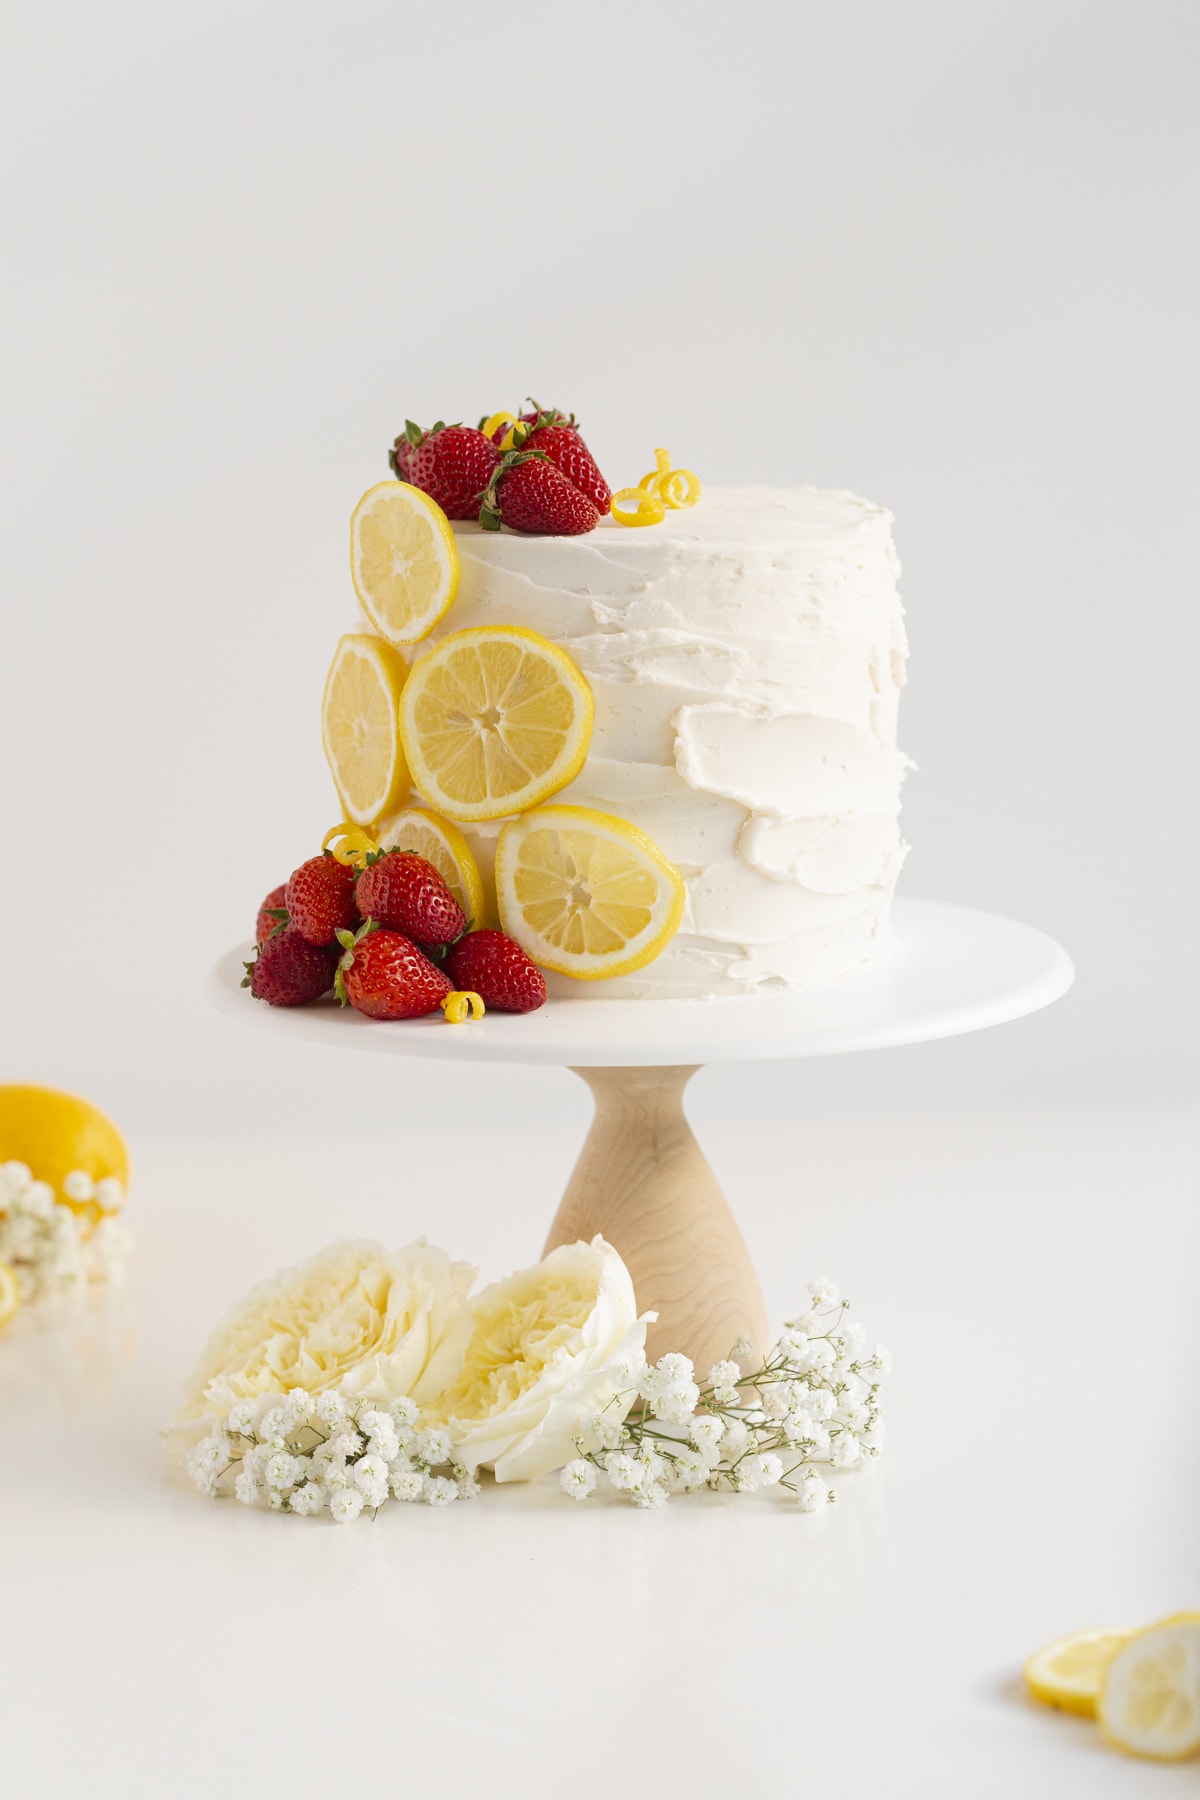
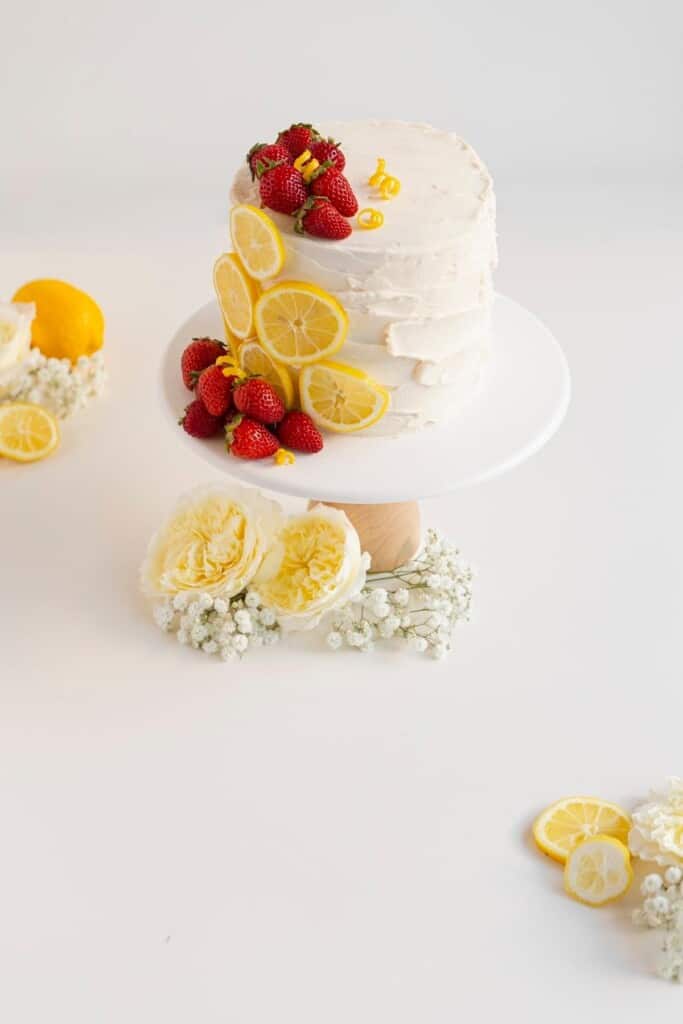
This Strawberry Lemon Cake is perfect for summer! The cake is made from lemon cake layers with a lemon buttercream frosting and a fresh strawberry filling. It’s a fun three-layered cake packed with flavor. Perfect for a dinner party, birthday, or micro-wedding. It can feed about 8-12 people (depending on your slice size). Or if you’d prefer something for just 7 small cupcakes, try this small batch Strawberry Filled Cupcakes.
I truly love this cake and the refreshing taste of lemon and strawberry together. I’ve always been a fan of things like strawberry lemonade and strawberry lemon-flavored candy. So, it just made sense to make a delicious baked good. And this is such a delicious cake. I think you’ll love this one, it’s like a strawberry lemonade cake!
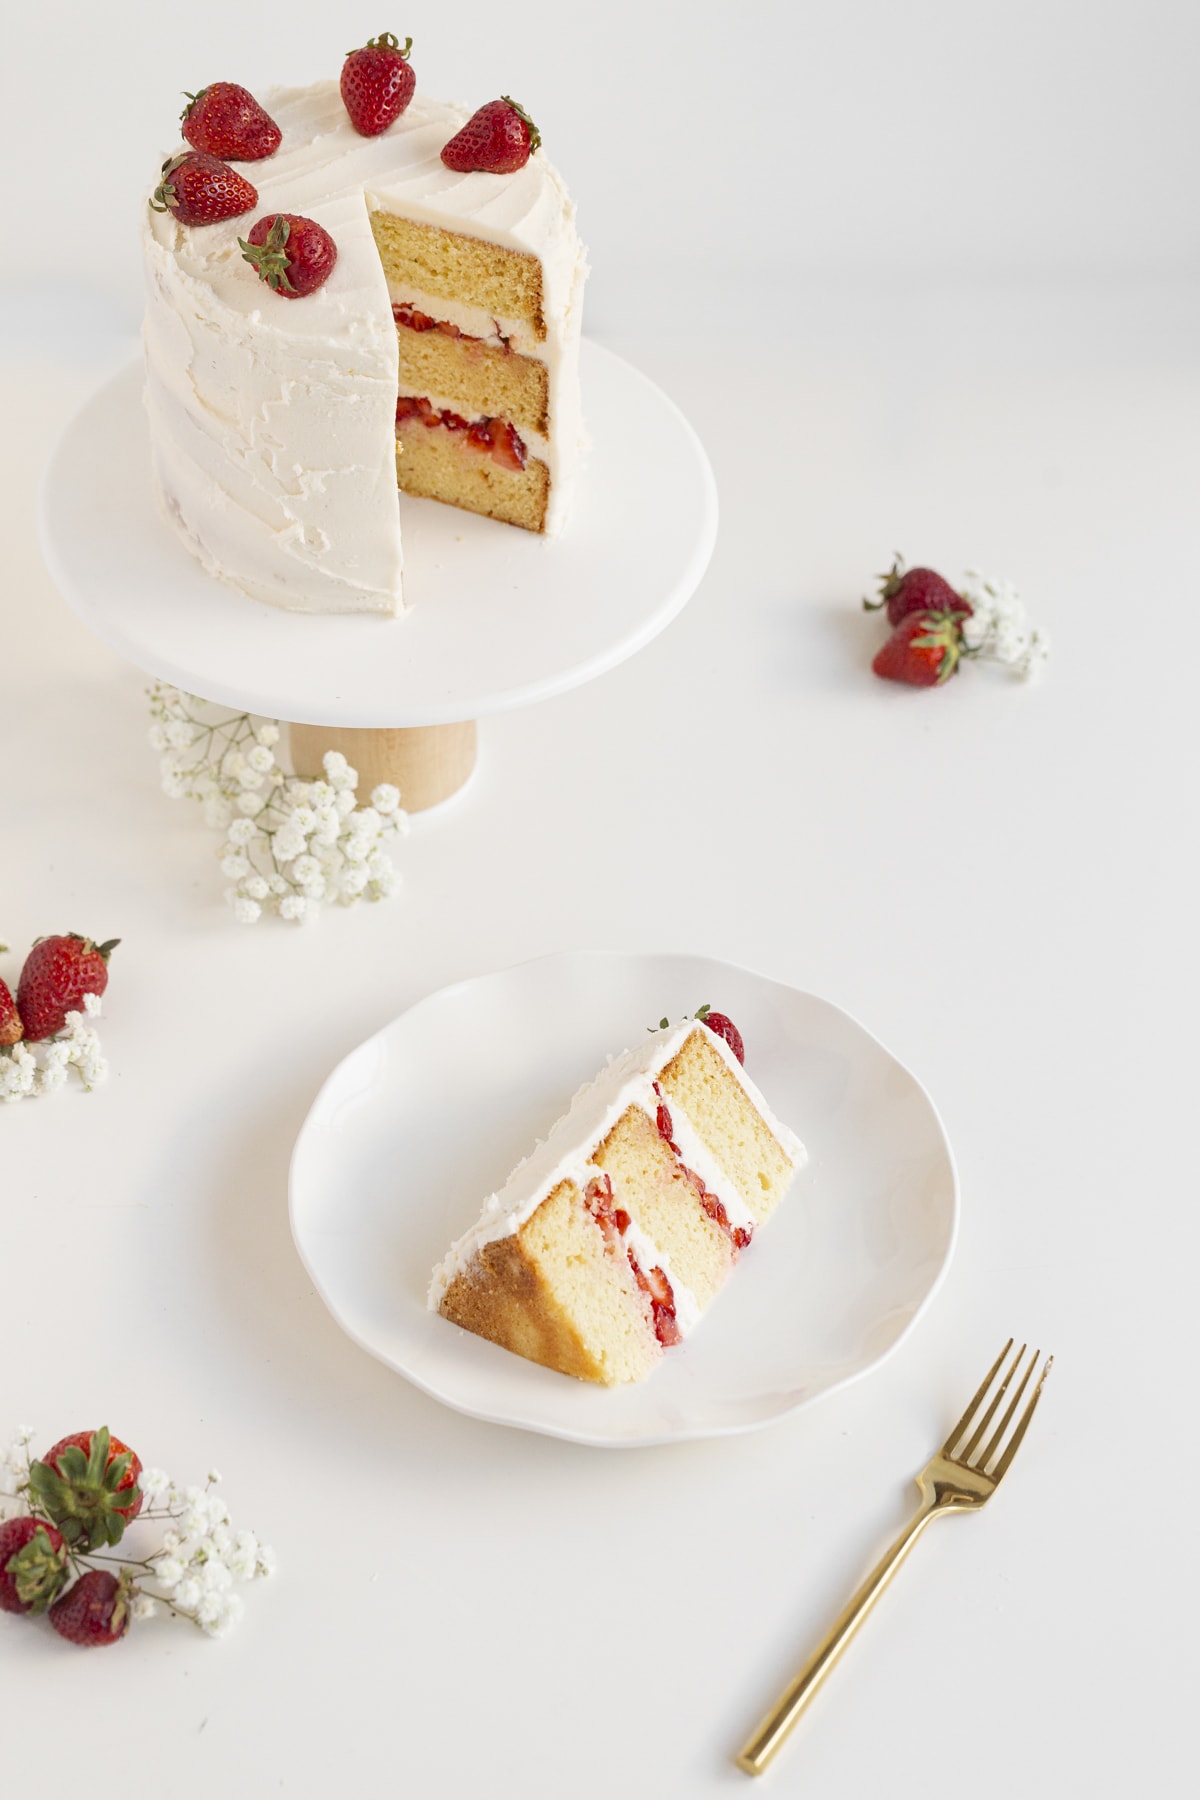
I also used this recipe for my pressed flower cake. The pressed edible flowers easily stuck to the buttercream, but you can also use a little water on the flowers to make them stick more easily.
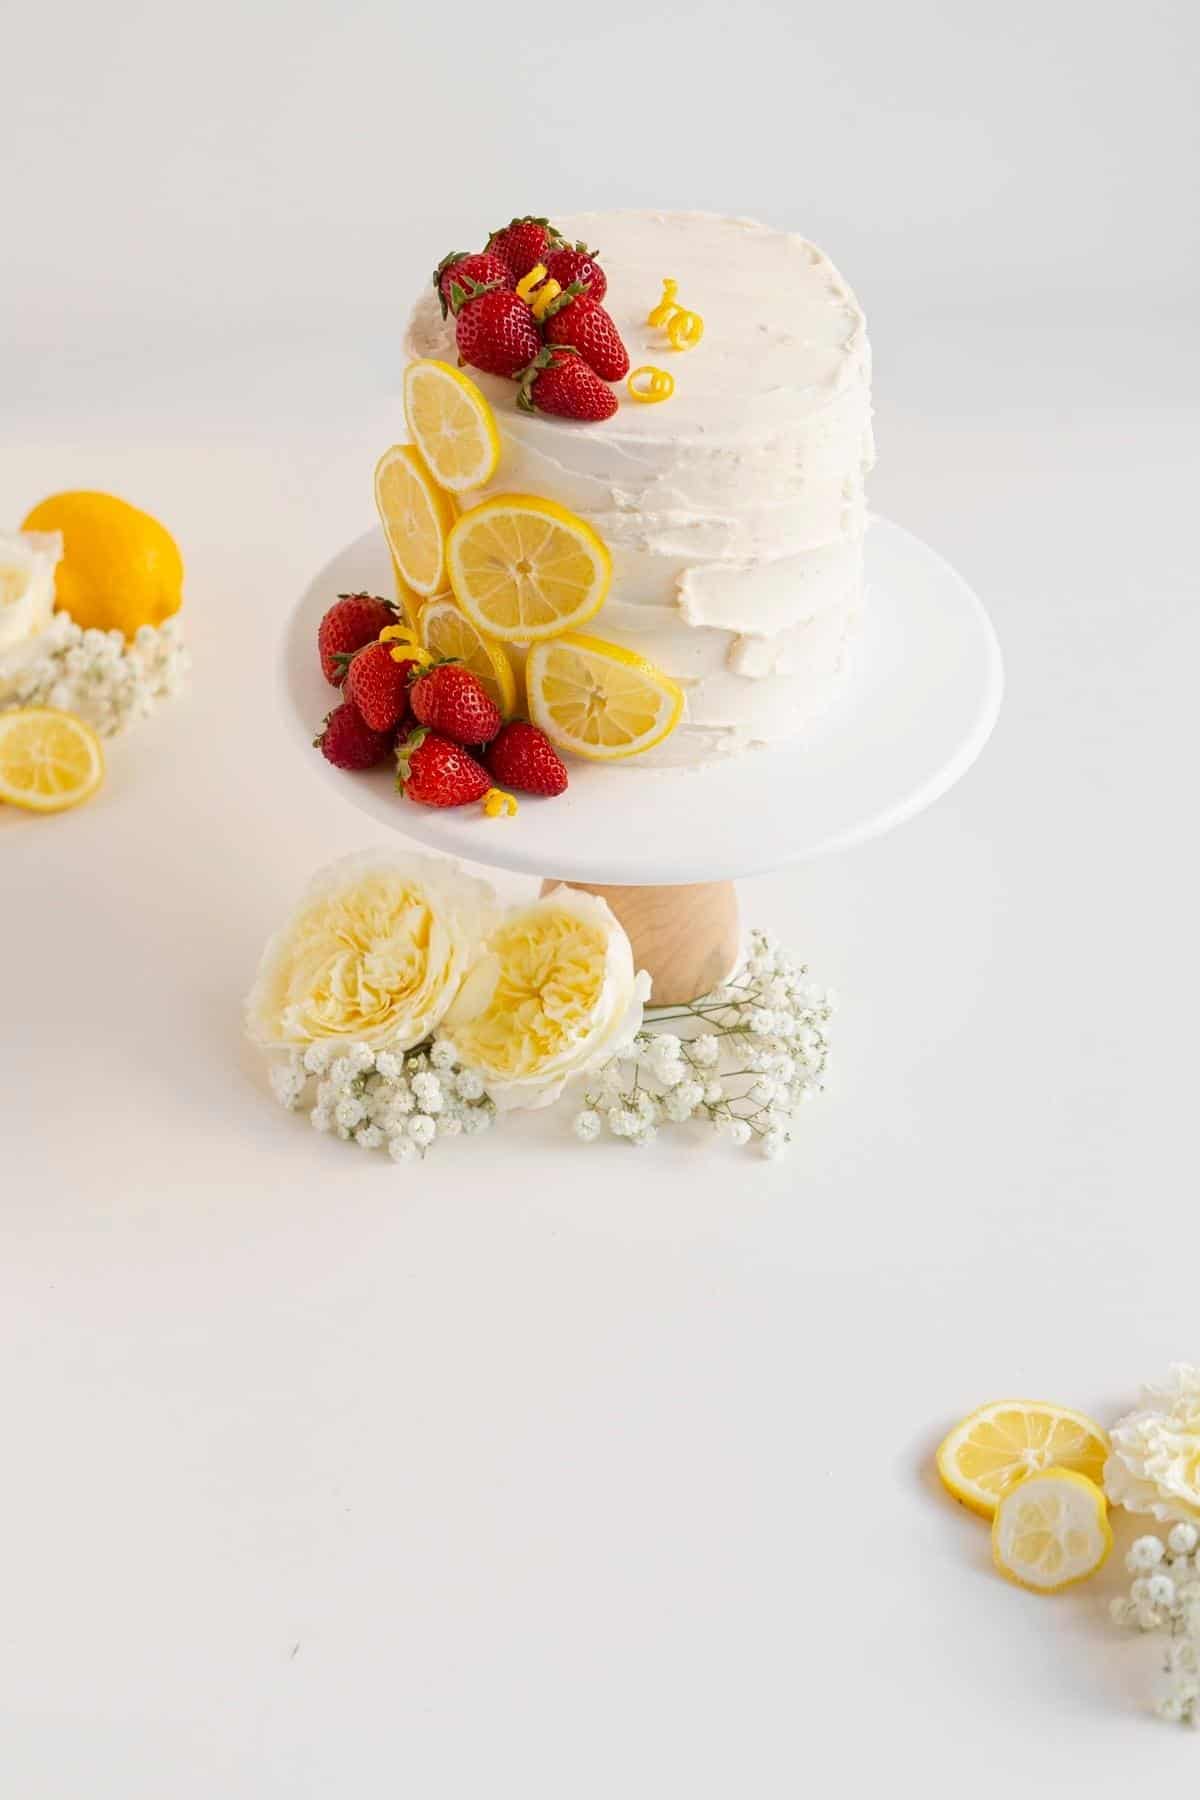
Table of Contents
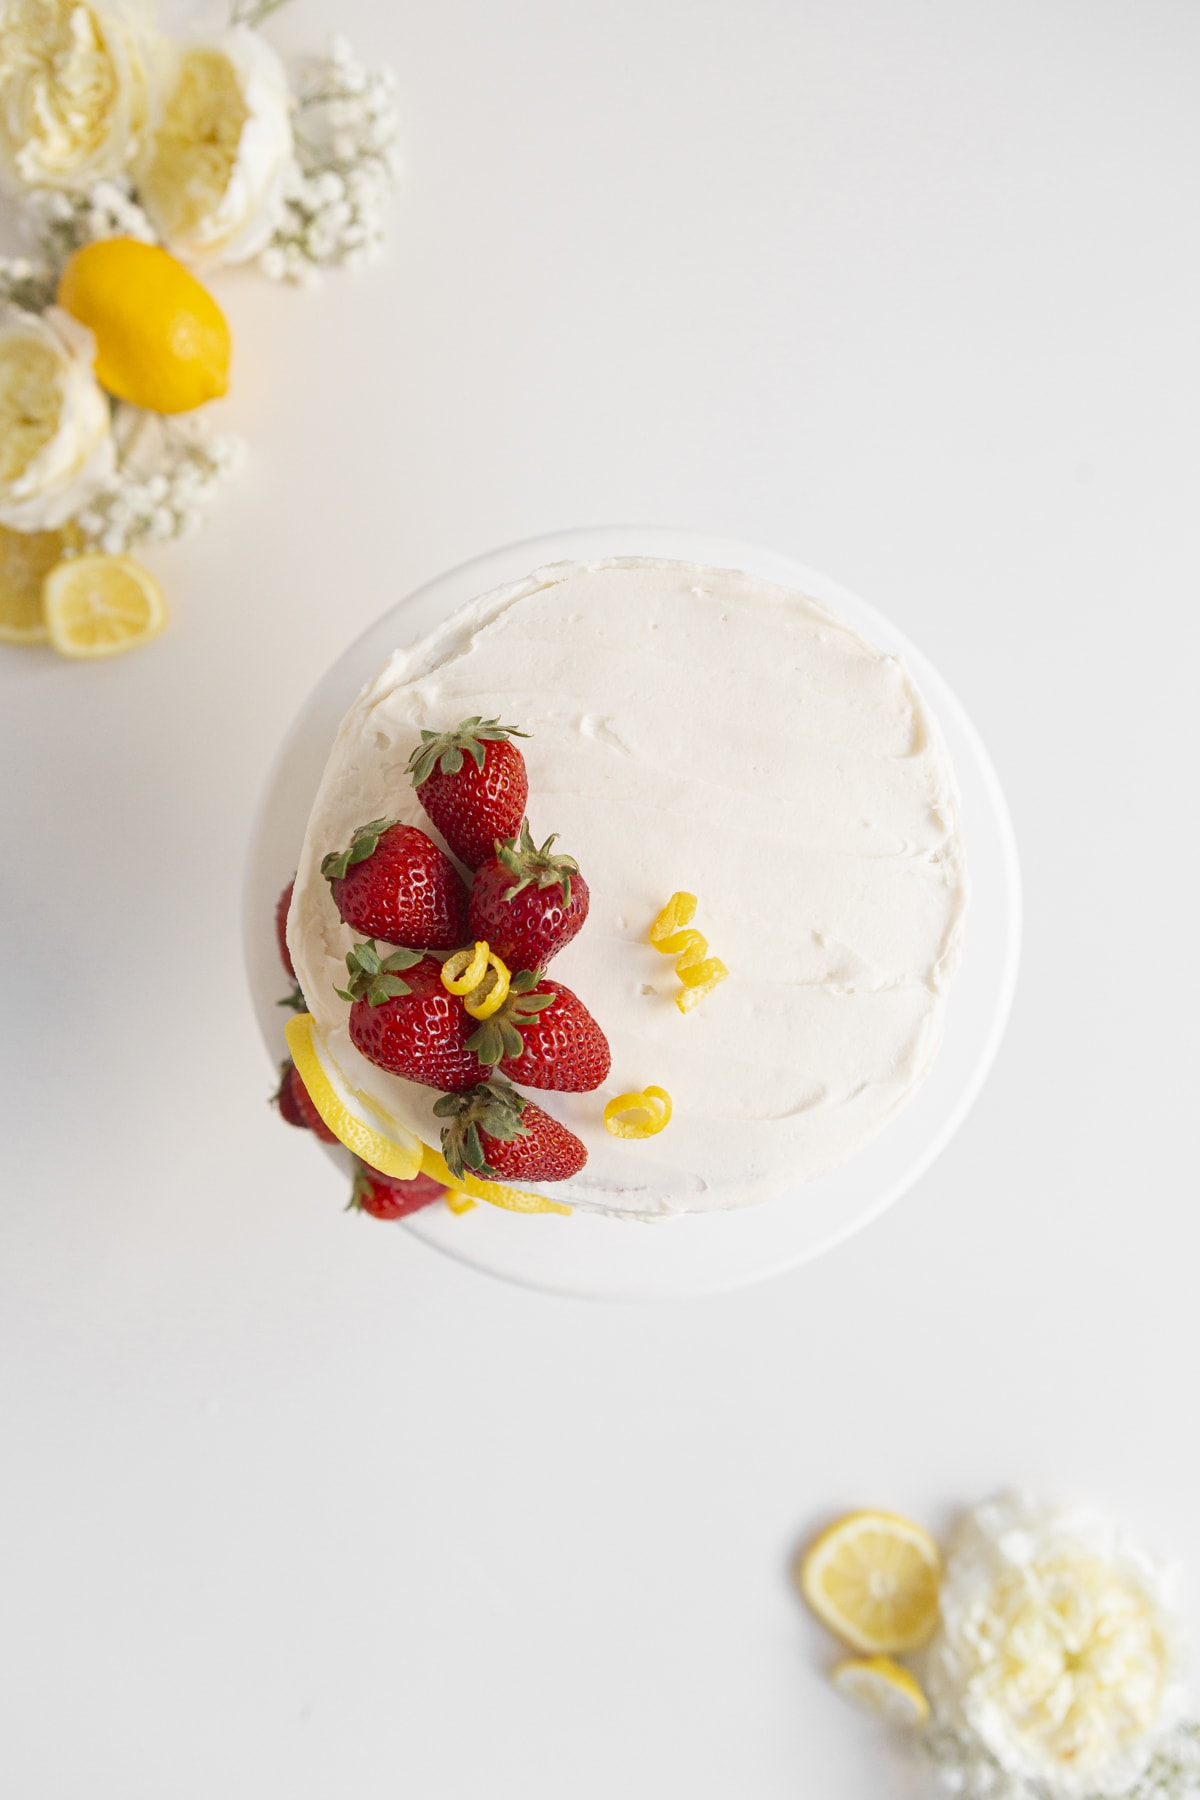
Cake with Strawberry Filling
This cake looks a bit more complex than it is. It’s not a super beginner’s cake, but a more intermediate-beginner baker could definitely handle this one. The base is fairly simple to make, as is the frosting and the filling. The most advanced part is probably the assembling of the cake. Which once you get that down, you’re able to make layered cakes like a pro.
You can also make it into a two layer 8-9” cake, a sheet pan cake, or cupcakes. I’m not 100% sure the sizing or timing of the bake, you would need to play with that. I recommend keeping to the 6” rounds, but wanted to make sure it’s clear as an option.
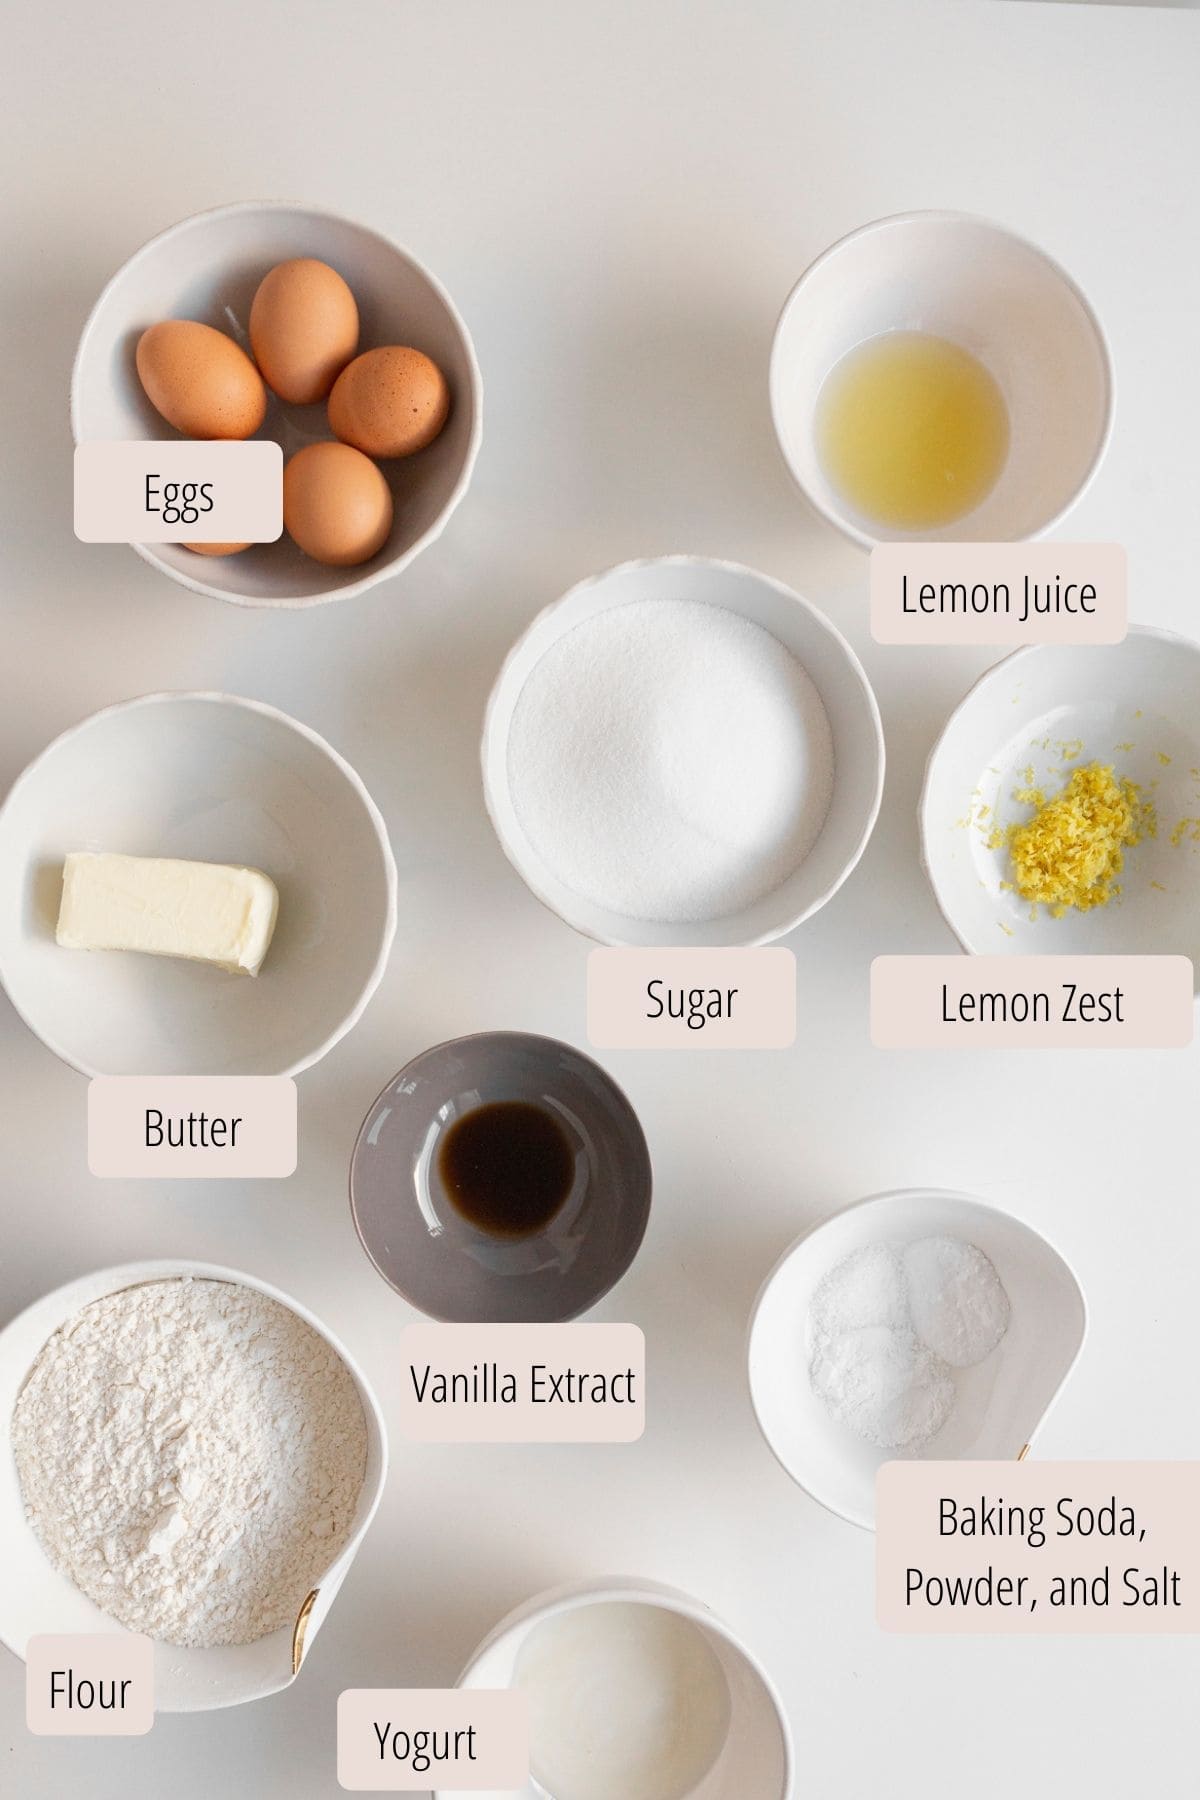
Ingredients
I always suggest using exactly what a recipe calls for, especially if you want it to taste and come out correctly. You can try substitutes not mentioned, however, I can’t guarantee their outcome. If you’re looking for gluten-free, dairy-free, etc. it might be best to find a blog with that type of recipe. I am someone with a LOT of dietary restrictions and I can tell you, substituting is not always so easy. You are of course, more than welcome to try it, just a word of warning.
Here are a few notes about these ingredients:
- Unsalted Butter: Why unsalted butter? Because in baking, unsalted is preferred so you can be in control of the amount added in. salted butter can vary in content, and this way you control it. It won’t be too salty or not salty enough.
- Egg Whites: This recipe calls for egg whites and yolks. This works to build up a fluffy batter, keeps it nice and moist (egg whites have a higher water content), and keeps the cake batter a lighter color. It’s important to use both in this recipe.
- Flour: Use the spooning method to scoop your flour. You can fluff your flour first by using a spoon and scooping it up and fluffing it a bit. Then use a spoon to scoop your flour into your measuring spoon. It gives a more accurate measurement than directly scooping or packing it.
- Salt: I prefer a fine grain sea salt or kosher salt for baking inside the dough or batter. But for a topping to the dish, a flakey salt is great.
- Full-fat Yogurt: We want full-fat plain yogurt here for the amount of moisture it adds to the cupcakes. If we use non-fat or low-fat the cupcakes will end up being too dry. You can usually use sour cream when making a substitution in baking.
- Lemons: This recipe calls for fresh lemon juice and lemon zest. You can use lemon juice from a carton or lemon extract, but you’ll still need skin/pith from an actual lemon as well.
- Strawberry Filling: Instead of using fresh strawberries, you can use a strawberry preserve. Or even swap it out for other fresh berries or other berry jam preserves.
- Frosting: I love the buttercream used for this, but another option would be to use my strawberry buttercream frosting that uses freeze dried strawberries, recipe here: Small Batch Vanilla Cupcakes with Strawberry Buttercream. You might then want to swap in lemon curd with the filling to add in more lemon flavor.
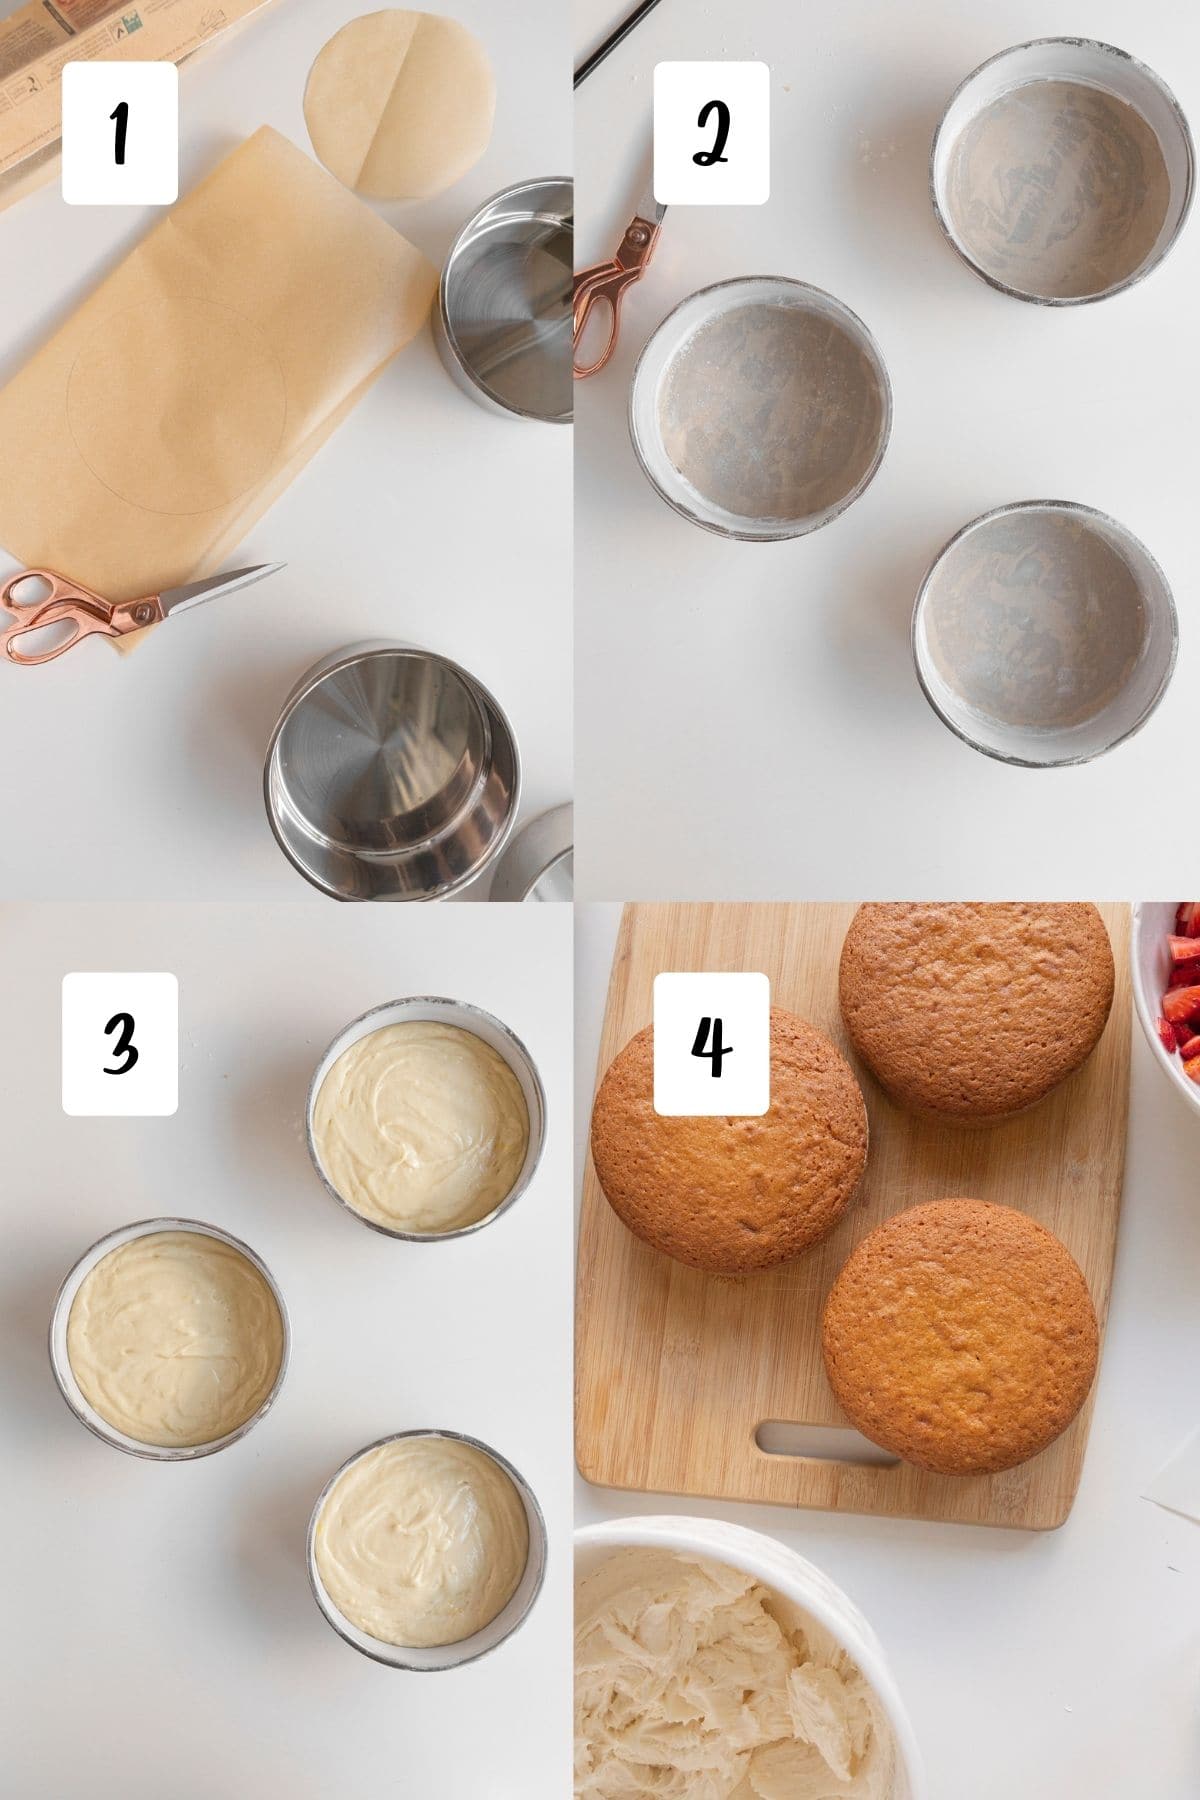
How to Line a Cake Pan with Parchment Paper
- Cut out circles of parchment paper by tracing a circle around the base, just a little larger than the pan. You'll want to cut inside the line so you don't have any pencil on the paper that will go in the pan.
- Grease the inside of the pan with butter or oil, then add the parchment paper circle into the base. Then add in a spoonful of flour and shake it around the whole inside. It's good to do this over the sink or a large baking sheet. Coat the inside.
- Fill with cake batter and slightly bang on the counter to remove air bubbles.
- After the cake bakes, let them cool in the pans, then remove from the pan to completely cool.
How to Cut Parchment Paper for Round Pan
There are a few ways to do this process. The easiest is to buy precut parchment paper for cake rounds. You can find them online. Or you can trace the base of the pan onto a sheet with a pencil. Then you want to cut the circle, but inside the line so you don't leave any pencil on the parchment when you place it in the pan to bake. There are also ways to do this by folding up the paper and cutting at an angle, I just don't prefer this method.
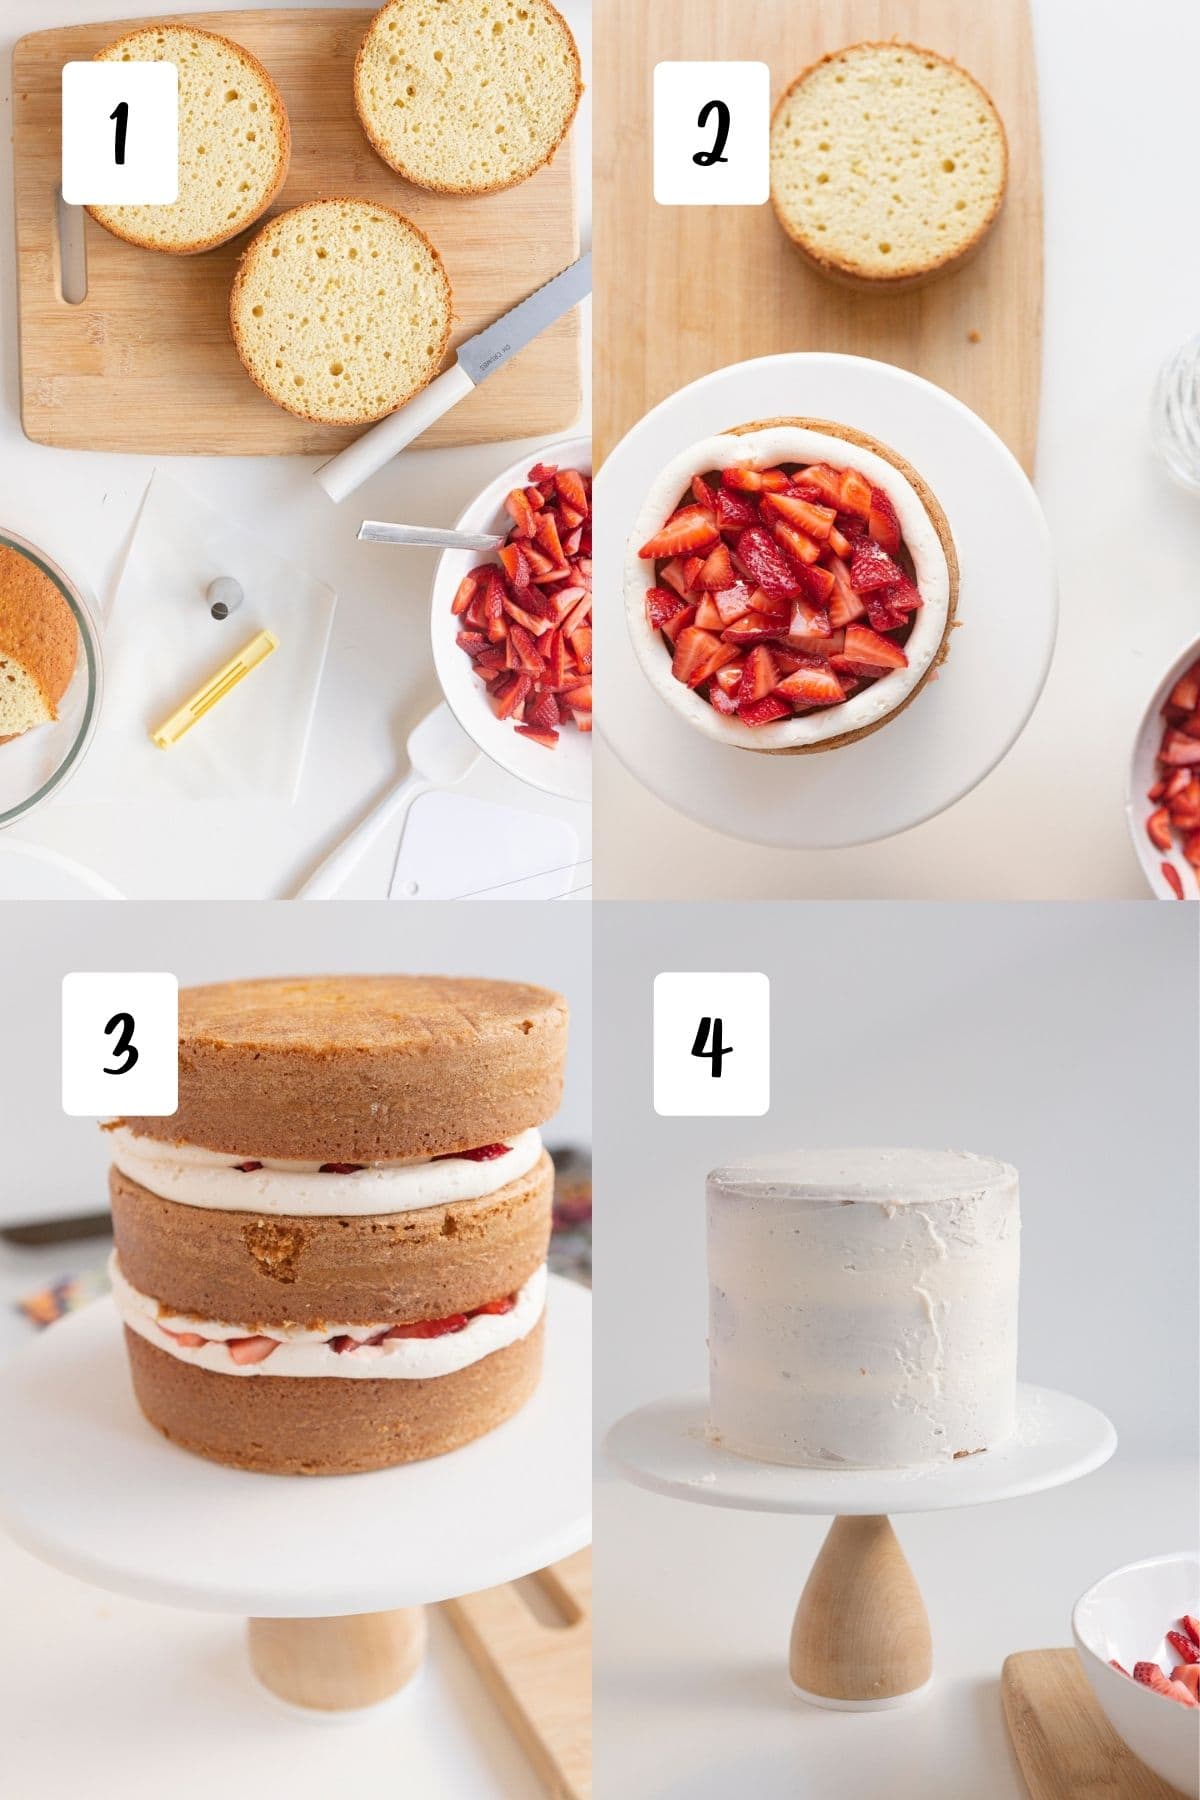
Assembling a Layered Cake
- Slice the curved top off of the cake with a serrated knife or cake leveler.
- Place a dab of frosting on the cake stand in the middle. Take one layer of cake and place it with the cut side of the cake up. Pipe a circle around the rim of the cake and spoon in the strawberry filling. Then pipe frosting on top of the strawberries and even out with an offset spatula as needed.
- Lay the next layer of cake on top of that, cut side up again, and repeat step 2. Lay the final layer of cake, cut side down, on top of the strawberries and frosting.
- Then add a crumb coat with frosting. This is a thin layer of frosting around the entire cake. Place into the fridge or freezer for 10 minutes to make the next layer of frosting easier. Pipe and spread the remaining frosting until you’re satisfied. Decorate and enjoy.
Tips
There are a few methods and tips that I recommend for this strawberry lemon layer cake. Using a mixture of baking powder and baking soda. The baking powder adds a lot of leavening to the batter and creates a lighter texture.
- Room temperature butter and eggs help to make the blending of wet ingredients easier and create a light and fluffy batter, which then turns into a fluffy cupcake.
- Whipping the butter and sugar together. This will emulsify your sugar and blend it into the butter for a smoother finish, while also trapping in the air creating a light and fluffy result. You really want to keep that time right around 2 minutes for a cupcake batter this small or you’ll trap in too much air and it will deflate in the oven.
- Keep from overwhipping your batter once the flour is added. You want to make sure it’s completely combined so it’s not too crumbly and the gluten is mixed. But if you have an over-whipped batter it can create a dense cake.
Ingredients at Room Temperature
Why do I need to bake with room temperature butter?
So many baking recipes call for room temperature butter. This is due to a few things. 1) An emulsion is formed when all the wet ingredients are room temperature and mixing. You are whipping in air into the batter. Which will later help in baking when you get that light and fluffy texture. 2) Room temp butter is also able to blend smoother and create a cohesive batter. If you don’t have it room temp it can become very dense.
How to get butter room temperature for chocolate chip cookies
I usually leave mine on a plate on the counter for a couple hours. Or maybe on the oven if it’s being used for something else. If you are in a hurry you can zap in the microwave in very short increments. Just don’t melt it.
Why do I need to Bake with Room Temperature Eggs?
A lot of baking recipes (mine included) ask for room temperature eggs. This is because a room temp egg is easier to break down than a cold egg. So therefore, it mixes into the batter better. ALSO, room temp eggs get a better volume making for a fluffier baked good.
How to get eggs room temperature
I would suggest leaving them on the counter for 1-2 hours to get room temp. However, if you forget or run out of time, another option is to place the eggs into a bowl of warm water (not hot) for about 10-15 minutes.
FAQs
Alternating ingredients like dry ingredients and dairy (yogurt in this recipe) helps the batter to incorporate fully and fewer clumps to form. And keeps it from over mixing. The batches, like the powdered sugar in the frosting helps with keeping the sugar from going everywhere while it mixes and incorporates it easier.
At first, your frosting will be thick. Adding in vanilla extract and lemon juice will thin it out a bit. However, you can always add just ½-1 tablespoon of milk or milk alternative if needed. Honestly, your frosting with just butter and powdered sugar might look like dough in the beginning, don’t worry. Adding in the liquid will thin it out, just keep whipping!
There are two options for this. If you leave the cake layers unfrosted and unfilled, you can keep them in an airtight container on the counter, in a cool and dry spot for a few days before prepping them. However, once they are assembled, you will want to place them into an airtight container and put that into the refrigerator for up to one week.
Other Recipes to Try
- Strawberry Filled Cupcakes
- Small Batch Vanilla Cupcakes with Strawberry Buttercream
- Pumpkin Spice Cake
- Carrot Cake with Applesauce
- Chai Spiced Fig Cake
Love this Recipe?
Did you make this recipe and just love it? Awesome! If you have a quick minute and could leave a star rating and comment below, I would appreciate the support and knowing your feedback! And if you’re over on Instagram, be sure to tag me in your photos!
Equipment
- Stand Mixer
Ingredients
Cake
Wet Ingredients
- 8 tablespoon unsalted butter room temperature
- 1 ½ cup granulated sugar
- 2 eggs room temperature, large
- 2 egg whites room temperature, large
- 1 teaspoon vanilla extract
- 1 tablespoon lemon zest about 1 large lemon
- 3 tablespoon lemon juice
Dry Ingredients
- 2 ¼ cup all-purpose flour
- 1 ½ teaspoon baking powder
- 1 teaspoon baking soda
- 1 teaspoon salt
Dairy Ingredients
- 6 tablespoon plain full-fat yogurt
Strawberry Filling Ingredients
- 1 cup strawberries sliced and halved
- ½ lemon juiced
Buttercream Ingredients
- 1 ½ cup unsalted butter room temperature
- 2 teaspoon vanilla extract
- 2 tablespoon lemon juice
- 5 cups powdered sugar sifted
Optional Toppings
- lemon slices
- strawberries
- sprinkles
- edible flowers
Instructions
Cake Instructions
- Preheat your oven to 350°F. Prepare the cake pans (6” rounds) with butter or oil and parchment lining on the bottom. Spoon in a little flour and coat the sides.
- In a stand mixer beat your butter and sugar for about 2 minutes on a low- medium speed (4) with a paddle attachment, until fluffy. Scrape sides of bowl as needed.
- Add in your eggs and egg whites one at a time, until thoroughly combined. Scrape down sides of bowls. Then add your vanilla extract and lemon juice and mix until combined.
- In a separate medium-large mixing bowl mix your dry ingredients for the cake and mix (flour, baking flour and soda, salt).
- In 3 batches add your dry mixture into the wet mixture on a lower speed, alternating with 2 batches of yogurt. ⅓ of the dry ingredients, ½ of the yogurt, ⅓ of the dry ingredients, ½ of the yogurt, ⅓ of the dry ingredients. Don’t over mix, just mix until it comes together.
- Scoop batter evenly into the three separate 6” pans. Lightly slam the cake pans on the counter to try to get rid of any major air bubbles.
- Bake for 35-40 minutes, test with a toothpick and make sure it comes out clean. Remove from the oven and cool for 10-20 minutes before releasing from the pans. Flip cakes out of the pans and let them cool on racks.
- Then transfer to the fridge in an airtight container for a minimum of 30 minutes and up to 24 hours before decorating.
Buttercream Instructions
- Using your mixer and the paddle attachment again, whip the butter for 8 minutes on medium speed. Scrape sides of the bowl every 1-2 minutes or as needed. The butter will become very creamy! Add in the vanilla and lemon juice until combined.
- Sift the powdered sugar into a separate bowl.
- Add the powdered sugar into the butter in 3 batches. Go slowly until incorporated, scraping sides of bowl as needed, then mix on medium for 1 additional minute. The frosting should become very light and fluffy.
- Add in milk ½ tablespoon at a time and incorporate. You might find you need a little less milk or a tad bit more to get it the right consistency for your preference of piping. Whip on a medium speed for 2 minutes.
Assembly
- Trim the tops of the cooled cake with a serrated knife or cake leveler to make a flat surface.
- Place the first layer on your stand or serving dish with the cut side on top.
- Pipe or use a spatula to pipe a bit of frosting around the outer rim of the top of the cake layer. Spoon a thick layer of the strawberries. You want the strawberries to touch the cake so the juices can soak into the cake. Then pipe frosting on top of the strawberries and even out with an offset spatula as needed.
- Lay the next layer of cake on top of that, cut side up again, and repeat step 3.
- Lay the final layer of cake, cut side down, on top of the strawberries and frosting. Add a crumb coat with frosting. This is a thin layer of frosting around the entire cake. Place into the fridge or freezer for 10 minutes to make the next layer of frosting easier.
- Pipe and spread the remaining frosting until you’re satisfied.
- Decorate and enjoy.
Katrina English says
The milk is missing under ingredients for butter cream, how much milk should I use?
Andrea H says
I know six inch cakes are trendy, but I need a nine inch round cake. What adjustments do you recommend?
Amanda Wilens says
Hi Andrea, the 6" is actually just what pans I personally was gifted and use often. As for an 8-9" pan that information is listed above:
"You can also make it into a two layer 8-9” cake, a sheet pan cake, or cupcakes. I’m not 100% sure the sizing or timing of the bake, you would need to play with that. I recommend keeping to the 6” rounds, but wanted to make sure it’s clear as an option."
I don't have specifics, but you can try two 9" rounds and just keep an eye on the cakes. The time might be roughly the same, just go in 2-4 minute intervals at the last 10-ish minutes, testing with a toothpick for doneness. Hope that helps!