Peppermint Meringue Recipe
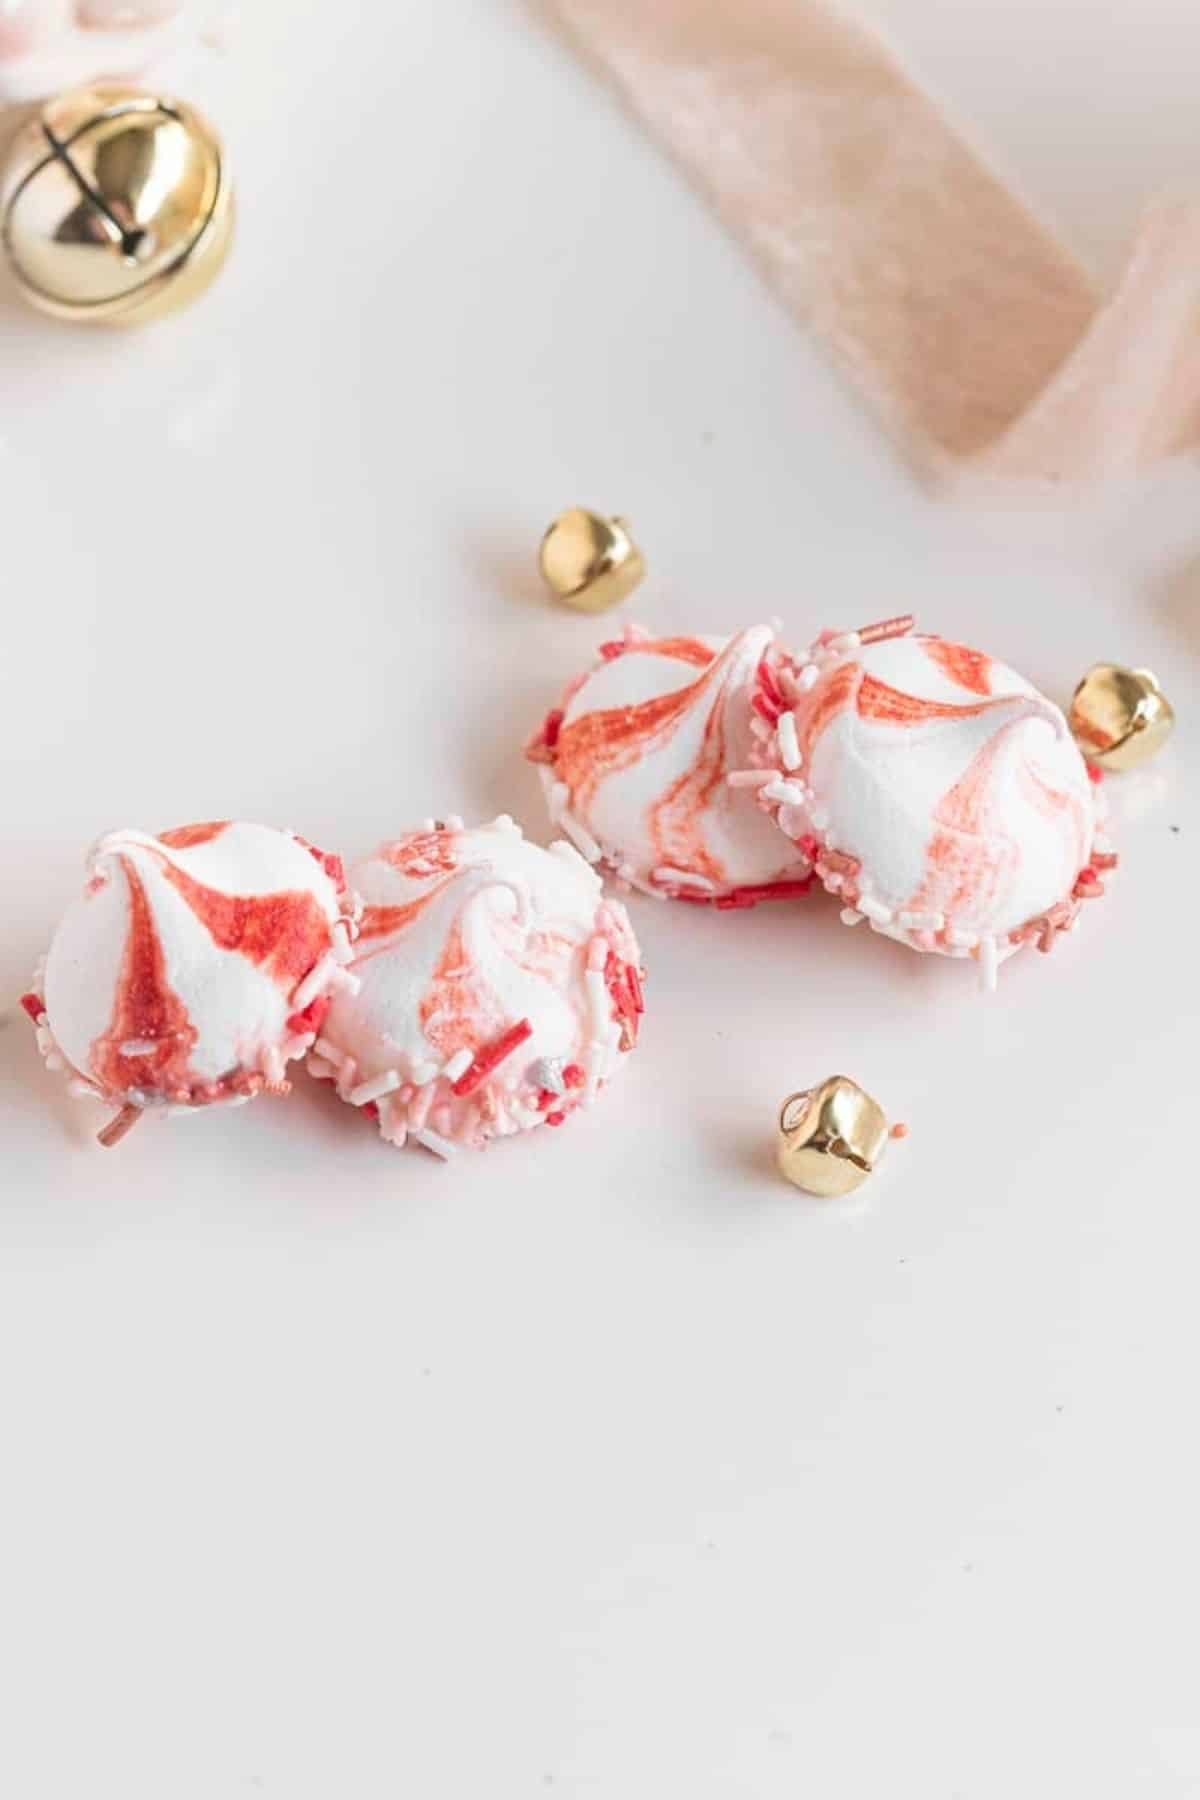
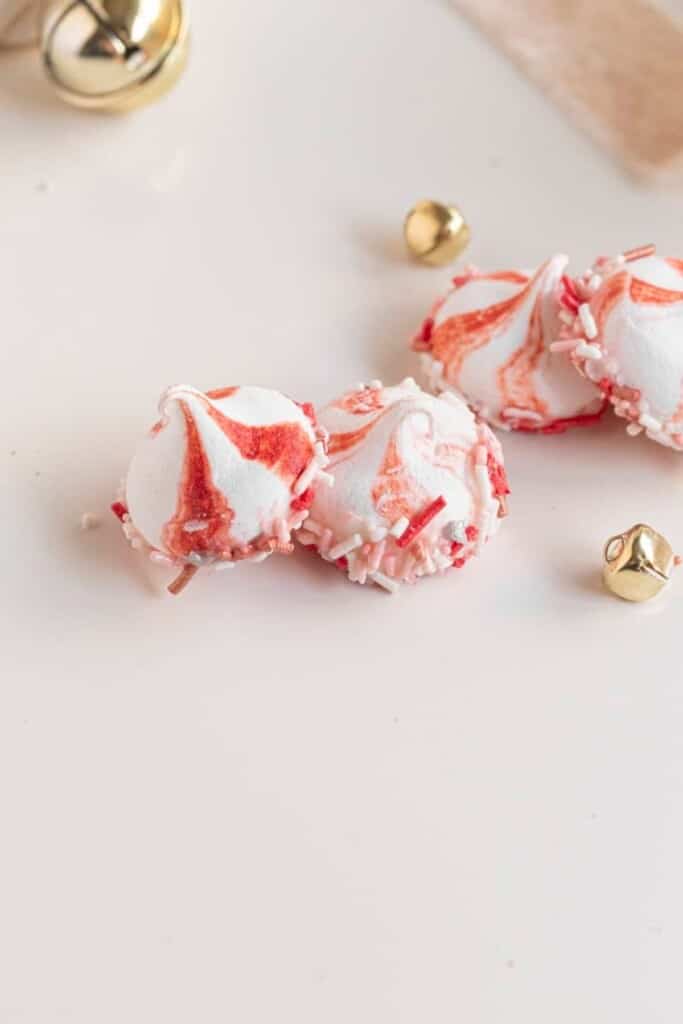
I thought I would make these cute meringues for the holidays and this Holiday Cookie Box as a fun treat. They easily customizable with flavors, color, shape and sprinkles. I went for peppermint meringues in little kiss shapes that are white and red. And covered in the Sprinkle Pop’s Candy Cane Flavored Sprinkles.
Little meringues are perfect for filling in cookie boxes, adding a little fun to dessert or hot chocolate boards. You can also enjoy them on their own or gift them.
Another fun version for these Christmas Tree Meringue Candies, which are perfect for the holidays and great with hot chocolate. Or you can try these Chocolate Chip Meringue Cookies.
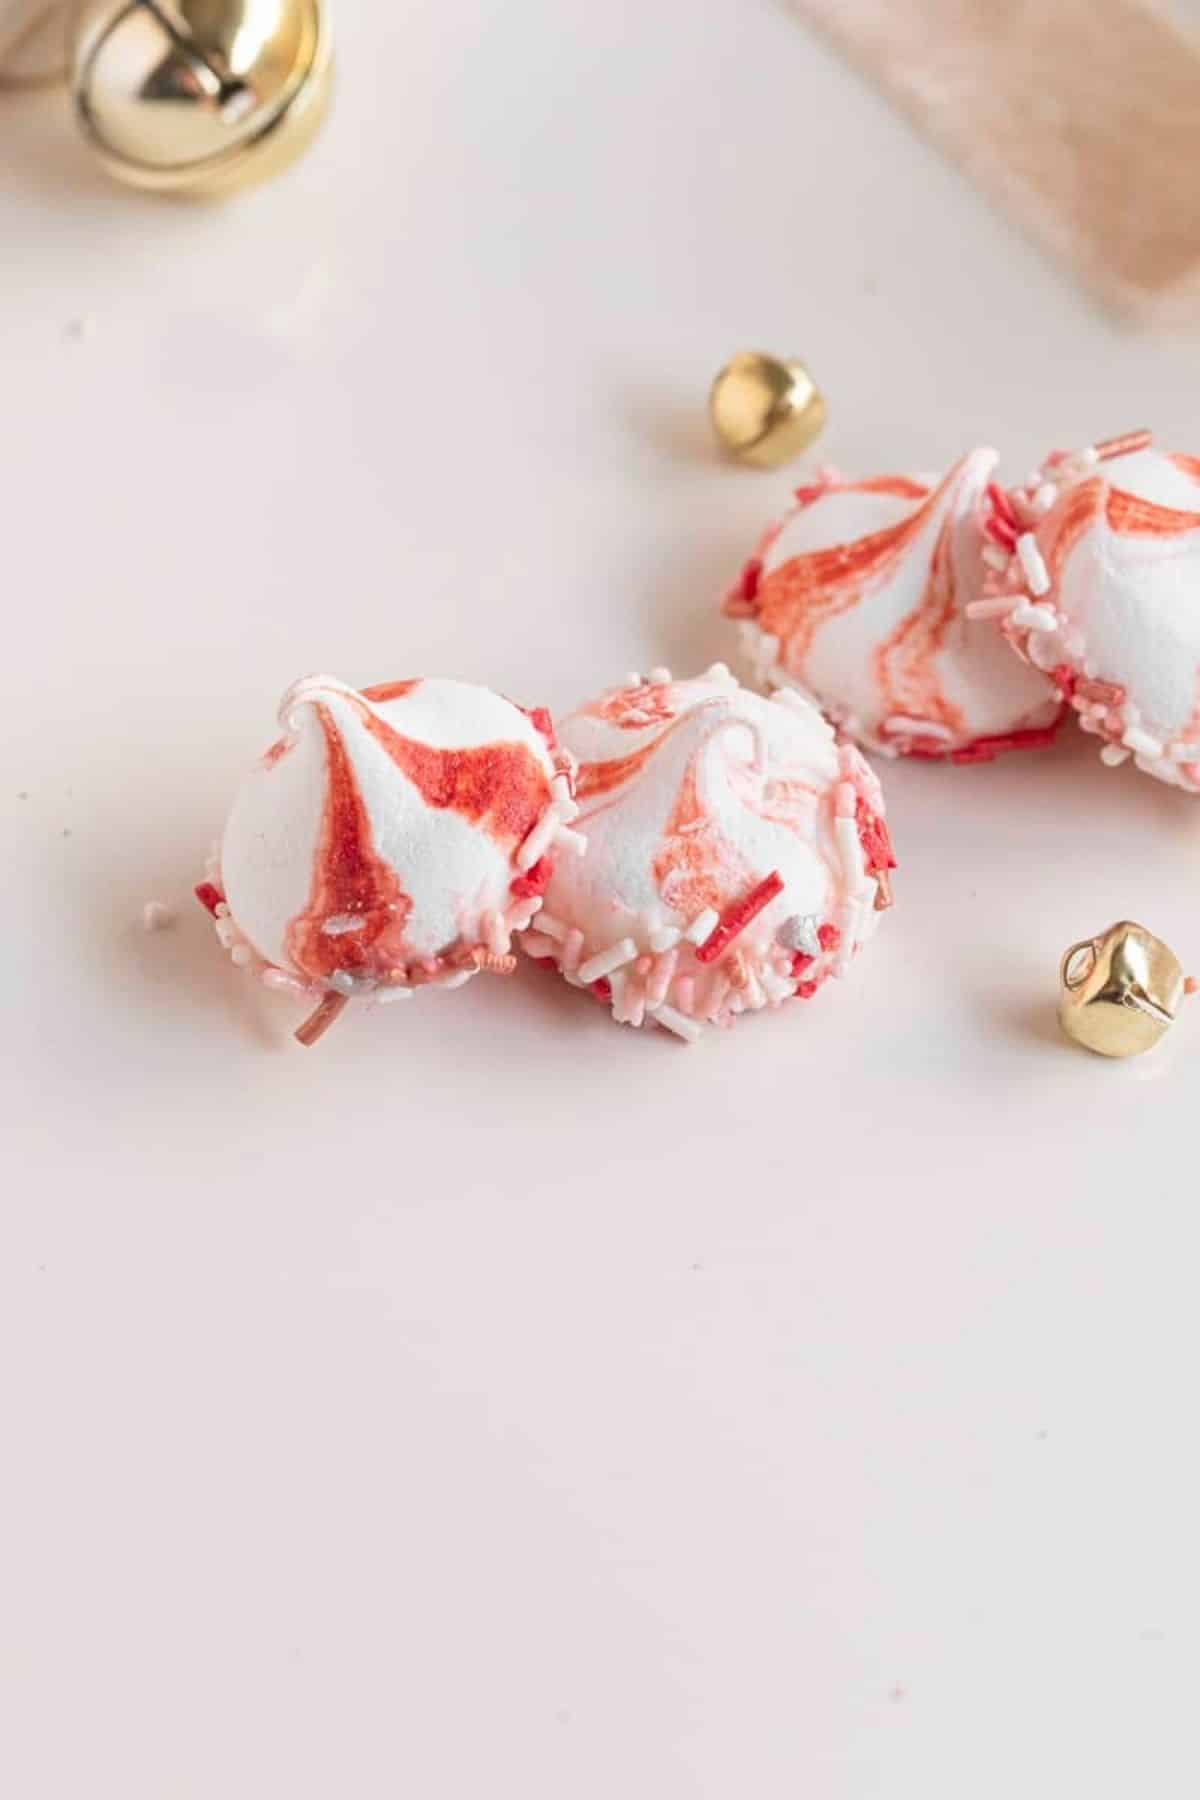
Table of Contents
- Peppermint Meringue Recipe
- Table of Contents
- Shaping Meringue Kisses Cookies
- How to Make Two Tone Meringues
- What is the trick to making meringue cookies?
- Can I store meringues?
- Meringue Cookies
- Ingredients
- Meringue Cookie Recipe
- To Ice and Decorate
- FAQs for Peppermint Meringues
- Video - How to Add Sprinkles to Meringue
- Other Recipes to Try
- Love this Recipe?
Shaping Meringue Kisses Cookies
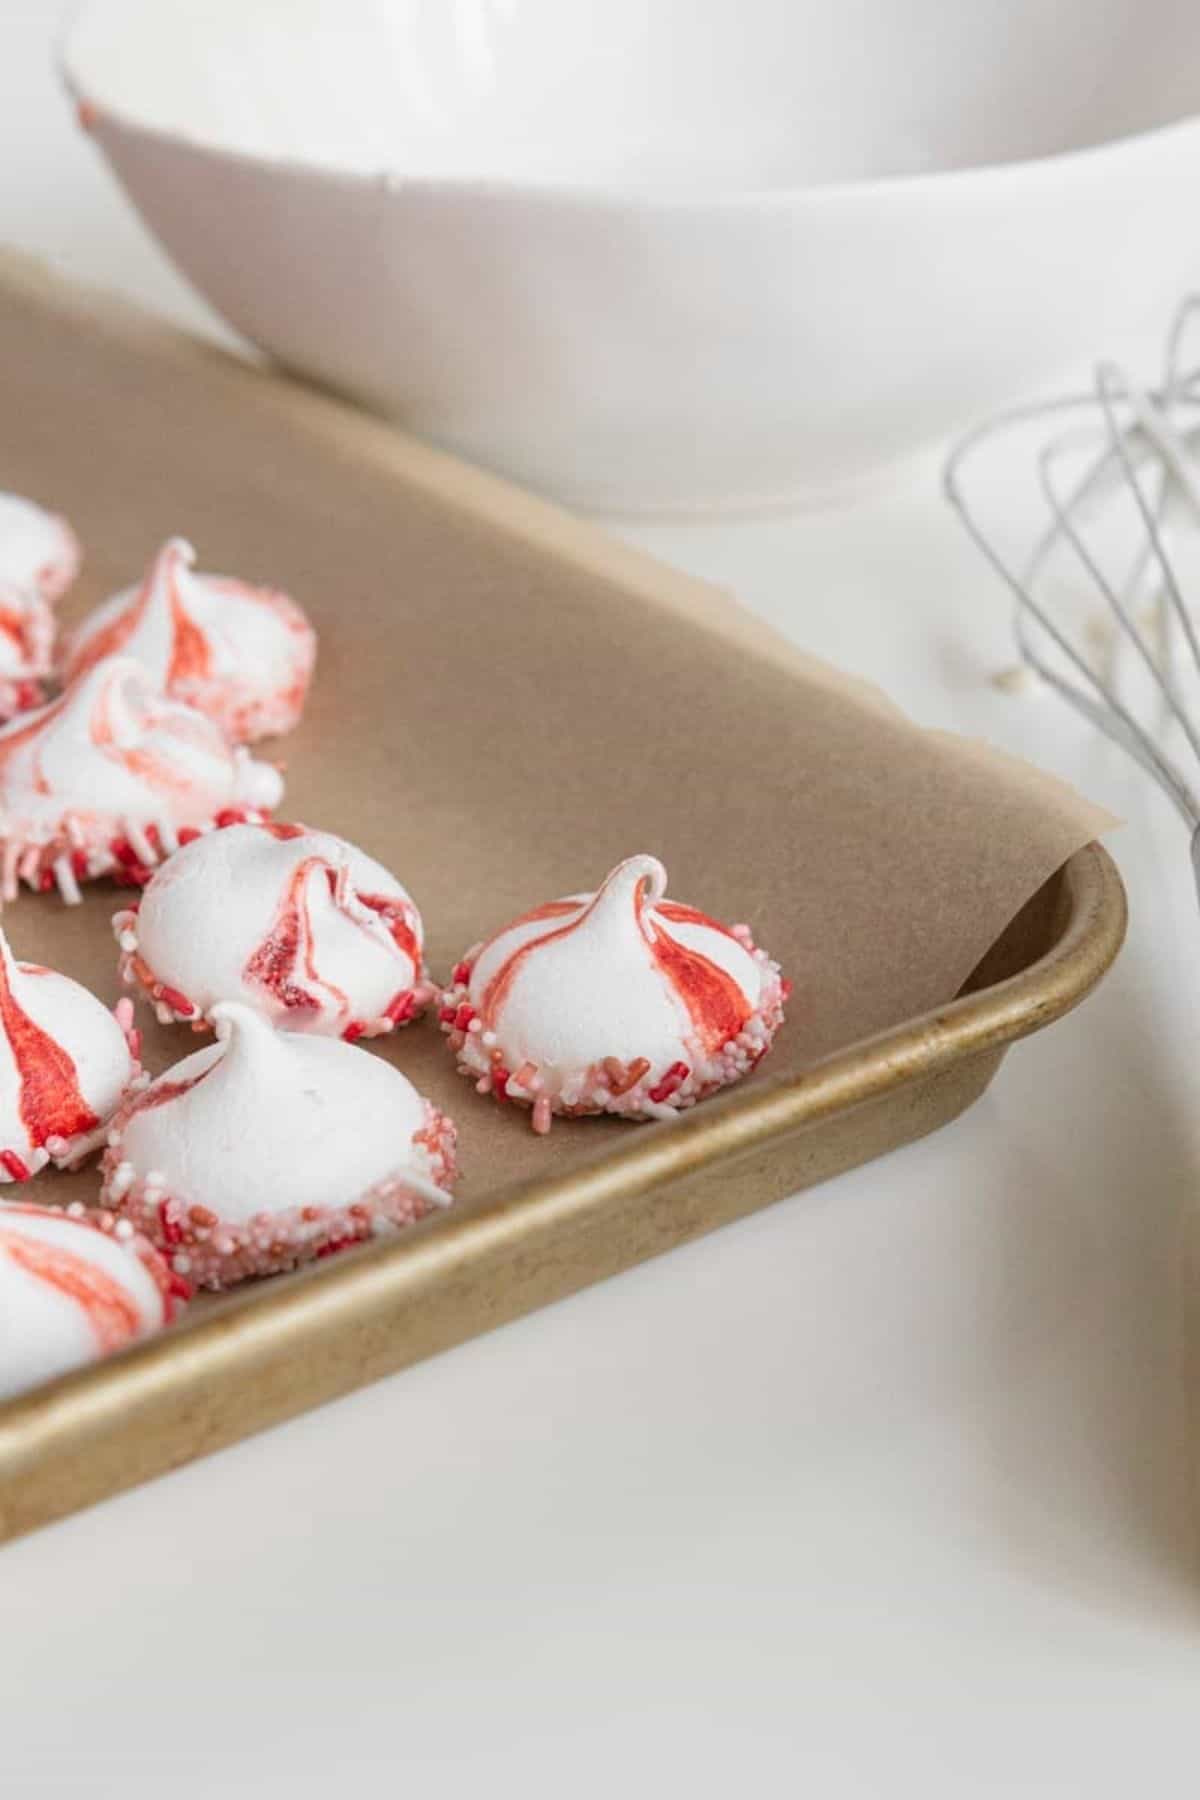
To shape your peppermint disks/kisses you want to use a piping bag with your preferred tip (I used Tip 2A from Wilton), scoop in the meringue mixture. Onto your baking sheet you’ll and pipe out kisses about 1-2 inches apart. You’ll pipe by putting the bag perpendicular to the baking sheet and squeeze out the meringue. Push down slightly and pull up for that perfect little tip. This could take you a few tries to get this perfected. That’s okay! Just keep trying.
How to Make Two Tone Meringues
I leave the actually mixture white and add the red food dye to the inside of the piping bag. To achieve this, use a kabob stick or toothpick and cover in red food dye. Draw fairly thick lines with the food dye on the inside of the bag. About 2-4 lines up the inside of the piping bag going from the tip to the top of the piping bag (the opening where you add in your meringue. Then carefully add in the meringue. It can take 5-10 meringues before the red actually affects the meringues.
What is the trick to making meringue cookies?
In this recipe cream of tartar and white vinegar are used to stabilize the egg whites. This will help to make them hard/thick enough to shape and then bake!
Another tip is to use a super clean and dry metal bowl and metal whisk in your stand mixer. Make sure you are I also like to make sure they are both fairly cool temperatures.

Can I store meringues?
Yes, in an airtight container for up to 2 weeks at room temperature. However, I always notice they aren’t quite as crispy on the outside after day 2 or 3. You also want to make sure you are storing in cool and dry place. I wouldn’t recommend the refrigerator necessarily, but it could work in a pinch.
Meringue Cookies
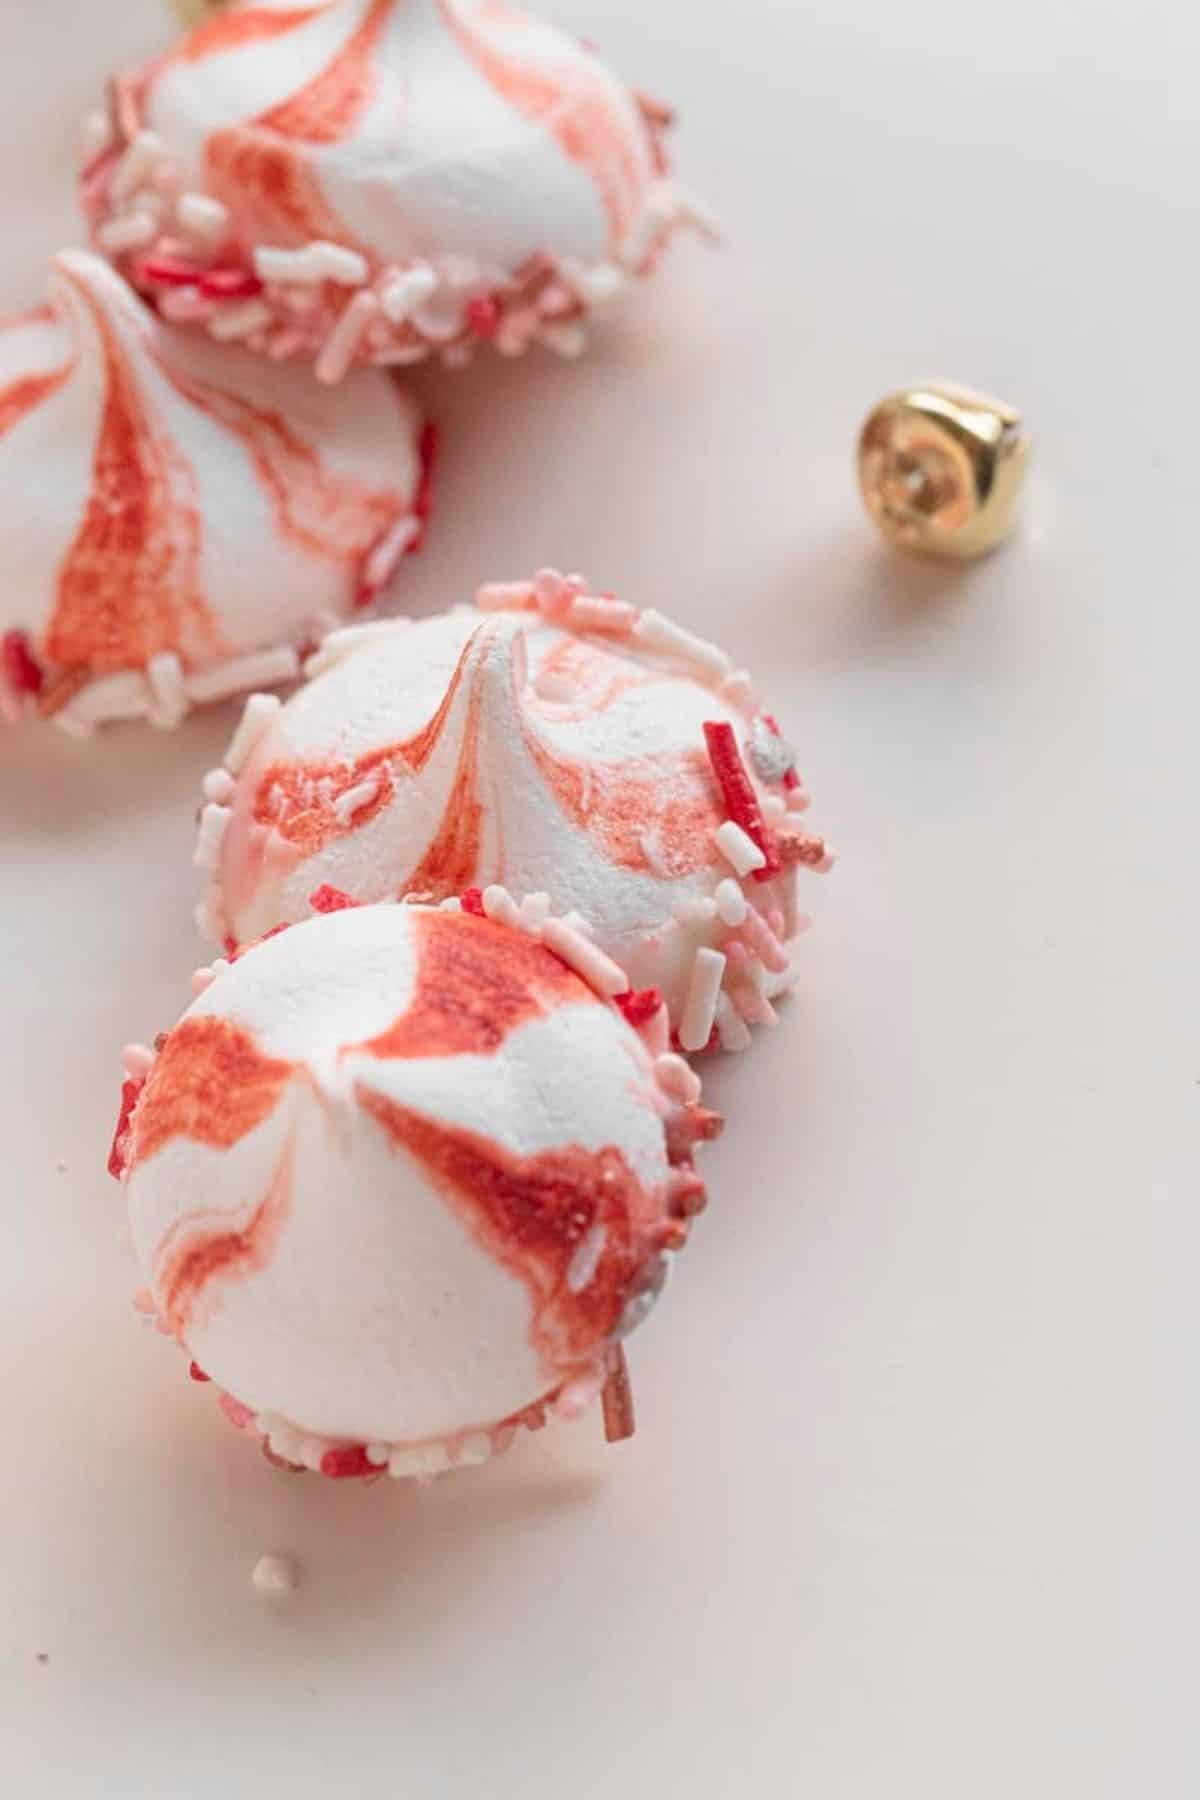
Meringue cookies or candy are a version of meringue you can bake and enjoy as a stand-alone treat. You can flavor them however you’d like. Below you’ll find the recipe and ingredients for these.
I really love the way that these meringues just melt in your mouth. Meringues are somewhat similar to marshmallows. They are whipped up with sugar and make a great
Ingredients
- Egg whites
- Kosher salt
- White vinegar
- Superfine sugar or Baker’s sugar
- Cream of tartar
- Peppermint extract, or flavor of your choice
- Food coloring, optional
- Sprinkles, optional
- Icing – powdered sugar and milk (or milk alternative)
Meringue Cookie Recipe
The full recipe can be found in the recipe card below. But these are the steps you’ll be taking.
- Preheat oven to 275° F. Prepare 2 cookie sheets with aluminum foil, shiny side down.
- In the bowl of your mixer, using the whisk attachment on a medium speed, beat egg whites and salt until frothy. This will take about 1-2 minutes.
- Add vinegar and beat until soft peaks form, about 2 minutes. Slowly beat in sugar and cream of tartar until stiff peaks form, about 2-3 minutes.
- Beat in flavoring until incorporated fully about 1 minute.
- Spoon mixture into piping bags and pipe into desired disk shape onto the cookie sheets. Leave about 1-2 inches apart, they don’t spread. Or if dolloping just use a spoon. If you'd like the peppermint coloring affect, use a kabob stick or toothpick and cover in red food dye. Draw about 2-4 lines up the inside of the piping bag before scooping in the white meringue.
- Bake for about 20 minutes, turning cookie sheets after first 10 minutes. They may crack slightly and that’s okay. But you don’t want them browning or they will be tough. This is why the time varies, based on the size of your meringues.
- Cool.

To Ice and Decorate
- In a medium sized bowl, mix powdered sugar and milk. May need a few extra drops of milk if icing is too thick.
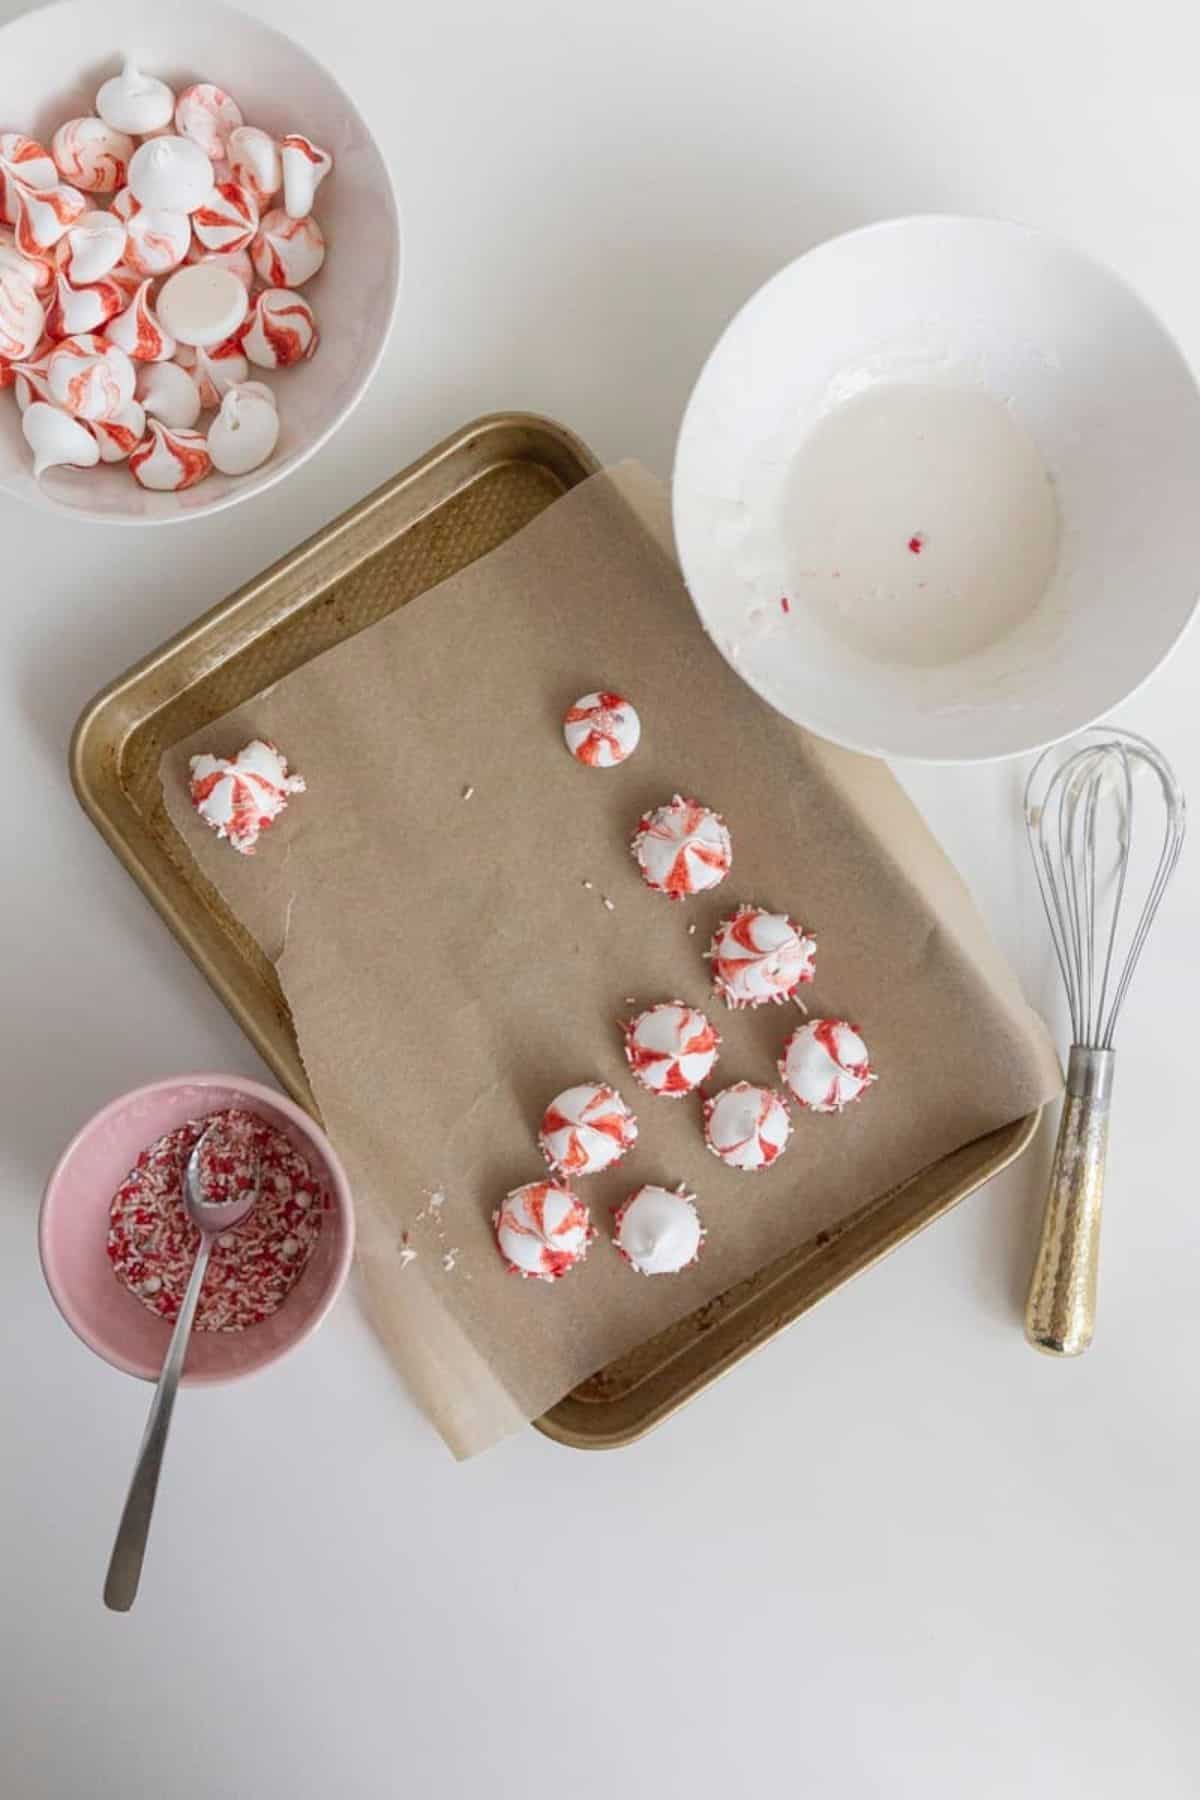
- Take cooled meringues and drip bottom into icing, whipping off excess. Dip meringue into sprinkles (or sprinkle sprinkles on top of icing). Place back onto parchment paper or foil lined baking sheets to dry.
- Serve and enjoy!
FAQs for Peppermint Meringues
They will be hard on the outside, but soft on the inside. You can cut one open to test. But make sure the outside doesn't get too brown.
Usually you can put them in an airtight container for 1-2 weeks. But if they get any moisture they will start to fall apart.
Video - How to Add Sprinkles to Meringue
Other Recipes to Try
- Chocolate Crinkle Whoopie Pies with Peppermint Buttercream Filling
- Gooey Butter Cake Crinkle Cookies
- Molasses Crinkle Cookies
- Brown Butter Rice Krispies
- Cookie Butter Puppy Chow
- Peppermint Meringues Candies
- Christmas Tree Meringue Candies
Love this Recipe?
Did you make this recipe and just love it? Awesome! If you have a quick minute and could leave a star rating and comment below, I would appreciate the support and knowing your feedback! And if you’re over on Instagram, be sure to tag me in your photos!
Equipment
- Stand Mixer
Ingredients
Candies
- 2 egg whites large eggs, room temperature*
- ⅛ teaspoon salt
- ¼ teaspoon white vinegar
- ¾ cup plus 1 tablespoon superfine sugar Baker’s sugar**
- ½ teaspoon cream of tartar
- ⅛ teaspoon peppermint extract
- 1 tsp red food dye optional
Icing
- ⅔ cup powdered sugar sifted
- 1 tablespoon milk or milk alternative
- 1-2 tablespoon sprinkles
Instructions
Candies
- Preheat oven to 275° F. Prepare cookie sheets with aluminum foil, shiny side down.
- In the bowl of your mixer, using the whisk attachment on a medium speed, beat egg whites and salt until frothy, about 1 minute.
- Add vinegar and beat until soft peaks form, about 2 minutes. Slowly beat in sugar and cream of tartar until stiff peaks form, about 2-3 minutes.
- Beat in flavoring and mix until incorporated about 1-2 minutes.
- Spoon mixture into piping bags and pipe into desired disk shape onto the cookie sheets. Leave about 1-2 inches apart, they don’t spread. Or if dolloping just use a spoon. If you'd like the peppermint coloring affect, use a kabob stick or toothpick and cover in red food dye. Draw about 2-4 lines up the inside of the piping bag before scooping in the white meringue.
- Bake about 20 minutes, turning cookie sheets after first 10 minutes. They may crack slightly and that’s okay. But you don’t want them browning or they will be tough. Time will increase if your size of your candies is larger.
- Allow to cool.
Icing and Decorating
- In a medium sized bowl, mix powdered sugar and milk. May need a few extra drops of milk if icing is too thick.
- Take cooled meringues and drip bottom into icing, whipping off excess. Dip meringue into sprinkles (or sprinkle sprinkles on top of icing). Place back onto parchment paper or foil lined baking sheets to dry.
- Serve and enjoy!
Notes
**For baker’s sugar I take granulated sugar and pulse it in the processor for about 30 secs to a minute.
– Timing: Make sure you don’t over bake these as meringues should have a hard outside and soft inside like a marshmallow center.
– Decorating: These are fun to shape how you want and decorate with sprinkles. You can also use them on top of cakes as decor themselves.
– Bowl and whisk: Your bowl should be super clean and dry. This helps when whisking the eggs to the best consistency. – Can be store in an airtight container for a few days if needed.
Debbie says
These were so much easier to make then I thought. and very delicious. Mine didn't turn out as pretty, but they were tasty.
wilensamanda says
I'm sure yours were beautiful! Thanks for making them.