Elegant and Witchy Halloween Tablescape for virtual and micro Halloween festivities!
I am so excited to share this fun collaboration I did with Lauren Conrad Co. for a Halloween Virtual or Micro Party! This year celebrations have to be done differently, but that's not a bad thing. We're here to help you make something fun with your friends and family. Whether it's virtual or your small pod. We've got all the details on decorating, recipes for a delicious time, and even a fun Halloween bingo! Whether you choose to do your party with your pals via Skype/Zoom/FaceTime for a brunch or tea time or evening, these ideas should make you scream!
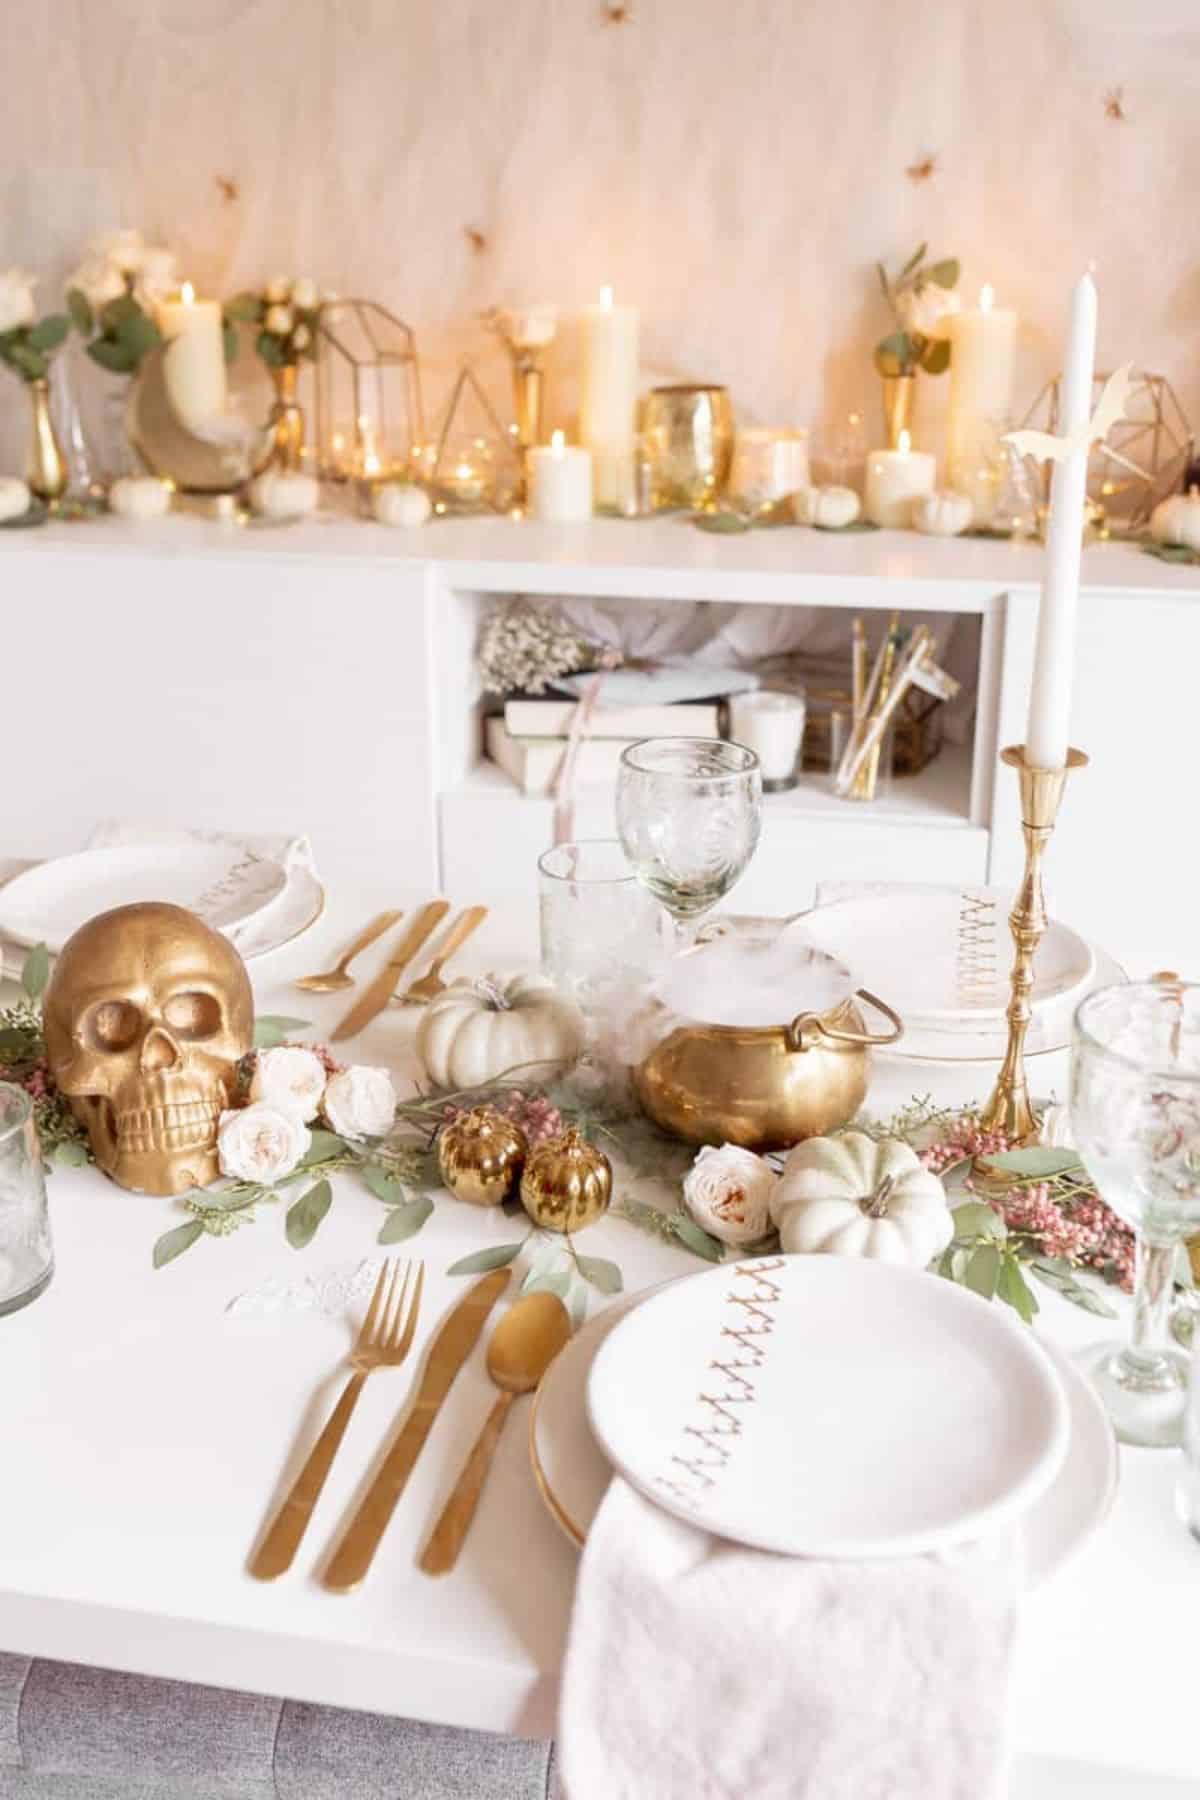
Table of Contents
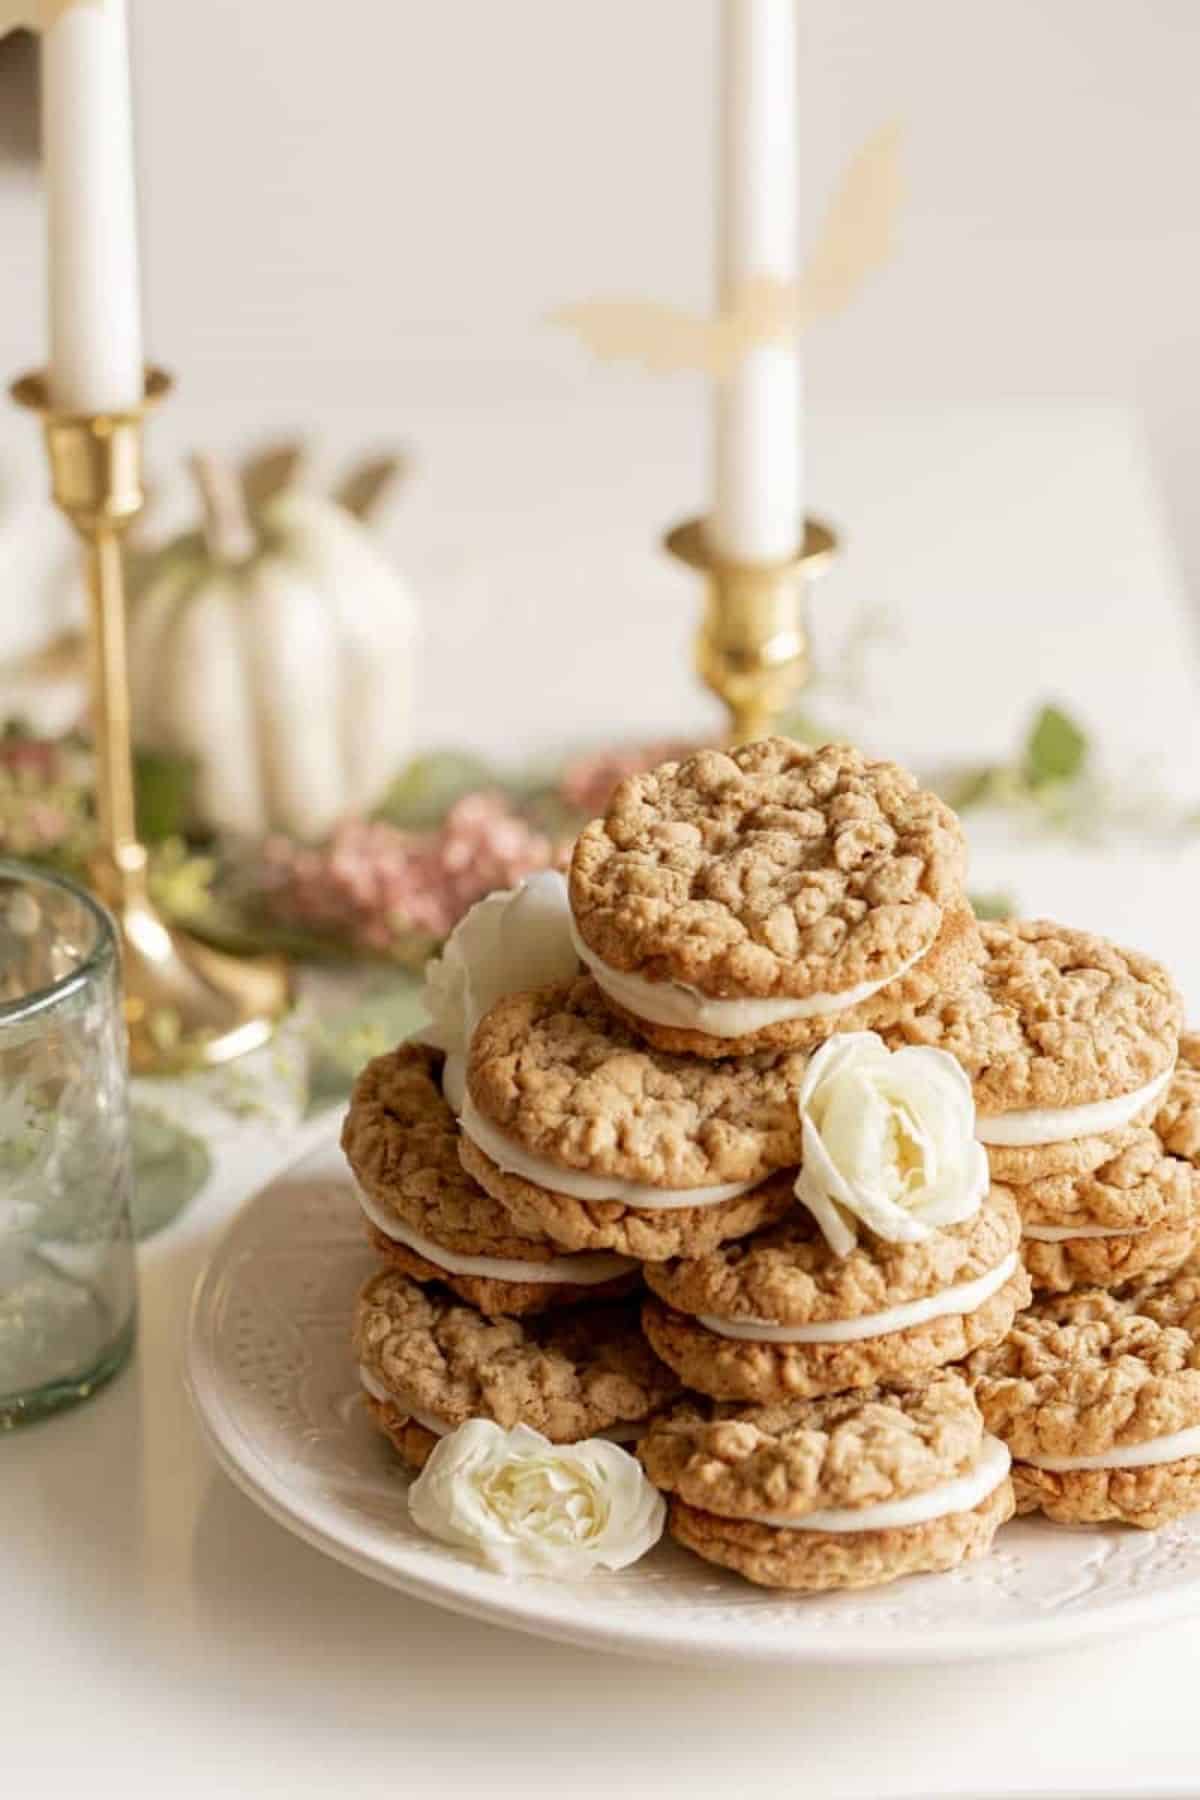
Recipes for this Party
You'll also find in that Lauren Conrad Co. post some super fun printables from Yellow Heart Art, a Halloween Bingo card and some straw flags.
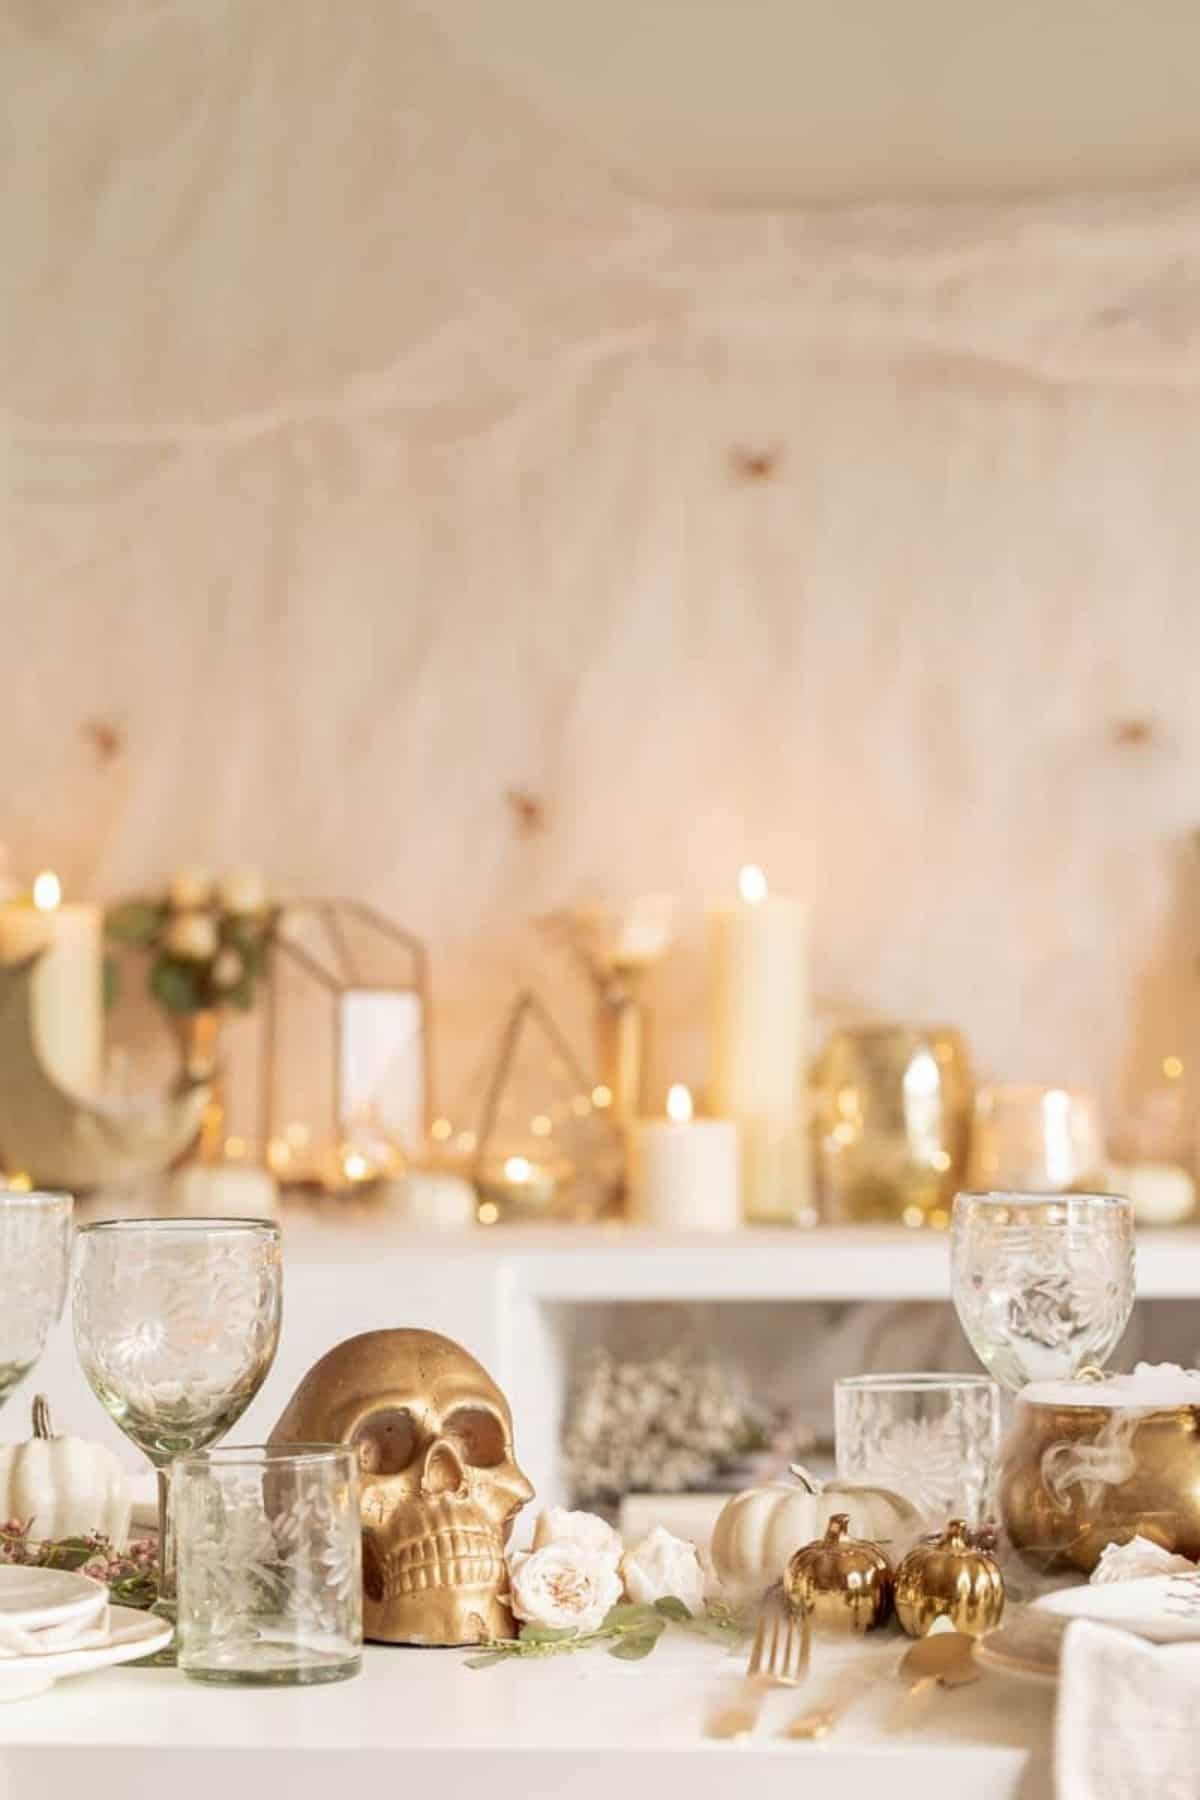
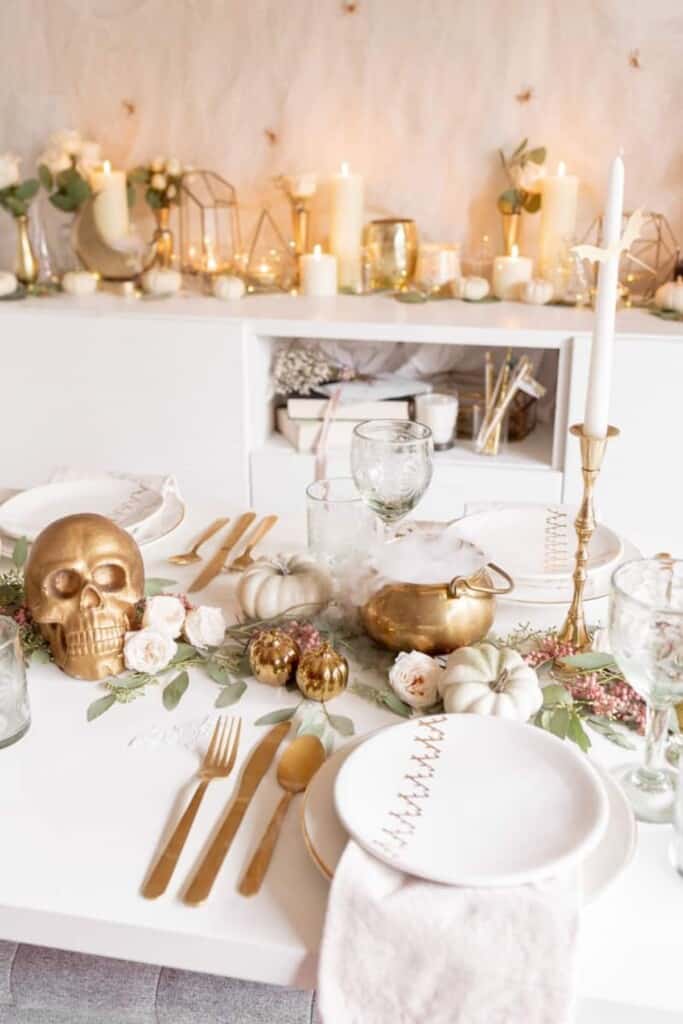
Now onto the decor! I really wanted to keep with a natural, more nature-based witchy vibe for this. Greens, whites, golds, and pinks. A pretty Halloween for all the witches out there. Sweet and spooky!
Details for the Halloween Tablescape
- Step 1: Line the middle of the table with eucalyptus from the grocery store. I prefer to use a seeded or silver dollar eucalyptus as it lays flatter to the table.
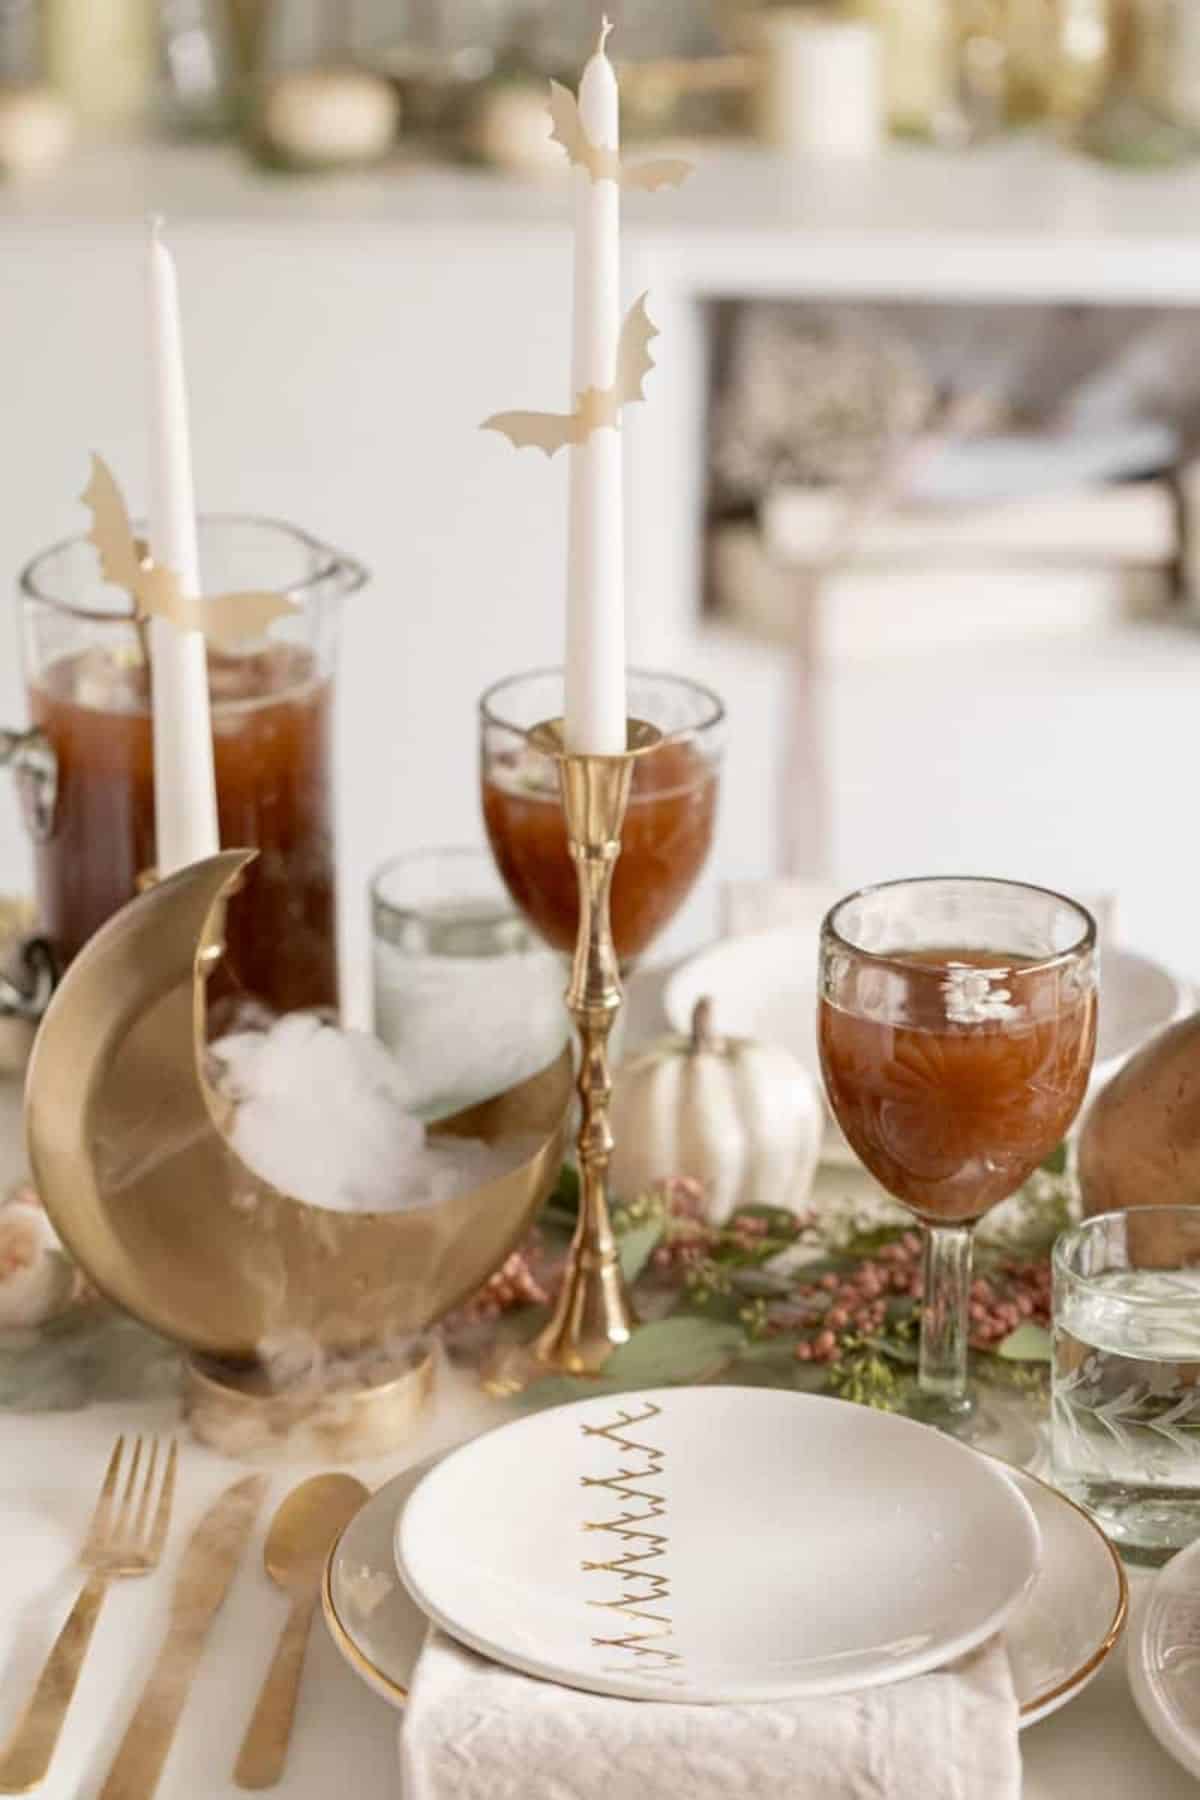
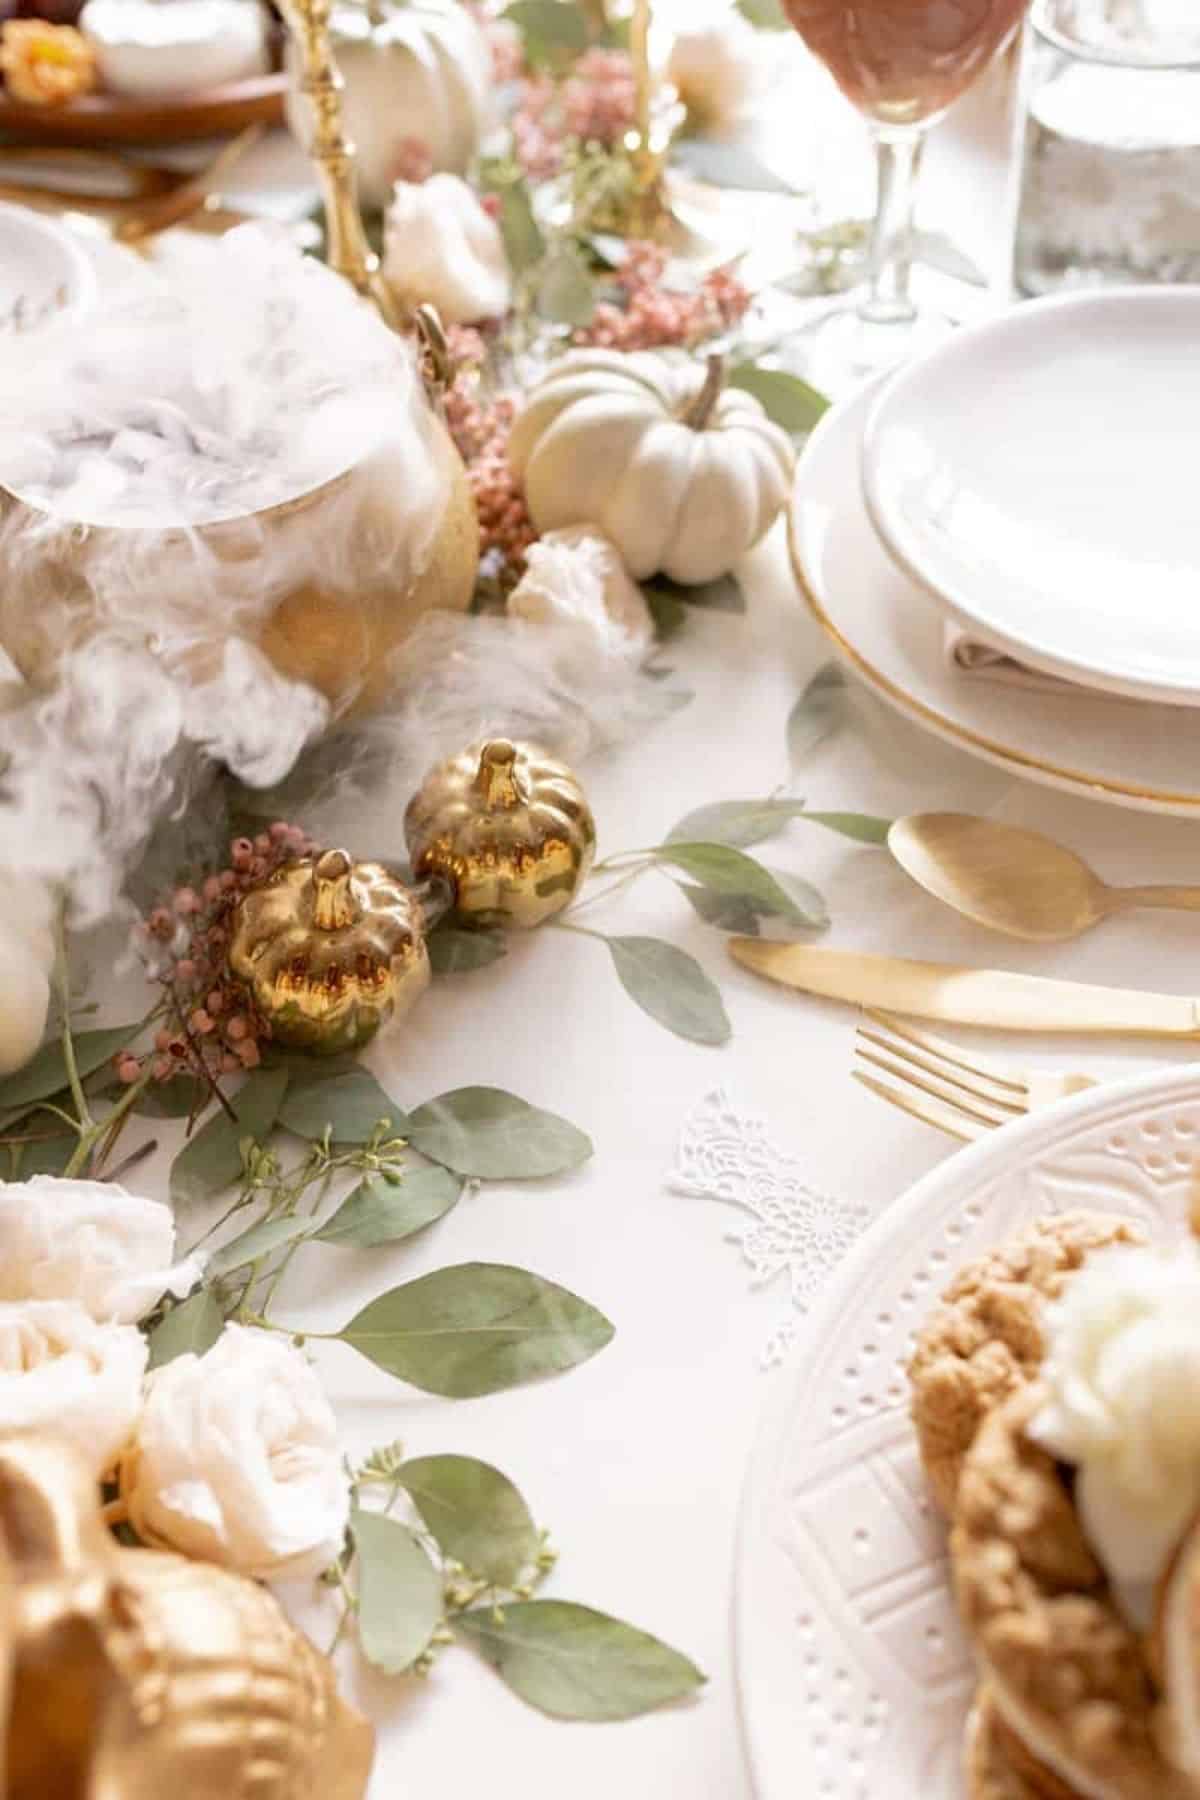
- Step 2: Then add in the bigger pieces for the table. I chose all my gold pieces I already owned, but you can use whatever you have on hand or wish to purchase. I included a cauldron, skull, a gold moon planter, little pumpkin salt and pepper shakers, and then added these antique gold candle holders from Afloral, with ivory taper candles. Make sure you get the candle sticks between the eucalyptus so it is on a solid surface.
- Step 3: Add in your filler flowers on the table in with the eucalyptus. So I chose these from Afloral: Pink Preserved Pepperberries and Preserved Rose Heads in Champagne. You can of course choose other fillers as well! If you are using fresh flowers I do recommend waiting to place these until the day of as they will sit out of water and start to wilt if they sit out too long.
- Step 4: Next, you add pumpkins! I used these from Afloral, but any minis should work. The white and green that went with my color scheme. Using 6, I zig zagged them down the table.
- Step 5: Set your table! I used pieces from The Little Market dinnerware Berber collection, their clear wine glasses, the clear short glasses, and their ivory napkins. You'll also spot TLM pitcher, acacia rectangular bowl, and a white dinner plate I used for serving. And then I used my own gold flatware.
- Step 6: Add some bats! I used some gold and ivory scrapbook paper and a cricut. You can find some really cute cutouts on their website or I found mine on Etsy! Then I used double sided tape to attach them to the candles and in some spots along the table...and I used all my leftovers around our wall and TV.
- Step 7: This should definitely wait until right before the party, but I added dry ice with warm water into my metal pieces the cauldron and the moon. Adding an extra witchy aspect!
- Step 8: And then set food and drink on the table and enjoy your Halloween Tablescape!
How to decorate a Credenza for Halloween
- Step 1: Spray paint some plastic spider's gold! This will make for the fanciest of spiders.
- Step 2: Then you will hang up some cobwebs. Be sure to stretch it out enough. I used double sided tape to stick it to my walls.
- Step 3: Add spiders to the cobwebs.
- Step 4: Start on the credenza or mantle. Again like your Halloween Tablescape, lay out your seeded or silver dollar eucalyptus.
- Step 5: Add in your bigger pieces. Most of these were things I just had around the house or were easy buys from your favorite craft or home store: pillar candles, gold and glass lanterns, and some dark-colored books that I removed the jackets from.
- Step 6: I added in some vases glass or gold and added in fresh white roses, baby's breath, and more eucalyptus. I added those in trying to make sure most of them were spread out and long the middle or back half.
- Step 7: Add in the smaller pieces. I added a lot of clear small/bud vases...or "potion bottles". Again, distributing throughout. And, of course, I added more mini pumpkins!
Love this Post?
Did you use this article and did it help you? Awesome! If you have a quick minute and could leave a comment below, I would appreciate the support and knowing your feedback! And if you’re over on Instagram, be sure to tag me in your photos.
Leave a Reply