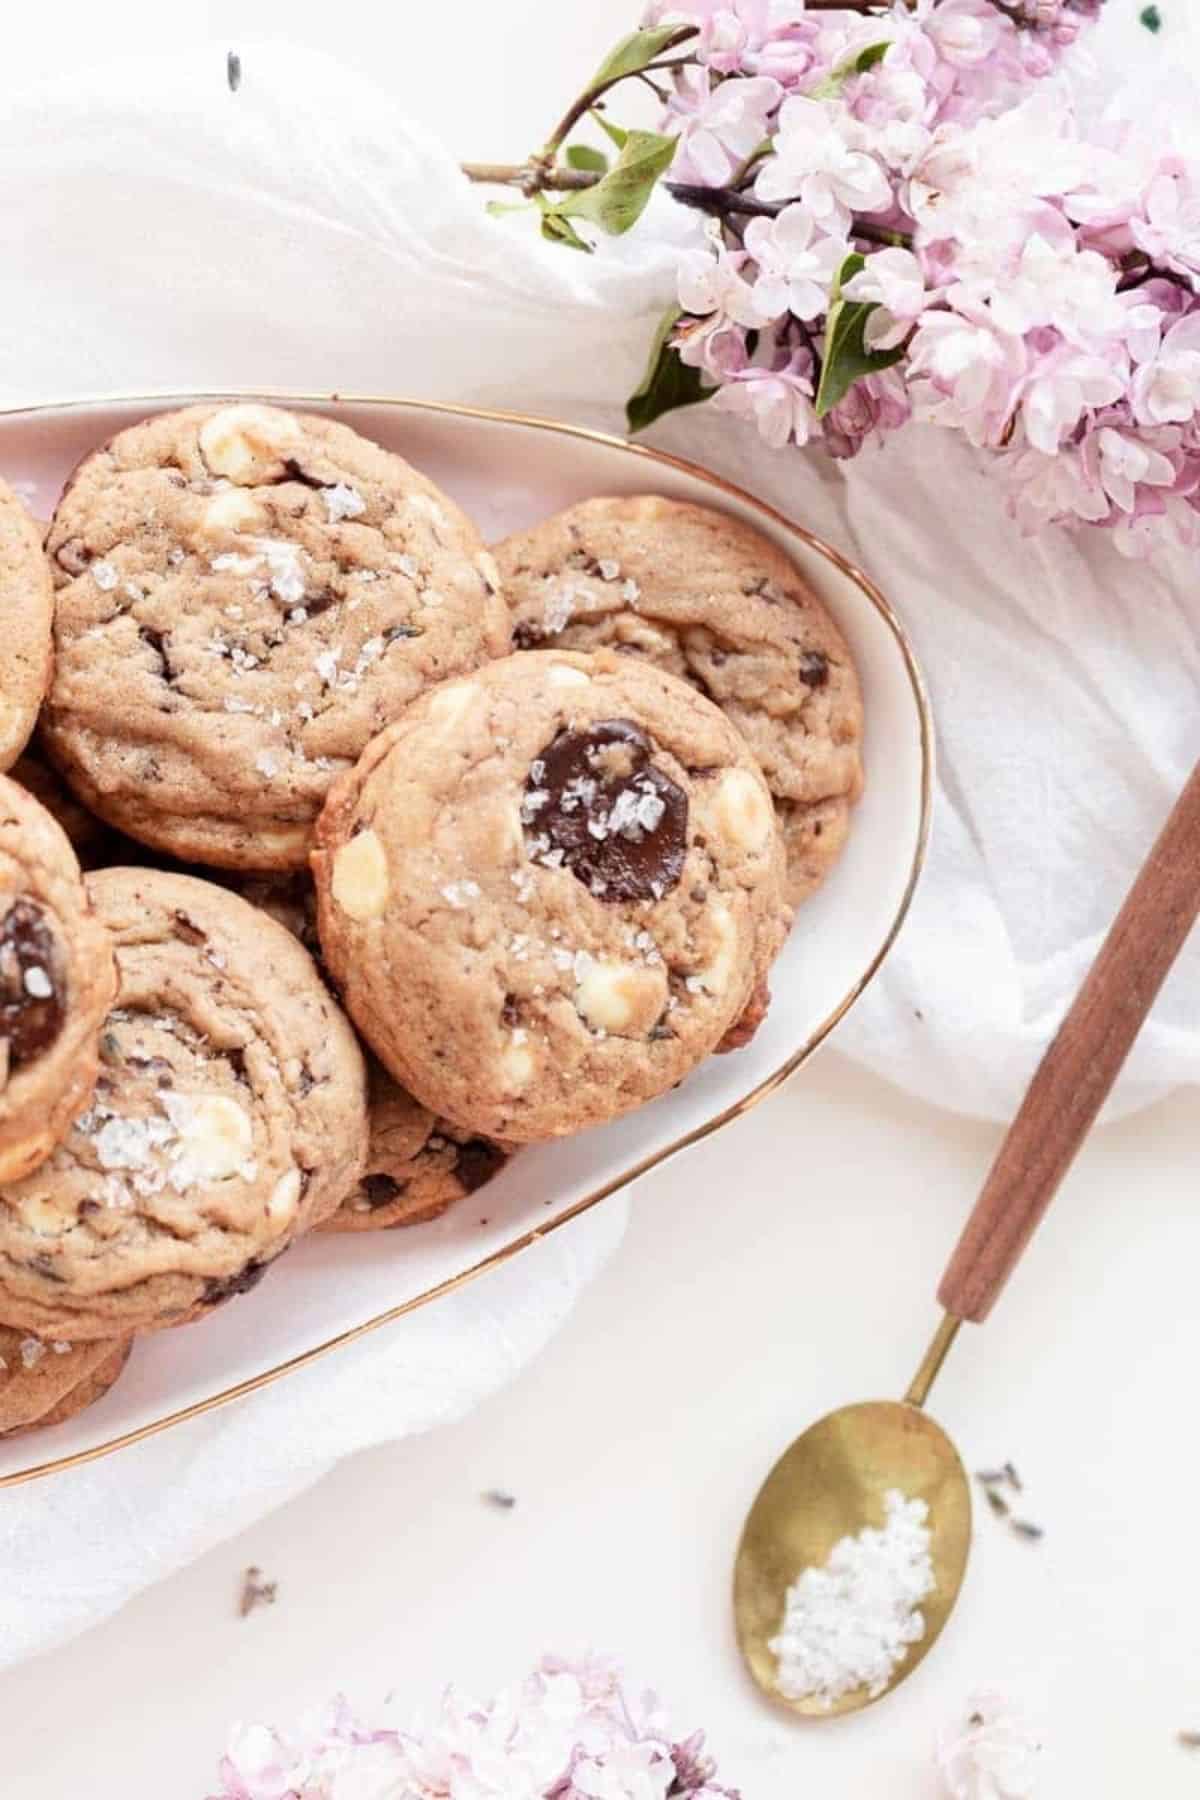
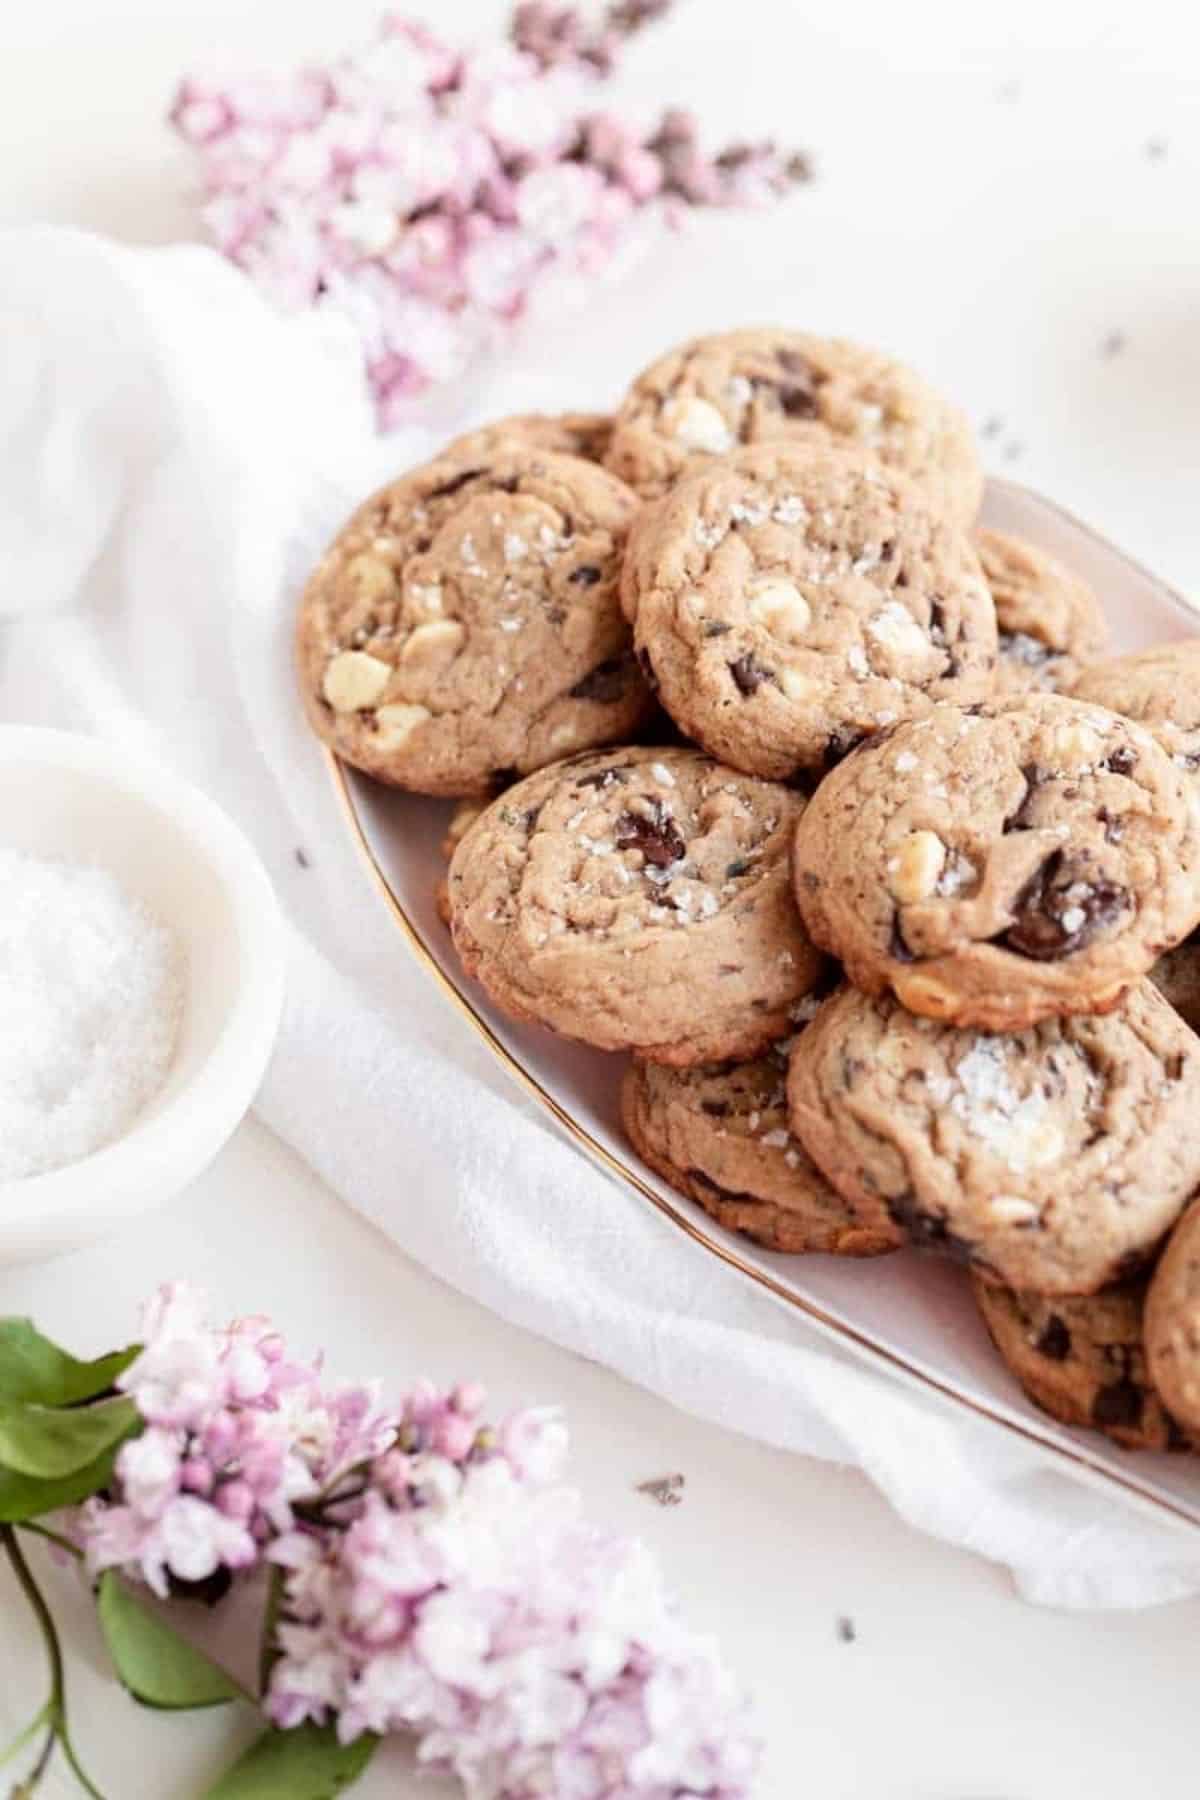
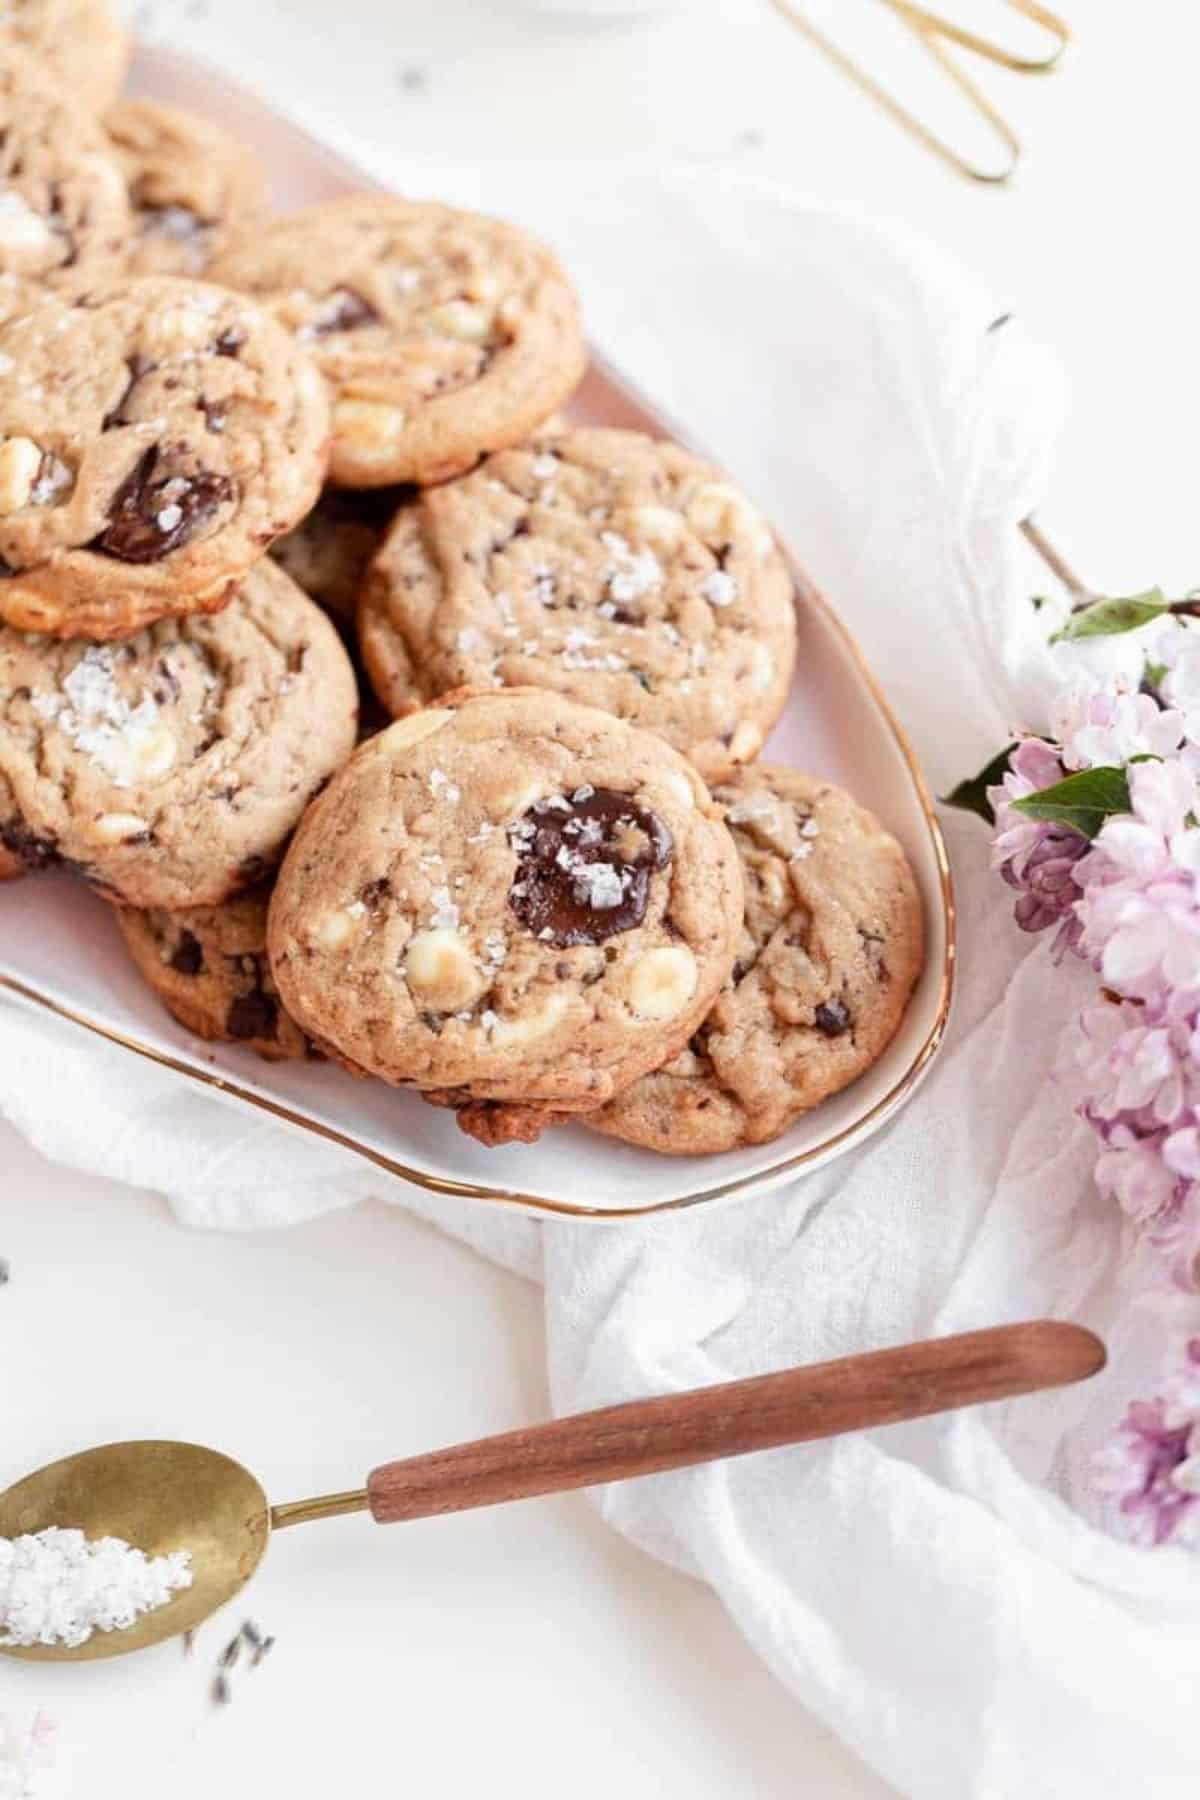
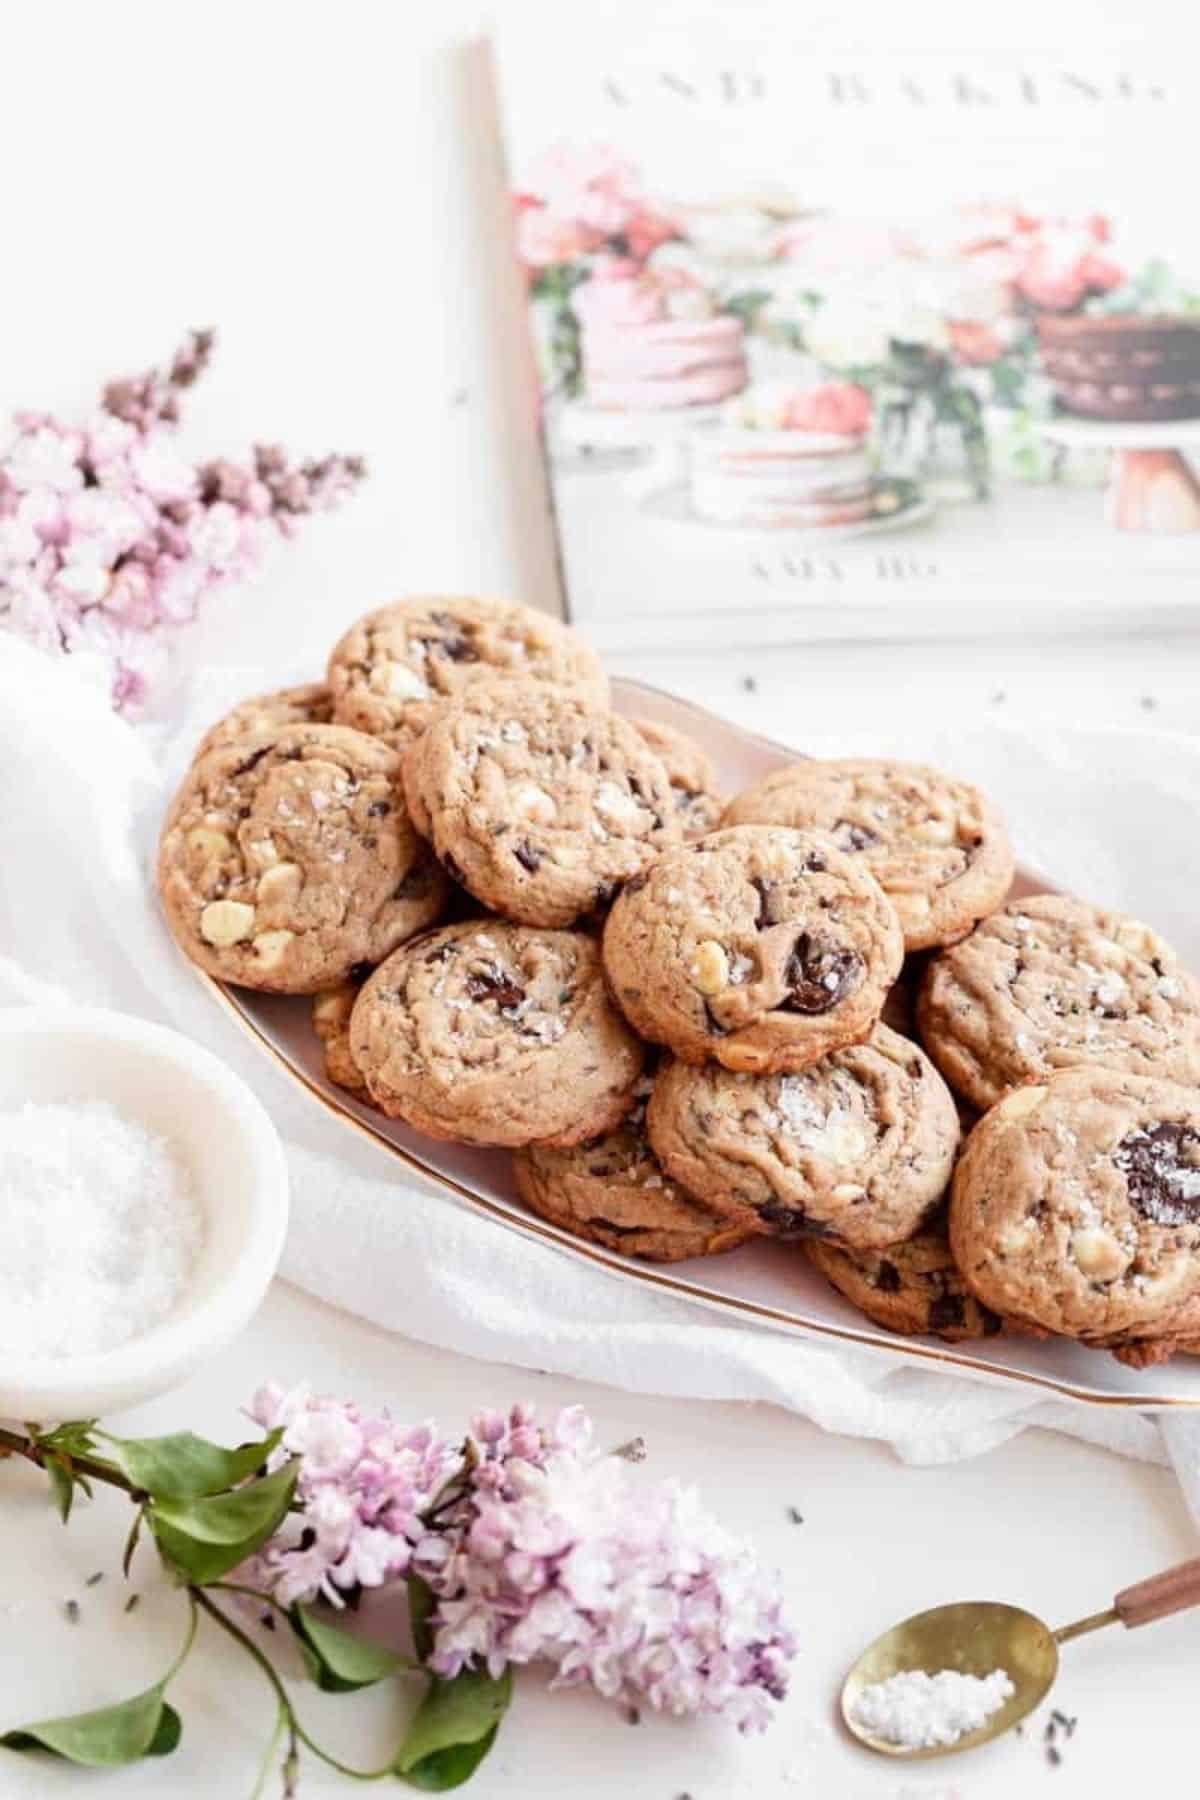
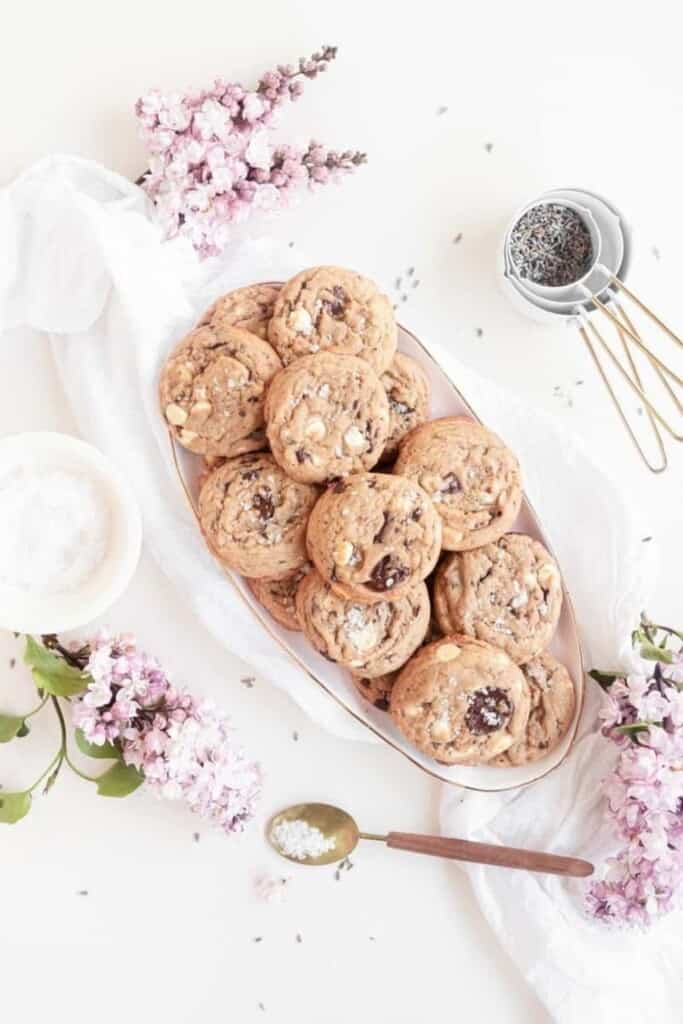
Dark and White Chocolate-Lavender Cookies
For the people who know me and have been following for a while now, you are aware of my passion for florals. I love to bake and cook with edible flowers and teas. So, any recipe that calls for tea, especially lavender, I AM ALL IN. Again, for those of you new here, my parents owned a flower shop when I was growing up, so I've always been surrounded by blossoms and blooms. Most of my jobs in the shop including cleaning flowers, the floor, stepping on the flower waste in the garbage to flatten it, bagging up rose petals, and making bows! But I always loved playing with flowers and making my own arrangements. So, someone else who enjoys baking and flowers as much as I do is amazing!
Amy Ho of Constellation Inspiration is that person. Her treats are delicious, her photos are beautiful and filled with flowers, and she's so supportive on social media! It's hard to come by genuinely kind people on the internet sometimes! Her new cookbook Blooms and Baking - Add Aromatic, Floral Flavors to Cakes, Cookies, Candies and More is now available on Amazon and I was so excited to get my copy recently. I asked Amy if it would be okay to share her recipe for dark and white chocolate-lavender cookies here since I loved it so much! And she agreed 🙂
Read below for my favorite tips and tricks for the best possible cookies. I do have just a few notes that I made and they are in the recipe below just because they worked for me, but I also want you to have Amy's original! You can find this recipe on page 58 of her new book!!!
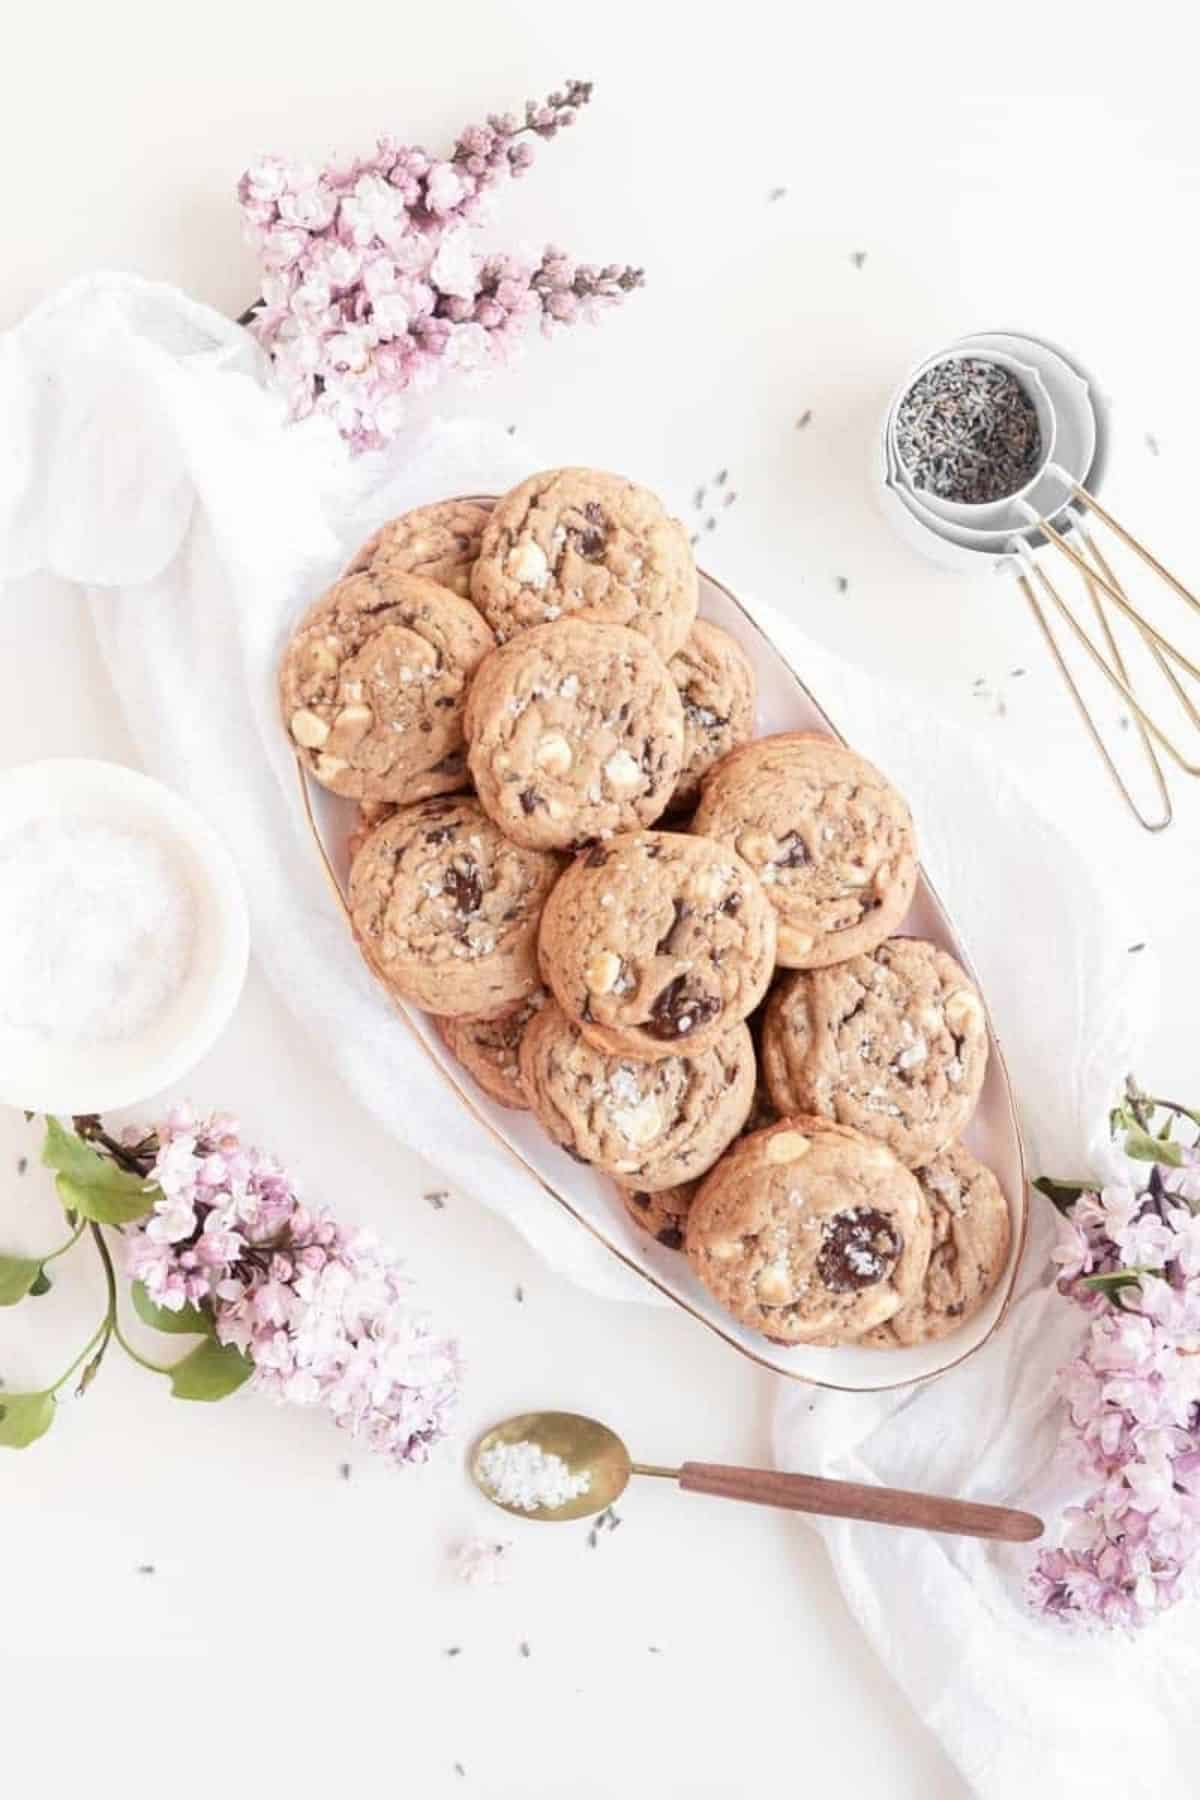
Table of Contents
Tips on Ingredients for the Cookies
Usually the better the ingredients, the better your food will taste. However, I do like to go over which ingredients that you should have the best quality for and the others are those that I think don't need to be the highest quality. But again, if you don't have access to high quality, it will still be delicious! I also let you know if a certain type or style is best.
These are the items that I have notes for, whether it's to buy the best quality or if there are specific notes about those ingredients for dark and white chocolate-lavender cookies.
- Butter: I always suggest using a good quality when it comes to your dairy. This always helps the texture and flavor profile. I personally am a big fan of butter like Kerrygold or Tillamook butter. Unsalted always!
- Flour: this can be a little controversial for SURE, but I am always a believer in a good all-purpose flour. Some just don't hold up the same. You will notice a change in flavor if you're using a good quality...or even just one that hasn't expired/been sitting in an open bag. Always be sure that once you open a bag of flour that you seal it back up thoroughly or that you place it into sealed jars.
- Baking Powder and Soda: Always make sure you keep this sealed in your pantry. If your powder or soda has expired, it will affect your cookies drastically.
Tips on Ingredients for the Best Lavender Chocolate Cookies
- Culinary Lavender: YES! THIS MUST BE CULINARY GRADE. Guys, you can't just use regular lavender. You don't know how it was cared for and it may make you sick. If you can't get culinary lavender, try lavender tea. I also did go a little over on her recipe and used 1 tsp. Whoops! Still was amazing! I chop mine with a knife, but you can also use a processor, blender, or mortar and pestle.
- Chocolate: Yes, this one is really important. A good versus bleh chocolate is going to make the difference here people. So, my go to dark chocolates are Ghirardelli, Guittard, or my go to, the Trader Joe's Dark Chocolate baking bar. Now, a baking bar is a bit different, because I cut it up to make my chunks. But truly I love it because you get little flecks of chocolate everywhere, then huge chunks depending on how big you cut it. Favorite white chocolate bar would be Ghirardelli or Lindt. Since I couldn't find those because of the stores being a hot mess...I used white chocolate chips...I failed you Amy. But Amy, the author of this recipe, agrees that using a good quality chocolate on this one is important!
Best Tricks for the Perfect Cookie Dough
These tips are helpful for when you are making the recipe. Outside of the tips for ingredients above, these are tips on how to do something or why what I've listed in the recipe is necessary.
- Stand Mixer: A lot of recipes call for a stand mixer, if you don't have one NO WORRIES. Use a hand mixer or just the strength of your bicep. But if you are mixing by hand, the time may vary and take more time.
- Creaming: Creaming the butter and sugar is an essential part of making cookies and baked goods. I always say do this for like 3-5 minutes. It's the difference between something having a granular and dense bake or a light and fluffy, clean bake. So, take your time when creaming your butter. If you are in a colder area (or super warm) this can affect baking majorly. For this recipe, if you are in a colder place, be sure to cream for like double the amount of time. And look for visual cues, instead of timing. So, like, is it all combined, is it light and fluffy, is it no longer crumbly, but all smooth and beautiful?
Chilling and Saving Cookie Dough
- Chilling Time: Chilling the dough is a VERY important part of making any cookie. Most require it, but also this will dictate whether you have a thick or thin cookie. The longer they chill, the thicker they will be. My trick for making them thicker and sugar dissolved quicker, is to pop the dough into the fridge for 15-30 minutes, ball the dough and place it on a baking sheet with parchment paper, then toss it in the freezer for 1-3 hours. This will help the rise. If you have more time feel free to leave them in the fridge for 24 hours, or freeze the balled dough for 30 minutes, transfer to a freezer-safe bag or Tupperware. More chilling time always equals a fluffier cookie.
- Saving Dough: If you decide not to bake all the dough at once, you can ball the dough, place it on parchment paper in the freezer for about 30-ish minutes (should be very cold), then transfer into a freezer-safe bag or Tupperware for up to 2 weeks. It can take a few extra minutes to bake, so keep your eyes on the oven to check.
The Best Bake on a Cookie
- Bake Time: Now, this is the difference of a gooey or a crispy cookie. I like to bake mine crispy on the edges and gooey in the center. So, you bake for the minimum time below. But if you are a crisp all the way through, do the longer time. Also, each oven/altitude/climate can change your bake, so keep your eyes on the oven and bake to your liking. If your cookies are frozen, they may need an additional 1-3 minutes of baking time. I also check on mine to make sure the edges are brown and I use a spatula to make sure I can pick up the edges.
- Reusing Parchment Paper: Yes! As long as it's not completely burned, you can and should reuse the parchment paper during a bake, maybe using just 1-2 sheets for all the cookies.
- Cool Baking Sheets: Now, you can reuse the parchment paper and of course you can bake using just 1-2 baking sheets. However, before you place dough or bake it, your baking sheets should always be cooled down. This helps with a good bake and keeping those cookies thick.
- Perfect Circle: This is my favorite Cloudy Kitchen tip! Use a round cookie/biscuit cutter that's just a bit bigger than your cookie. Right when the cookies come out of the oven, place cutter around cookies and quickly move cutter in a circle motion to create a perfect cookie shape while still warm and moldable. This makes for a perfectly circle cookie.
- Reheating: If you are left with extra cookies after you bake, be sure to store in an air-tight container. Then when you go to eat them, be sure to heat those cookies before eating. I do about 20 seconds in the microwave before eating so they are warm and delicious!
FAQs for Lavender Chocolate Cookies
No. Do not use anything, but culinary grade lavender. You can buy this online, at certain baking stores, and even in lavender tea.
Yes. For this recipe, I suggest chilling the dough for at least a few hours. And or, refrigerate, ball the dough, then freeze it for about 12 hours or up to a few months.
Other Cookie Recipes to Try
Love this Recipe?
Did you make this recipe and just love it? Awesome! If you have a quick minute and could leave a star rating and comment below, I would appreciate the support and knowing your feedback! And if you’re over on Instagram, be sure to tag me in your photos!

Equipment
- Stand Mixer
Ingredients
Wet Ingredients
- ½ cup unsalted butter room temperature
- ½ cup brown sugar plus 2 Tbsp
- ½ cup white granulated sugar
- 1 egg large, room temperature
- 2 teaspoon vanilla extract
Dry Ingredients
- 1 ¾ cups all-purpose flour plus 2 teaspoon
- 1 tsp salt
- ¾ tsp baking powder
- ½ teaspoon baking soda
- 1 teaspoon culinary-grade lavender finely ground
- ⅔ cup dark chocolate coarsely chopped
- ⅔ cup white chocolate coarsely chopped
Topping
- 1 teaspoon salt extra flakey, Maldon sea salt
Instructions
- In the bowl of a stand mixer fitted with a paddle attachment, cream the butter and sugars on a medium speed until they are smooth, about 1 minute (I cream mine for 3-5 minutes to remove the granulated texture).
- Add the egg and vanilla to the butter mixture and mix on medium speed until they are fully incorporated, scraping down the sides of the bowl as needed, about 1 minute.
- In a separate medium bowl, whisk together the flour, salt, baking powder and soda, and lavender. With the mixer on low speed, add the flour mixture in two batched to the butter sugar mixture, and mix until the ingredients are just combined, about 1 minute.
- Add the dark and white chocolate and mix until they are just incorporated with the dough, about 30 seconds.
- Cover the dough with plastic or bee's wax wrap or move into an airtight container, then refrigerate for at least 1 hour (I would always say 2-3 minimum to get rid of gritty texture of sugars or follow my chill notes above).
- Preheat the oven to 350° F. Line a large baking sheet with parchment paper.
- With a standard ice cream scoop or a 2 tablespoon cookie scoop, form balls of dough and place them about 2 inches apart on the baking sheet. Bake the cookies for 12-14 minutes or until the cookies are browned and caramelized along the edges and the centers are just set.
- Top each cookie with a sprinkling of the sea salt flakes. Allow the cookies to cool on the baking sheet for5 minutes, then transfer them to a wire rack to cool completely.
Leave a Reply