
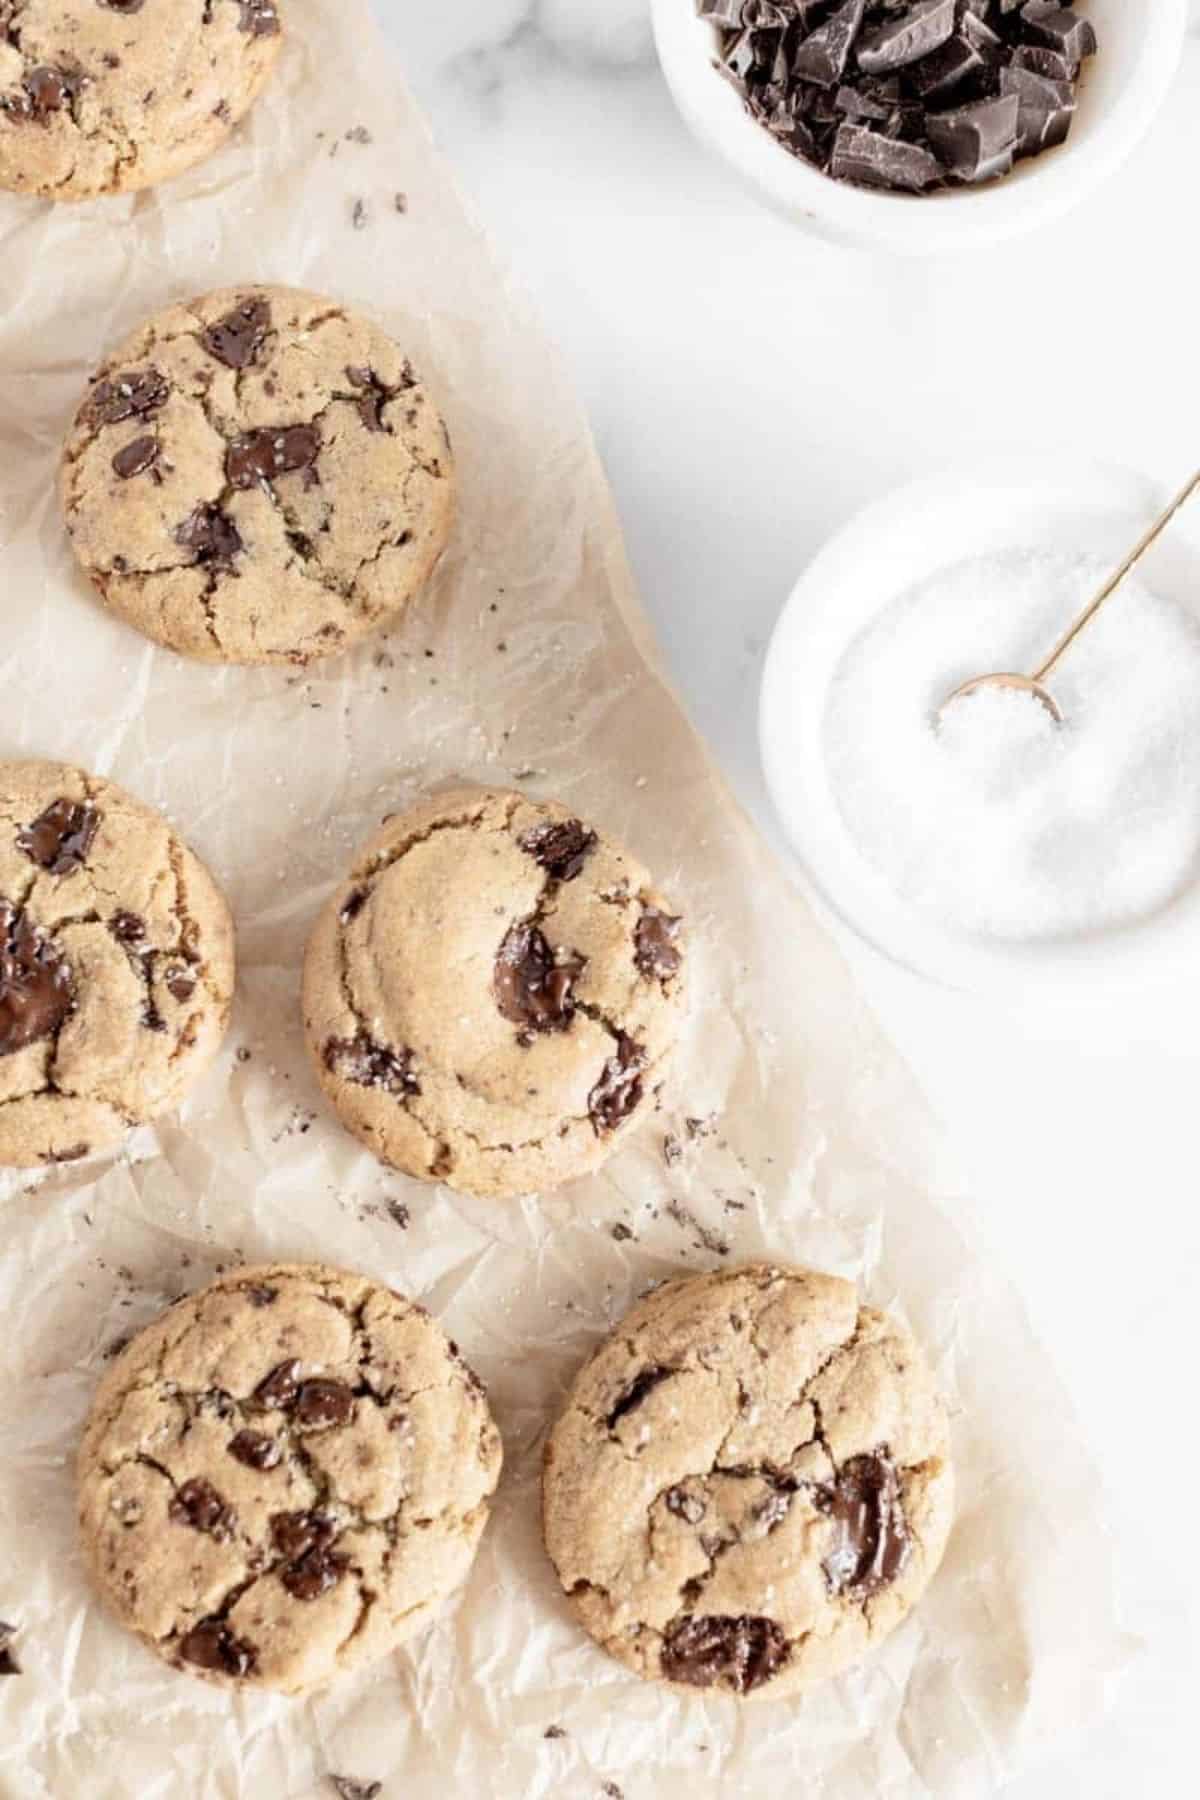
My new recipe for brown butter chocolate chip cookies. Okay, I grew up eating a ton of Nestle Tollhouse cookies...and cookie dough. Like probably an unhealthy amount of cookie dough. But it was the 90's and I'm pretty sure everyone was doing the same thing...right?
And as much as I love those cookies for nostalgic reasons, sometimes the super processed cookies and I don't sit well together. Also, I really really love dark chocolate in everything and want to replace all milk chocolate out there in the world with dark chocolate. So making my own chocolate chip cookies at least gives me the opportunity for that.
Recently I've really gone on the brown butter train with my desserts as well, check out my brown butter rice krispie treats here. So, this was another very fun addition to these cookies.
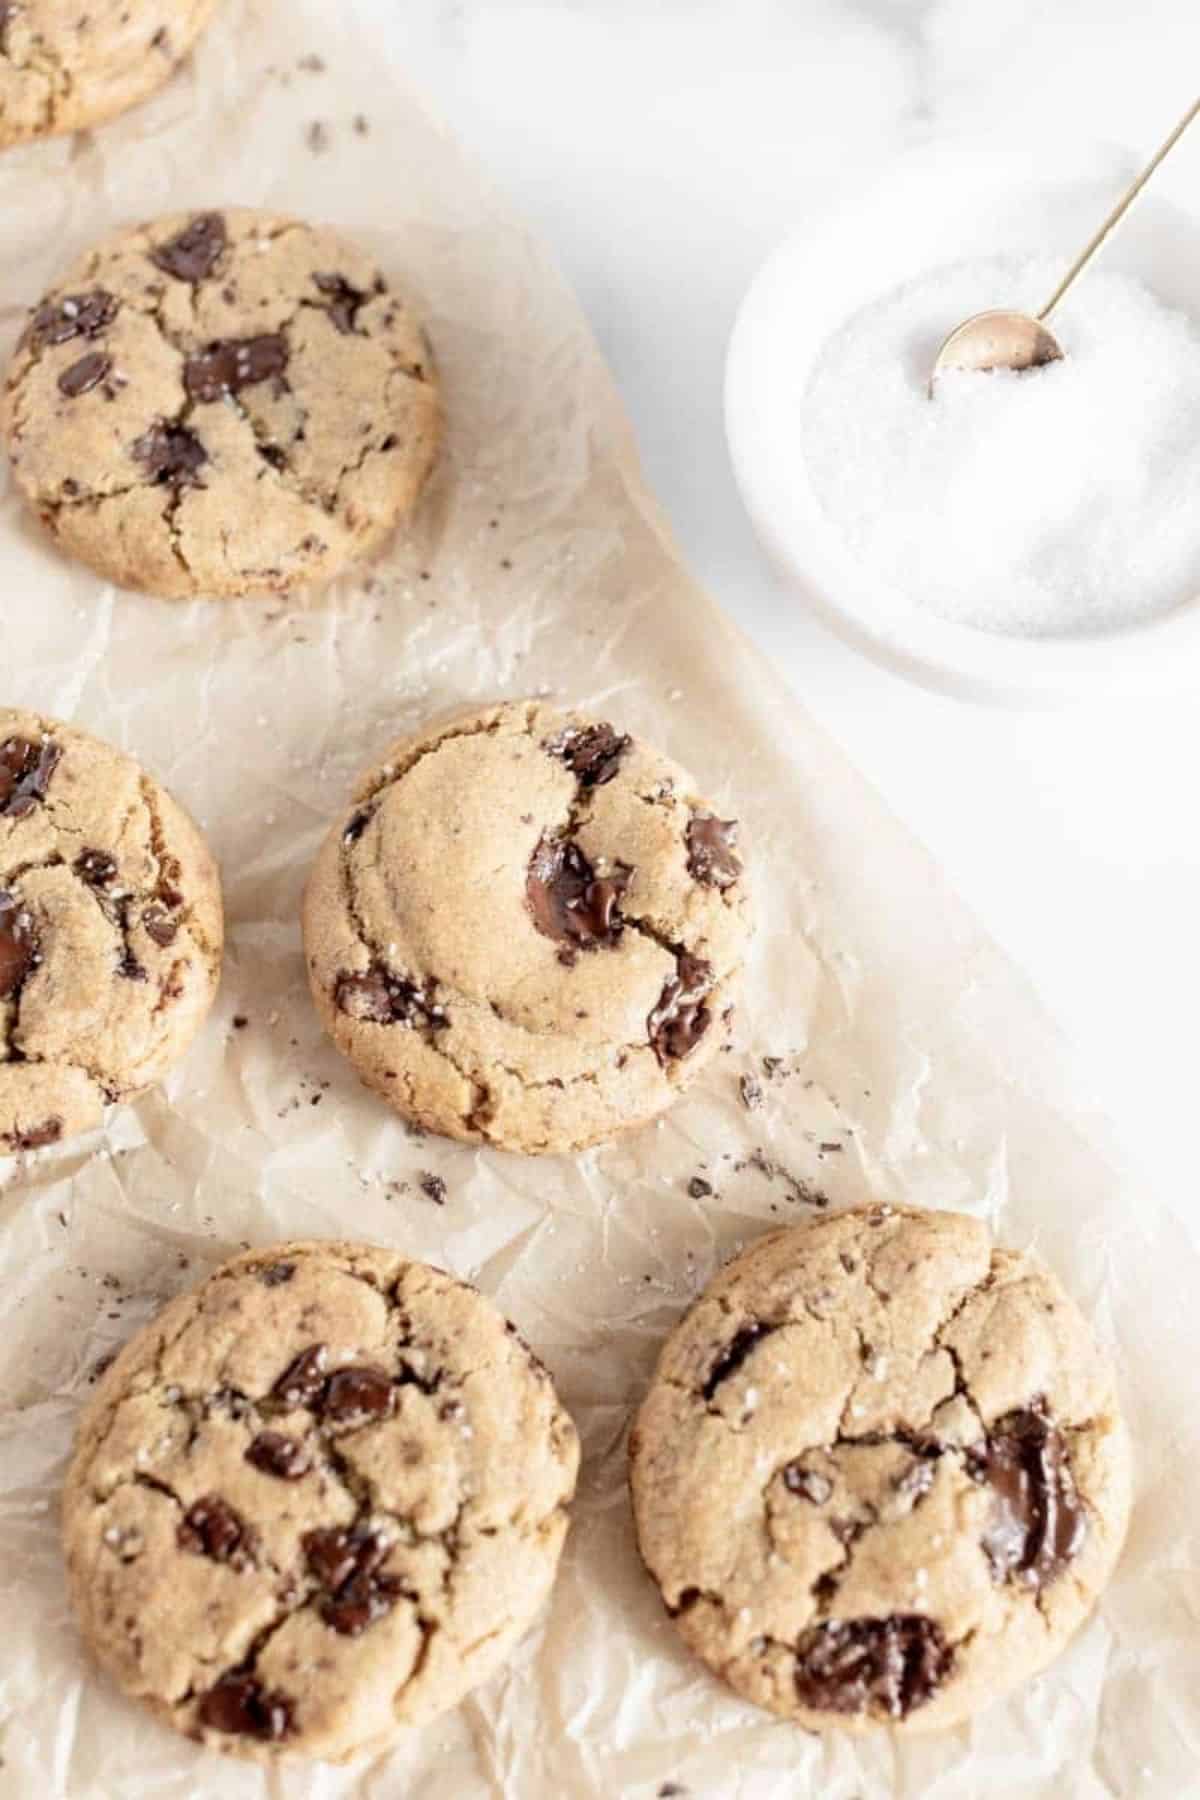
Now, I'm not a cookie discriminator. You know, people who only like chewy cookies or only crunchy cookies or only thick cookies or only thin cookies. I love all cookies equally...however, I do think all cookies should be eaten warm. Like pop those babies in the microwave for like 20-30 seconds so the chocolate is melty and delicious. However, these are a pretty good combo of gooey inside, crunchy outside.
Chocolate chip cookies seem like the easiest recipes right? Because like everyone and their mother makes them all the time. However, chocolate chip cookies are still scientific. You need to follow the recipes to make sure you're doing the right steps so the chemistry is correct. Such as the mixing of "wet" and "dry" ingredients separately. This is very important to the chemistry of baking. Same with the temperature of the ingredients and mixing egss one at a time...and basically the whole recipe. Now, I'm not saying you can't skip certain parts...because people still do, BUT when you do this, you're not using the recipe, so if something goes wrong YOU CAN'T BLAME THE RECIPE. Sorry for the rant, but it happens so often. Follow the recipe and things should go well!
Table of Contents
Ingredients for Brown Butter Chocolate Chips Cookies
- 1 ½ cup (3 sticks) unsalted butter (amount of butter reduces when you brown it to about 1 cup)
- 1 ¼ brown sugar
- ¾ cup white
- 2 large eggs, room temp
- 2 teaspoon vanilla extract
- 3 cups all-purpose flour
- 1 ½ teaspoon baking soda
- ½ teaspoon sea salt
- 1 ½ cups of dark chocolate chunks, divided
- Extra flakey salt for topping cookies, optional
How to make these Cookies
- In a large 5-8 qt. pot add butter over a medium-low heat. Melt the butter until completely melted. Then keep stirring as the butter browns...from melted, to dark golden, to a brown and nutty fragranced mixture. This usually takes about 4-6 minutes. You don't want it to burn, so keep a close eye on it. Remove from heat and let cool, I usually like to stick it in the fridge for just 4-6 minutes.
- In a large mixing bowl from your stand mixer, using the paddle attachment, pour 1 cup of brown butter and sugars into the bowl. Mix until thoroughly combined and fluffy. This can take up to 5-6 minutes. Sometimes these don't mix enough when your butter is melted, so take the time.
- Add eggs, one at a time. Then add in vanilla extract.
- In a second medium to large bowl whisk flour, baking soda, and salt. Slowly add the dry ingredients to the wet ingredients with the mixer turned onto low/medium speed. Once well mixed, fold in 1 cup of chocolate chips (leaving behind about ½ cup for topping balls).
- Chill dough in the fridge for 1-24 hours.
- When ready to make cookies, preheat the oven to 350° F and prepare 3 baking sheets with parchment paper.
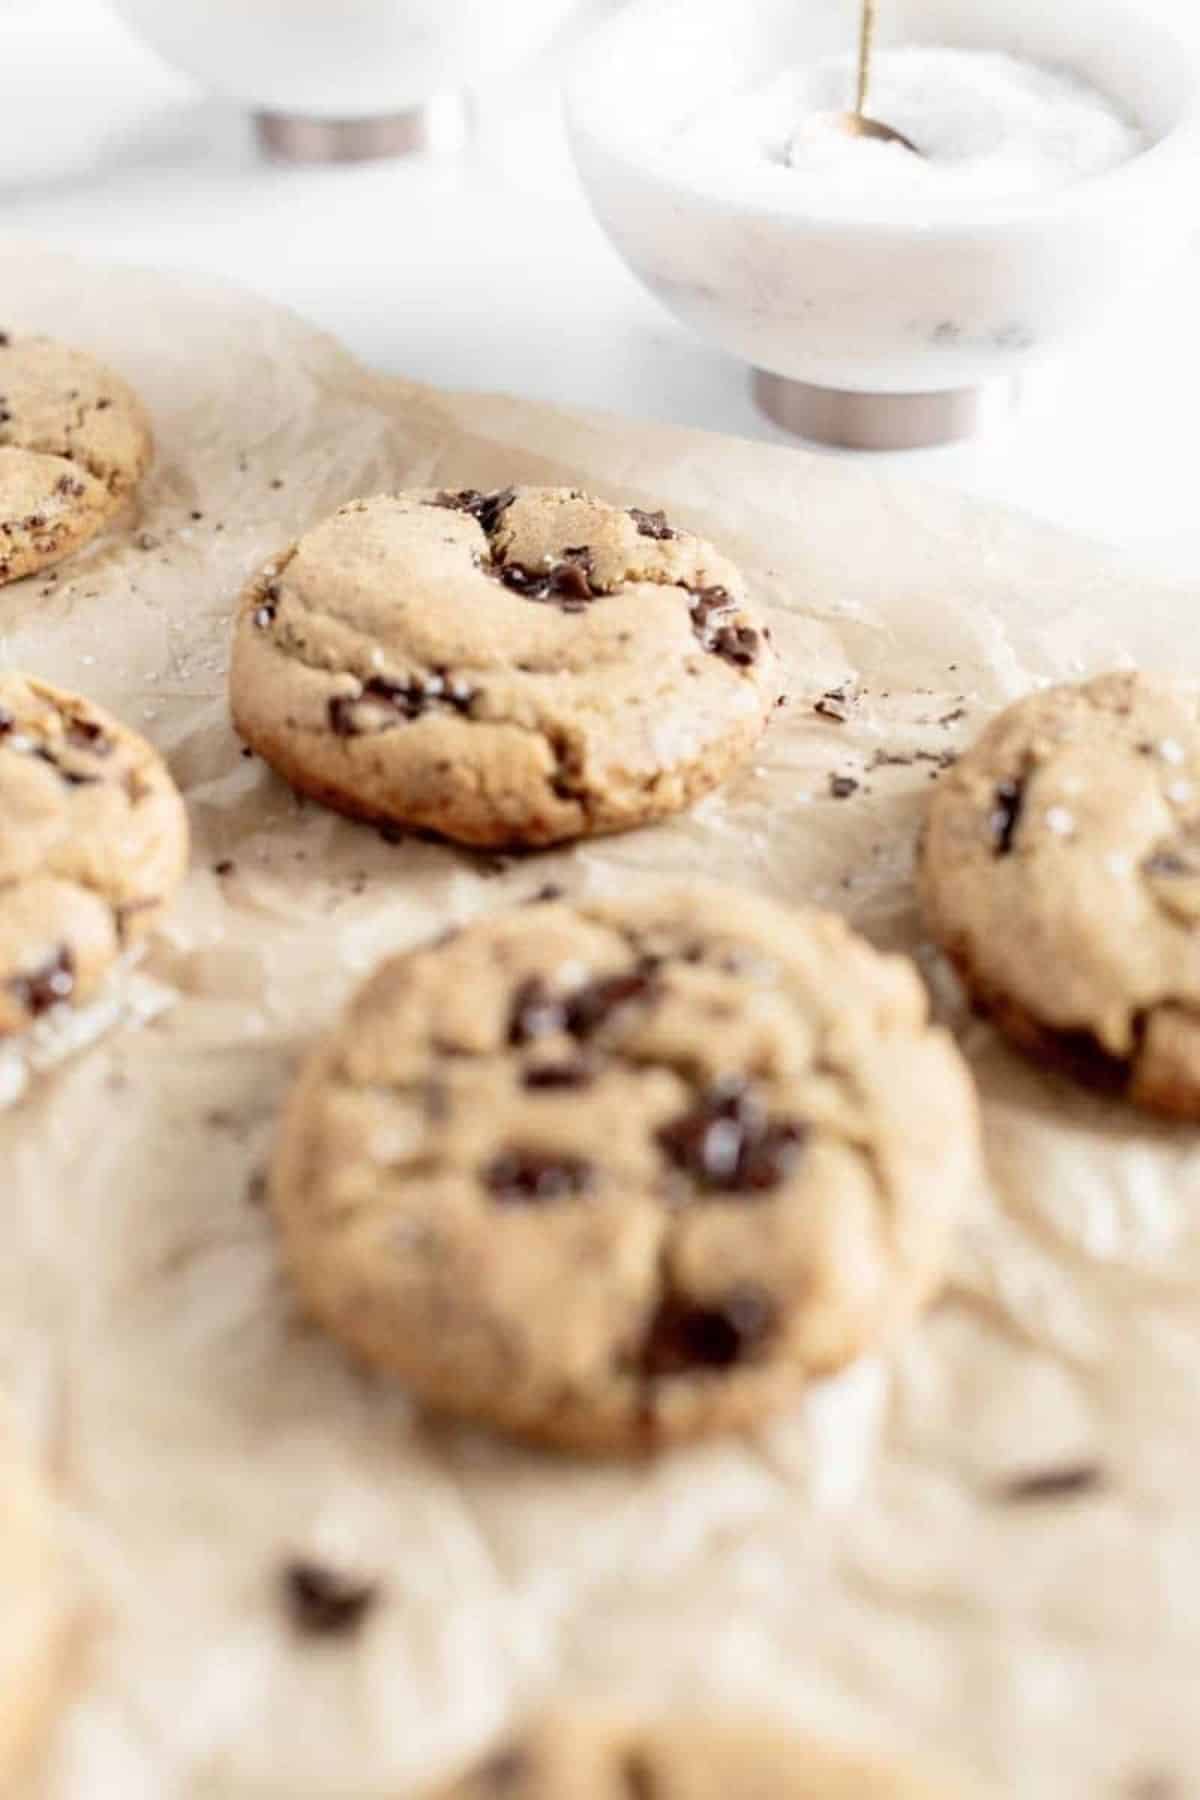
- Scoop about 2-3 tablespoon sized balls, add some of the remaining chocolate chunks to the top side of your ball. Roll again in your hands to smooth out as much as possible. Place balls onto baking sheets (chunks side up) and a few inches apart.
- Bake for 11-13 minutes. Remove from oven and top with flakey salt. Let sit for about 5 minutes, then move to cooling rack.
- Enjoy!

Tips for the best Brownie Butter Chocolate Chip Cookies
- Creaming: Creaming the butter and sugar is an essential part of making cookies and baked goods. I always say do this for like 4-6 minutes. It's the difference between something having a granular and dense bake or a light and fluffy, clean bake. So take your time when creaming your butter.
- Salting: Salting post bake to me is essential for a delicious cookie, but I also understand that some people don't love a salty dessert. It is essential for the dough to be made with salt, but you can always omit the extra flakey salt on top of course.
- Chilling Time: So, chilling the dough is a VERY important part of making any cookie. Most require it, but also this will dictate whether you have a thick or thin cookie. The longer they chill, the thicker they will be. My trick for making them thicker quicker, is to pop the dough into the fridge for 15-30 minutes, ball the dough and place it on a baking sheet with parchment paper, then toss it in the freezer for 1-3 hours. This will help the rise. If you have more time feel free to leave them in the fridge for 24 hours, or freeze the balled dough for 30 minutes, transfer to a freezer-safe bag or Tupperware. More chilling time always equals a fluffier cookie.
- Saving Dough: If you decide not to bake all the dough at once, you can ball the dough, place it on parchment paper in the freezer for about 30-ish minutes (should be very cold), then transfer into a freezer-safe bag or Tupperware for up to 2 weeks. It can take a few extra minutes to bake, so keep your eyes on the oven to check.
- Bake Time: Now, this is the difference of a gooey or a crispy cookie. I like to bake mine crispy on the edges and gooey in the center. So, you bake for the minimum time below. But if you are a crisp all the way through, do the longer time. Also, each oven/altitude/climate can change your bake, so keep your eyes on the oven and bake to your liking. If your cookies are frozen, they may need an additional 1-3 minutes of baking time. I also check on mine to make sure the edges are brown and I use a spatula to make sure I can pick up the edges.
- Puddles of Chocolate: To get those amazing puddles of chocolate on top of your cookies, there are a few tricks. My go-to is balling the dough, then taking extra chocolate chips on top of the ball, rolling again, and placing down onto the baking sheet.
- Reusing Parchment Paper: Yes! As long as it's not completely burned, you can and should reuse the parchment paper during a bake, maybe using just 1-2 sheets for all the cookies.
- Cool Baking Sheets: Now, you can reuse the parchment paper and of course you can bake using just 1-2 baking sheets. However, before you place dough or bake it, your baking sheets should always be cooled down. This helps with a good bake and keeping those cookies thick.
- Perfect Circle: This is my favorite Cloudy Kitchen tip! Use a round cookie/biscuit cutter that's just a bit bigger than your cookie. Right when the cookies come out of the oven, place cutter around cookies and quickly move cutter in a circle motion to create a perfect cookie shape while still warm and moldable. This makes for a perfectly circle cookie.
- Reheating: If you are left with extra cookies after you bake, be sure to store in an air-tight container. Then when you go to eat them, be sure to heat those cookies before eating. I do about 20-30 seconds in the microwave before eating so they are nice and gooey!
FAQs for Brown Butter Chocolate Chip Cookies
A few tips I have...1)Keep your eyes on it, keep stirring and scrapping the bottom of the pot. the bottom pieces should be brown and not black. 2) Smell it. Make sure you're smelly a nice toasted smell. If it starts to smell burnt, remove it.
Of course. You can use whatever type of baking chocolate you'd like. I just prefer the taste of dark chocolate chips in these.
Other Cookie Recipes to Try
- Perfect Chocolate Chip Cookies
- Graham Cracker Crumble Soft Butter Cookies
- Snickerdoodles
- Oatmeal Cookies
- Lucky Charms Cookies
Love this Recipe?
Did you make this recipe and just love it? Awesome! If you have a quick minute and could leave a star rating and comment below, I would appreciate the support and knowing your feedback! And if you’re over on Instagram, be sure to tag me in your photos!
Equipment
- Stand Mixer
Ingredients
- 1 ¼ cup unsalted butter (amount of butter reduces when you brown it to about ¾-1 cup)
- ⅓ cup butter room temperature
- 1 ¼ cups brown sugar
- ¾ cup granulated sugar
- 2 eggs large, room temperature
- 2 teaspoon vanilla extract
- 3 cups all-purpose flour
- 1 ½ teaspoon baking soda
- ½ teaspoon sea salt
- 1 ½ cups dark chocolate chunks divided
- Extra flakey salt optional, topping cookies
Instructions
- In a large 5-8 qt. pot add butter over a medium-low heat. Melt the butter until completely melted. Then keep stirring as the butter browns - from melted, to dark golden, to a brown and nutty fragranced mixture. This usually takes about 4-6 minutes. You don't want it to burn, so keep a close eye on it. Remove from heat and let cool, I usually like to stick it in the fridge for just 4-6 minutes.
- In a large mixing bowl from your stand mixer, using the paddle attachment, pour ⅔ cup of brown butter, ⅓ cup room temperature butter, and sugars into the bowl. Mix until thoroughly combined and fluffy. This can take up to 5-6 minutes. Sometimes these don't mix enough when your butter is melted, so take the time.
- Add eggs, one at a time. Then add in vanilla extract.
- In a second medium to large bowl whisk flour, baking soda, and salt. Slowly add the dry ingredients to the wet ingredients with the mixer turned onto low/medium speed. Once well mixed, fold in 1 cup of chocolate chips (leaving behind about ½ cup for topping balls).
- Chill dough in the fridge for 1-24 hours.
- When ready to make cookies, preheat the oven to 350° F and prepare 3 baking sheets with parchment paper.
- Scoop about 2-3 tablespoon sized balls, add some of the remaining chocolate chunks to the top side of your ball. Roll again in your hands to smooth out as much as possible. Place balls onto baking sheets (chunks side up) and a few inches apart.
- Bake for 11-13 minutes. Remove from oven and top with flakey salt. Let sit for about 5 minutes, then move to cooling rack.
- Enjoy!
Notes
- If you don't bake them all (freeze on parchment paper in the freezer for about 30-ish minutes (should be very cold) then transfer into a freezer-safe bag or Tupperware for up to 2 weeks.
- This is my favorite Cloudy Kitchen tip! Use a round cookie/biscuit cutter that's just a bit bigger than your cookie. When the cookies just come out of the oven, place cutter around cookies and quickly move cutter in a circle motion to create a perfect cookie shape while still warm and moldable.
- Placing chocolate chips on top after rolling balls of dough will give you those big chocolate puddles on top!
- Heat those cookies before eating...maybe just 20-30 seconds in the microwave before you eat so they are nice and gooey!
KC says
uummm wowowowow. this recipe is amazing and super simple! I don't need to go to Whole Foods anymore for their brown butter choc chip cookies because these are INCREDIBLE. I've literally never browned butter before doing this recipe but it made the cookies taste sooooo good!
I actually used semi-sweet instead of dark choc because that's what i had at home, but still delicious!
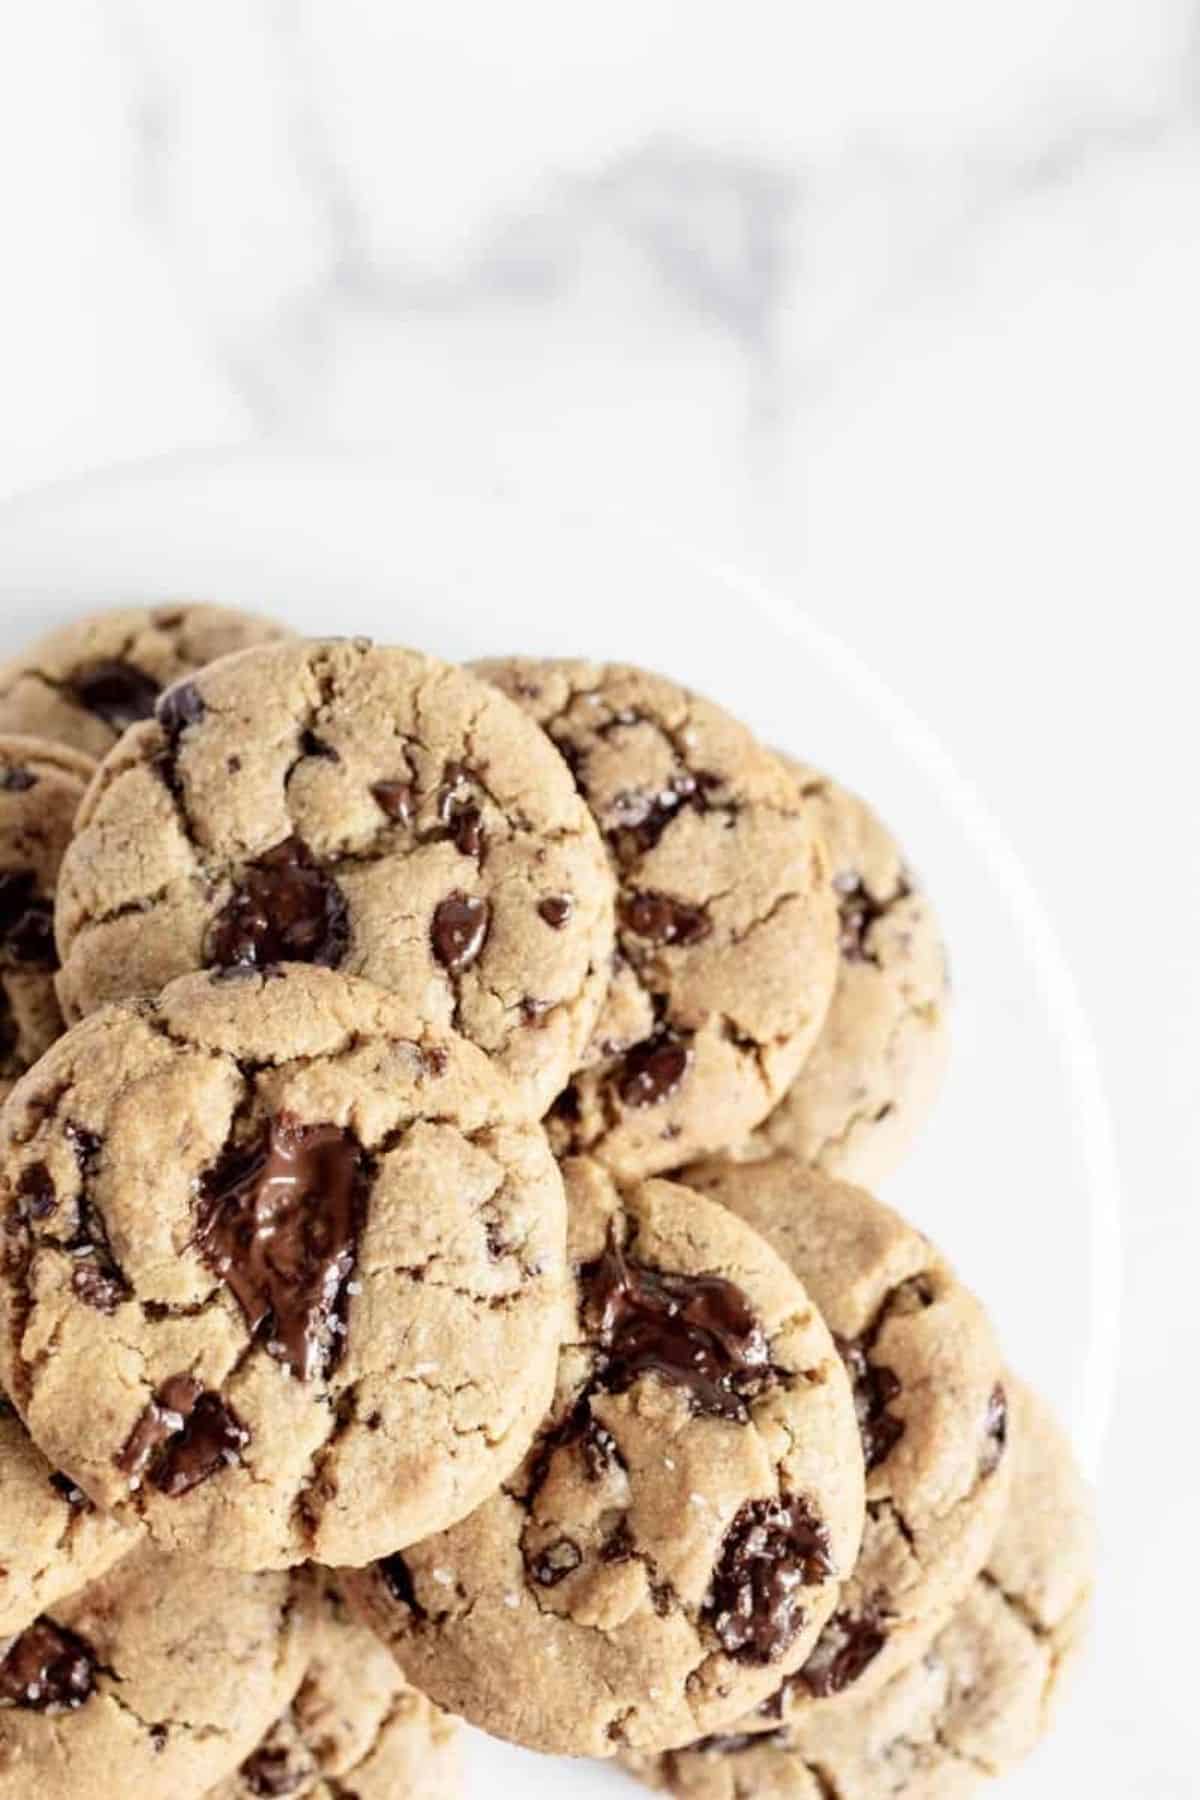
WARNING! This recipe makes like 3 dozen!!!
Amanda Wilens says
Aw! Thank you so much! I'm so glad you like them that much! And yes, the recipe is for 35 cookies. haha. You can use the tip in the article for "Saving Dough" so you can just bake off 6-12 at a time and save the dough to bake off later. Hope that helps for next time!
Hannah says
Made these for my neighbors and they loved them! I snuck a few as well. Love the brown butter taste.